
Server restore, Mondo Rescue
In the post “how to perform a server backup” you have learnt how to perform a server backup using MondoRescue. You created one or more ISO images with all files present in your hard disk. Of course this ISO file is outside your dead server!

If you are working with virtual machines, I suggest you to test a server restore to a new virtual machine. A server restore is not that difficult, but you can experience some issues.
Server restore from ISO image
If you have a virtual machine, you can add a DVD/CD Rom drive and connect it to your ISO image. Of course you can burn a DVD from your ISO image and use a physical drive. If you have a multiple files backup, you will need to burn more DVDs.
Make sure your server or virtual machine’s BIOS is configured to boot from CD/DVD, otherwise restore will not start.
Insert DVD or connect the ISO image and start your server or virtual machine. The system will boot from this media and not from hard disk. You will see a screen similar to this:

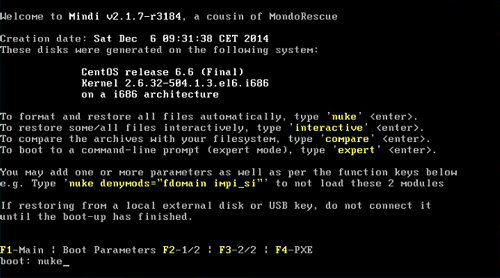
To format the hard disk and restore all files automatically, type nuke and press enter. In this way, your server will be restored completely and will be perfectly working as in the day of the backup.
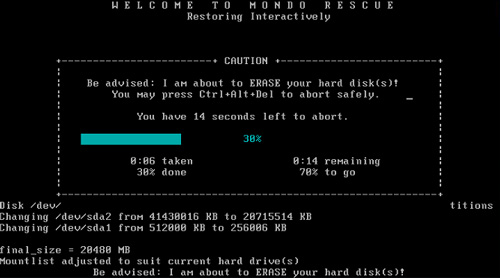
Now, you have about 20 seconds to change your mind. If you do not intend to partition and format your hard disk, you can press Ctrl+Alt+Del to abort safely. If you intend to proceed with your server restore, just wait.

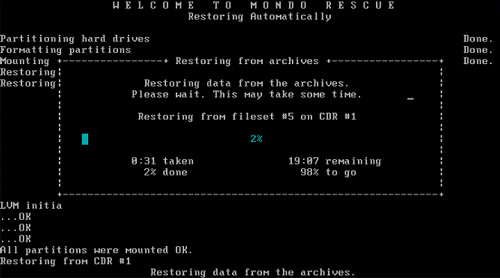
The server hard disk will be partitioned and formatted. All files will be restored (copied from the ISO image to the hard disk). Mondo Rescue may need several minutes, depending on your server speed and data amount.
At the end of the process, you will be asked to press OK button: your server is ready! Server restore is complete.
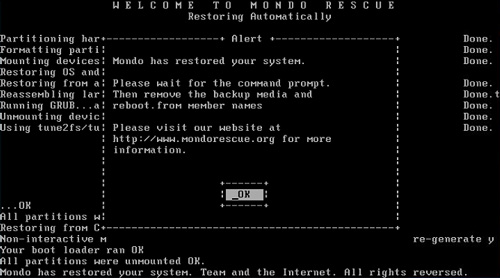

Remove the CD/DVD from the drive or disconnect the ISO image from the virtual drive and reboot your server.
Finished? Maybe! But you need to check something.
Simple configuration after server restore
 Maybe your server is not accessible via SSH. You cannot use neither WinSCP nor ExtraPutty. Your server is off-line! This issue can happen: if you restored your ISO file to another virtual machine or to another hardware, MAC address of the Ethernet port is different. Linux does not use it as eth0 but creates a new Ethernet port eth1. You need to fix these wrong settings locally.
Access your server with root privileges.
This command will show you the Ethernet adapters and their MAC addresses:
ifconfig -a
You will see a screen similar to this one:

You see that your eth0 port is disappeared! You have a new eth1 port. MAC address of this eth1 port is: 00:0C:29:5A:4D:EC (you can read it in the HWaddr field). Let’s fix the problem.
Type following commands to backup this wrong configuration file and to delete it:
cd /etc/udev/rules.d
cp 70-persistent-net.rules /
rm 70-persistent-net.rules
Unfortunately you cannot access the server using WinSCP, so you have to use a command line text editor, like nano or vim. You can find documentation on the Internet in order to use these editors. I suggest nano, since it is more “user friendly”…
Edit the eth0 configuration script, typing these commands:
cd /etc/sysconfig/network-scripts
nano ifcfg-eth0
Go to the HWADDR row ed insert the correct value, the one you have seen when you launched the ifconfig -a command.
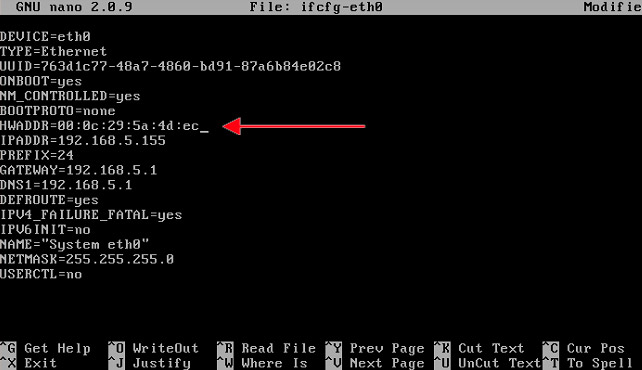
Check if the IP address is the same of your original server. You cannot change it, otherwise Apache will not work properly. Now, you can save by pressing Ctrl+O. To exit, press Ctrl+X.
Restart the server by typing: reboot
If everything is OK, you can access your server via SSH using WinSCP and ExtraPutty. You can delete the backup file you have created before: /70-persistent-net.rules (the one in the root folder / ).
Server restore is now complete!
Perform a complete test: access your websites, test emails, DNSs, FTP and databases, access VestaCP. Everything should be fine!