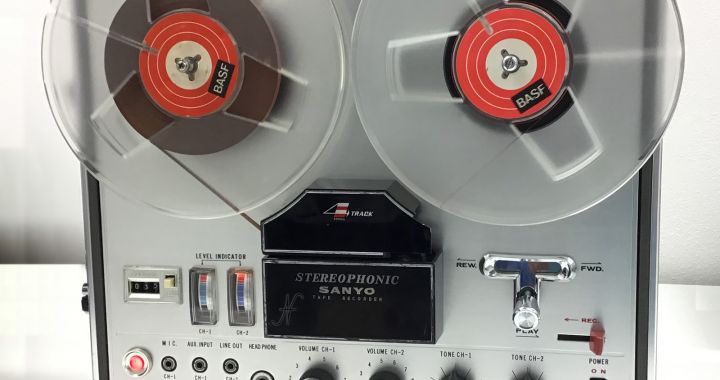
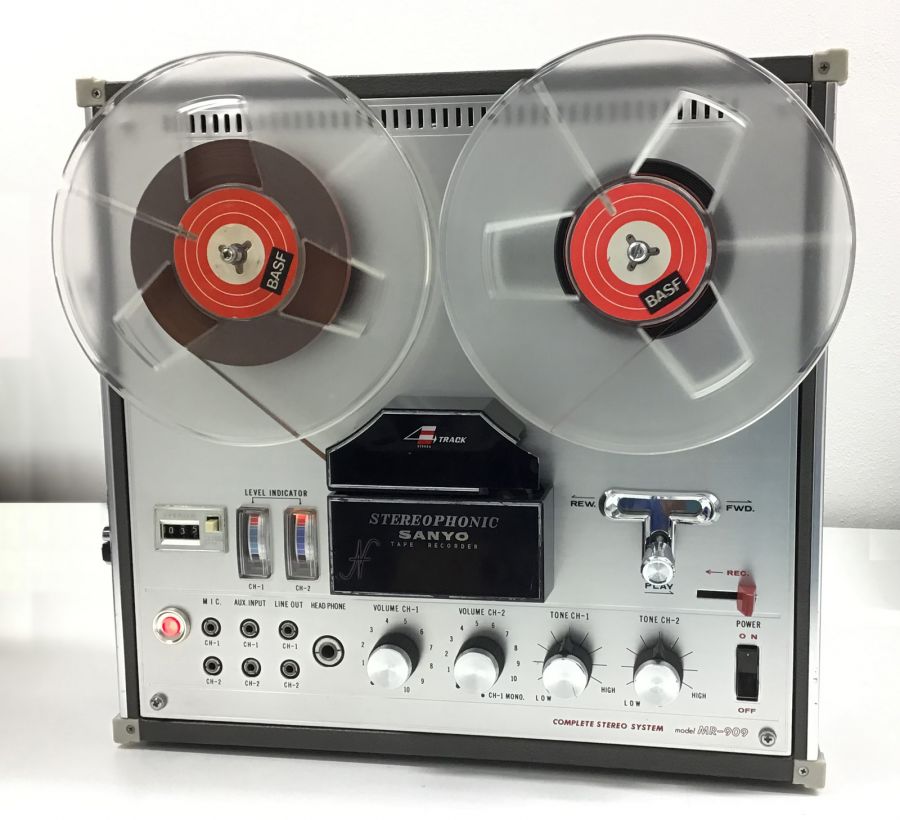
Consulting a site of ads for sale of used objects, I recently came across an old SANYO MR-909 ribbon recorder. The post was clear, the coil recorder was not working, but I still decided to buy it with the intent to fix it, given the modest price.

In this article I explained how I reset the mechanics of the tape recorder, since, apart from the power light, which actually worked, the rest was completely stopped.
After having dedicated several hours to restoring the recorder mechanics, I immediately collided with other electrical problems: one of the two channels felt at low and bad volume, while the other channel was even worse!
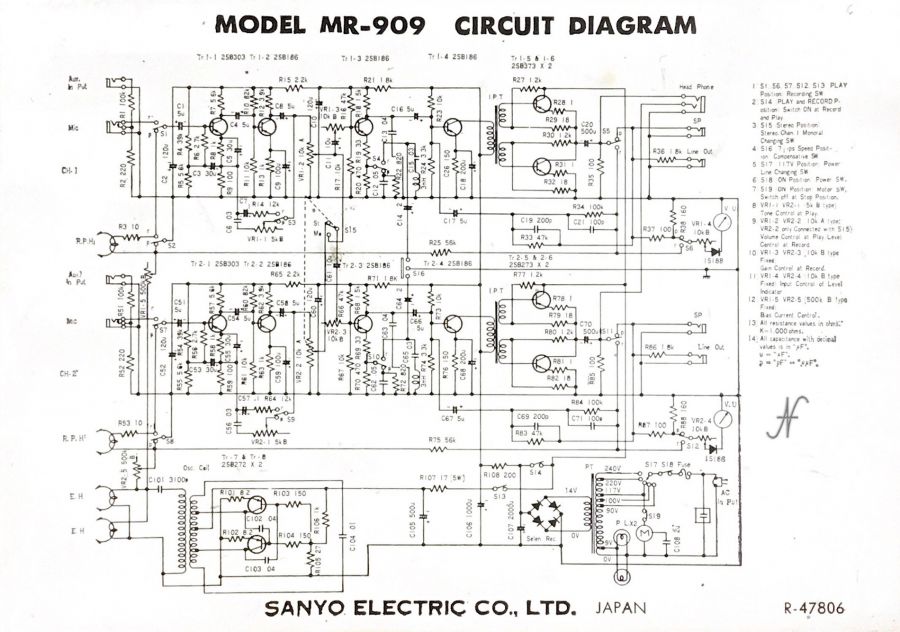
I first carried out careful analysis, using the wiring scheme and some specific tools:
- a good quality digital multimeter;
- a signal generator (sine waves);
- a small single-trace oscilloscope.
The data were irrefutable and the problems were different:

- one of the four power amplifiers (the 2SB373 transistors) was short-circuited, since the voltage between the two transistors was quite different from half that of the power supply;
- the electrolytic capacitors were completely degraded, since the input signal, at the different frequencies, underwent not constant attenuation at the output and in any case different between the two right and left channels;
- the volume and tone adjustment potentiometers rattled when turned;
- one of the two amplifiers went silent when moved.
Fixing all of these flaws was quite time-consuming.
Sanyo MR-909, power final repair
Initially I thought the problem was a burnt transistor, so much so that I had purchased some on the Internet for a few euros. By dismantling the cooling foam of the transistor, I realized that this was to be isolated from the metal of the various supports and screws. In fact, one of the screws who screwed it touched the flap and brought it into short circuit. Once the screw isolated, the problem has been solved and the tension in the central point between the two transistors settled at about half of the power supply.

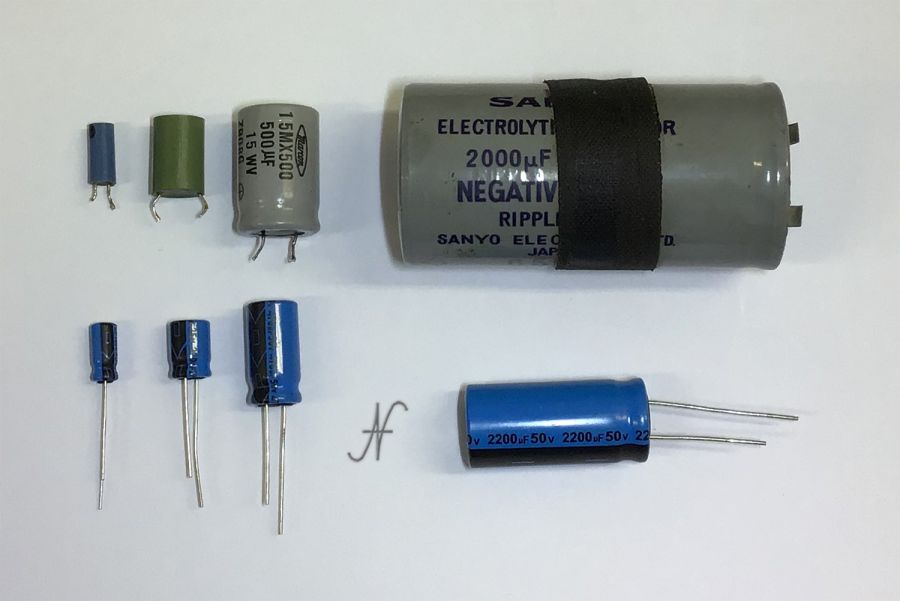
Replacing the capacitors of the tape recorder (recapping)
I already knew that electrolytic capacitors degrade over time. What surprised me was to find practically all capacitors with particularly out of range skills, with cracks on the envelope and swollen.
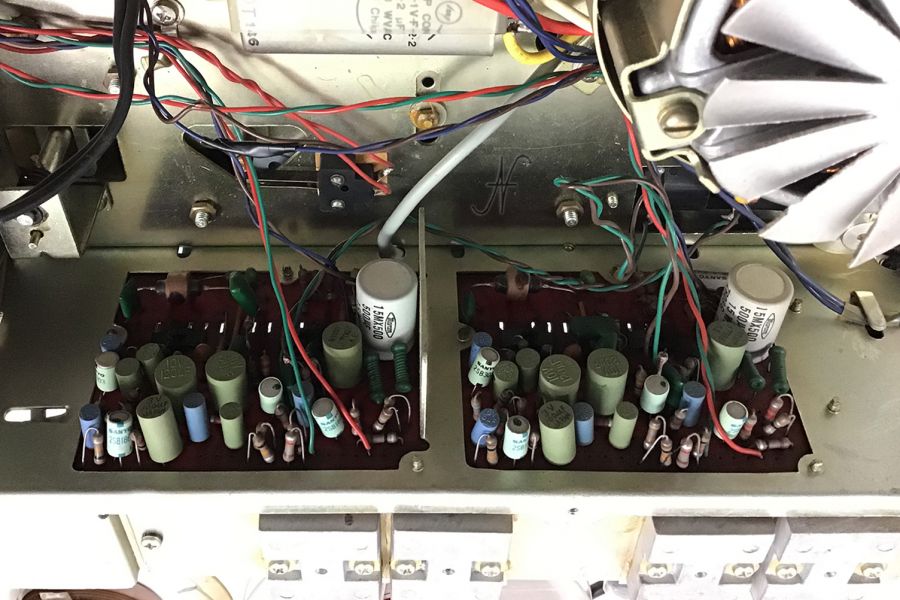
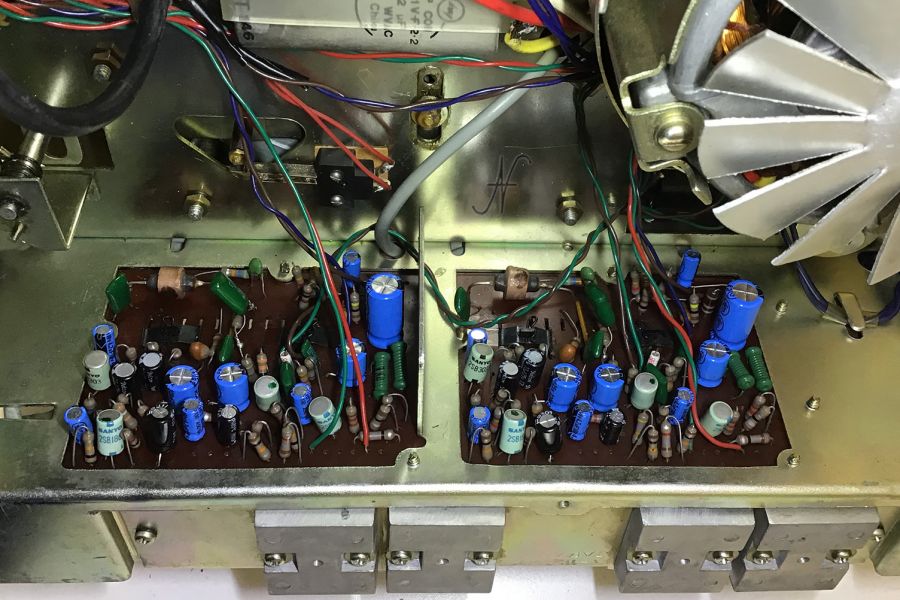
I therefore had to replace all the electrolytic capacitors, doing a complete recapping.

Potentiometer lubrication
Regarding the potentiometers, I sprayed inside them some deoxidizing and lubricating spray, specific for electrical contacts. This method has given good results: now the potentiometers no longer make noise when operated.
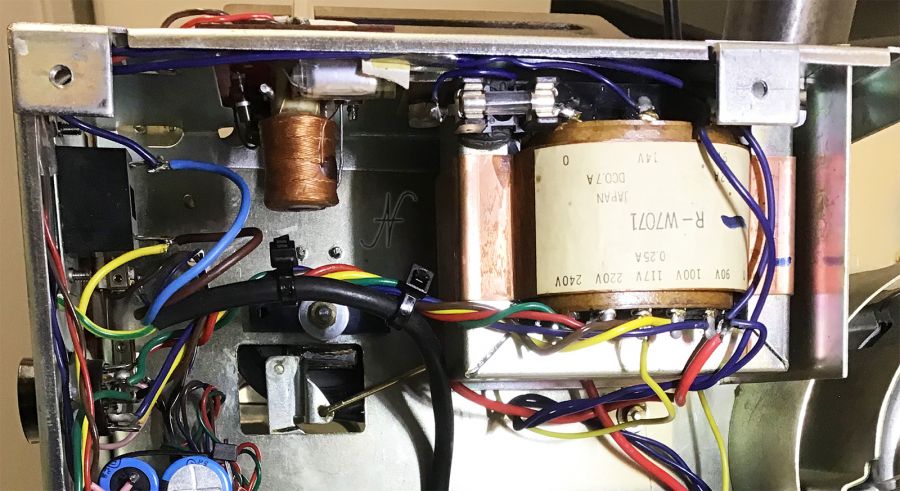
Sanyo MR-909, re-soldering of components
When the behavior of an electronic circuit changes following vibrations or deformations, there is always to be checked if the solder soldering of the components are done well. In my case, I found several reofors of the oxidized components, so the solder did not contact well. I therefore had to go back all the components, adding the solder where there was little and using a inexidant flow. The operation was quite laborious, but, fortunately, the components of each electronic card were not many! I also had to replace a pair of adjustment trimmer, as they did not contact contact and opened the circuit when trying to regulate them.

Felt pads for tape recorders
An aspect not to be overlooked is the replacement of the felt pads that press the tape onto the playback head (playback). The original ones were very worn and hard, while for a better reproduction you need a little softer felt. My choice fell on 2.5mm felt, the one used by children for chores. The felt must press the ribbon on the head where there is the sensitive part. As already mentioned in the previous article, each felt must press about 20-25 grams on the respective head.
Sanyo MR-909, various calibrations
The calibrations to be carried out on the recorder concern:
- the balancing of the two channels, by means of the trimmers VR1-3 and VR2-3
- the balancing of the two vu-meters, by means of the trimmers VR1-4 and VR2-4
- the bias adjustment, by means of the trimmers VR1-5 and VR2-5
To balance the channels and vu-meters I used the sine wave generator, first recording the frequencies on a tape and then evaluating their amplitude when played by the same Sanyo MR-909 tape recorder.
For the adjustment of the bias, I recorded on the belt of the 5khz frequencies, then evaluating in reproduction to which bias voltage corresponded to an exit of greater amplitude. I noticed that, with the ribbon at my disposal, I had to adjust the bias of both channels to 36vpp.
Securing the tape recorder
This is a rather controversial theme: keeping the originality of the tape recorder or putting it safe? The whole front of the recorder is in metal, which could electrify the user in case the power supply phase had a dispersion, therefore I opted to secure the recorder.
As a suggestion, here are some tips for securing old appliances, radios or recorders:
- use, for power, a double insulation cable with the earth conductor in addition to the two power supply;
- connect the metal parts of the recorder to the ground;
- since it was missing, I added a second fuse in series to the secondary of the power transformer, before the rectifier bridge.
Sanyo MR-909 tape recorder, the final test
After all these interventions, both mechanical and electronic, here we are at the final test and adjustments. Fortunately, everything went well and the audio quality of the two channels is now very good.
The hot and enveloping sound of class AB devices is far more pleasant than that produced by modern class D amplifiers. Obviously this is only a personal opinion, but I invite readers to do some tests before refuting what I say!
Very useful. Very good for restoration.
¡Hola Amigo buen día!, antes que todo agradecer el que hayas compartido tu experiencia e historia, al igual que ud, compre este equipo en un mercado a un valor muy conveniente y mi intención es poder restaurarlo y tratar de disfrutar el desarrollo de este desafío. El fin de semana pasado lo abrí y pude lograr ver que las bandas de trasmisión estaban gastadas y habían perdido su capacidad elástica. Pero nada grave, lo que me preocupa es la parte electrónica y específicamente los condensadores electrolíticos del circuito, me podrás ayudar con la equivalencia de los condensadores que utilizo porque no me es familiar el voltaje "WV", por ejemplo:
Key No. C71 / Parts No. R-C9848 / Description "Electroltytic" 1000 uF 25WV
Debo hacer lectura como un Condensador Electrolítico de 1000 uF 25V??
seria de mucha ayuda este dato, asi evito estropear el equipo.
desde ya gracias y quedo atento a su respuesta.
saludos cordiales.
Hello William! Yes, WV is Working Voltage, so if you have a 25WV electrolytic capacitor, you should use a 25V one (or more, you can also use 35V, 50V, etc...).
Muchas gracias Amadeo Valoroso, esta información me será de mucha ayuda. ¡Tienes un amigo aquí en Chile!!!
Saludos, William
Thank you! Enjoy your recorder, when you fix it!