Several times I was asked how to copy a game or a program, from usb pendrive to disk, directly on the Amiga. Here is the answer! We use X-Copy Pro!

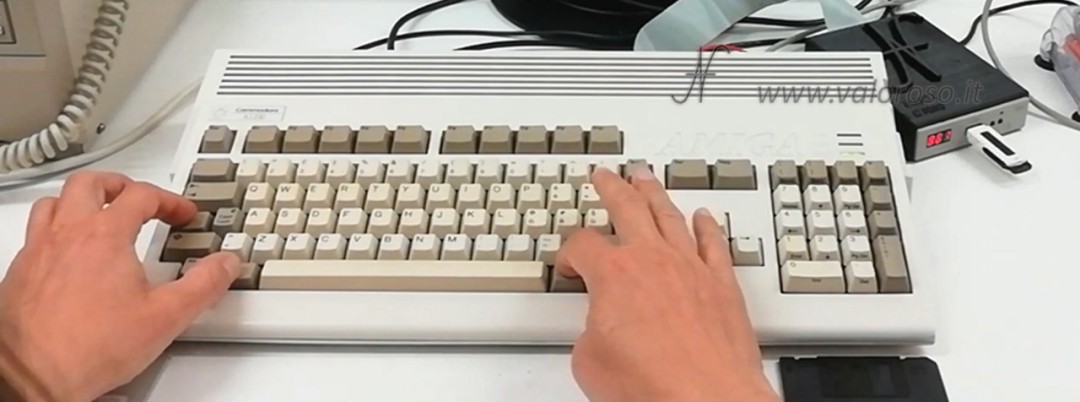
This procedure is fine on all Commodore Amiga, although I use an A1200 in this article.
Needed to copy a floppy disk with X-Copy Pro
X-Copy Pro is a software for Commodore Amiga, released in the early 90s. Still, it is very useful for creating diski starting from the ADF files: the images of the discs for Gotek who are on the Internet.
To copy a game or program, from USB pendrive to a disk, using Amiga directly, it is necessary:
- the XCopy Pro program: you can find it on the internet;
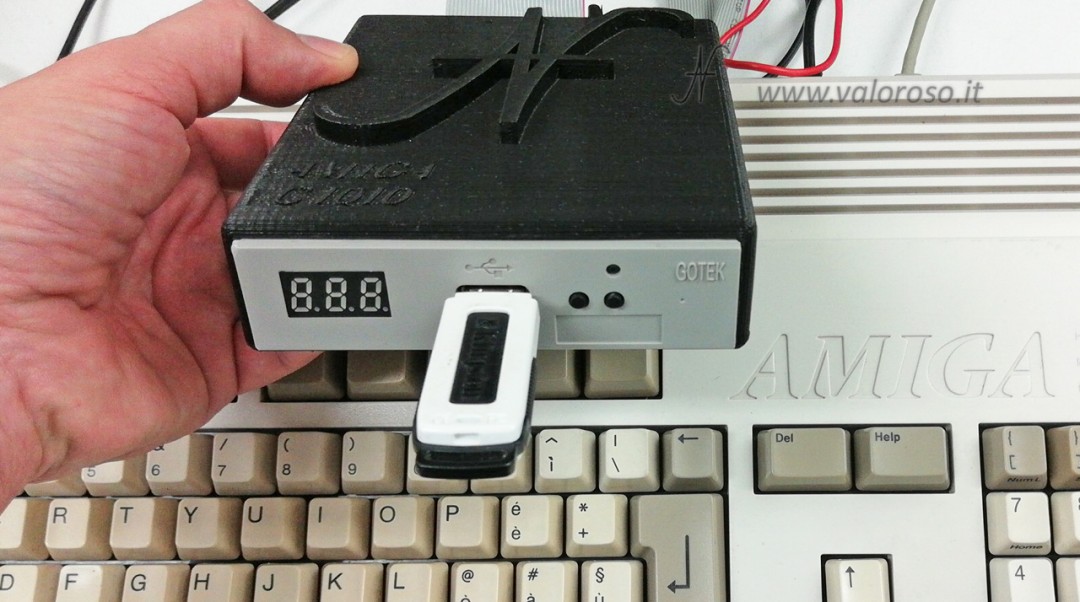
- a Gotek, which would then be a floppy disk drive emulator that uses USB pendrives instead of floppy disks.
You can start X-Copy Pro from Amiga Workbench or directly from a USB stick, selecting the X-Copy Pro ADF via the Gotek flashfloppy selector.

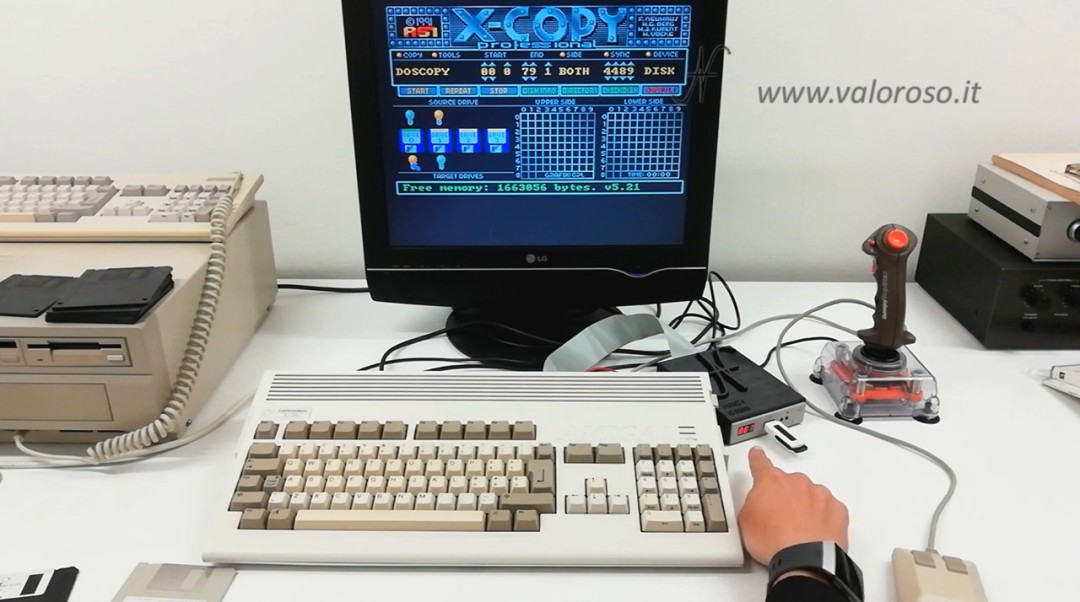
In this video, from minute 15:55, I show how to load X-Copy Pro via WorkBench and try to copy a utility from external Gotek to diskette.
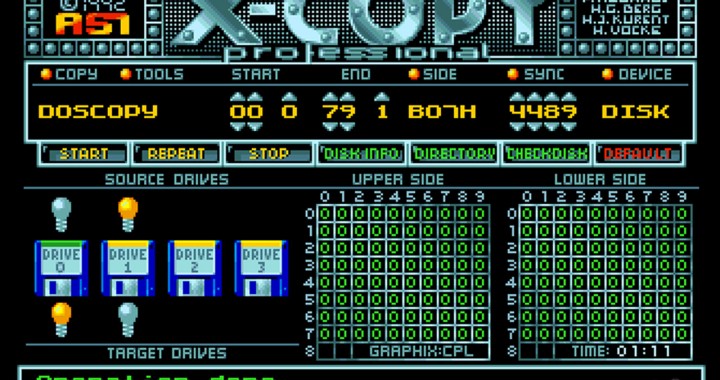
Using XCopy Pro for Amiga
Start the Commodore Amiga with the WorkBench diskette inserted and the Gotek connected to the external floppy disk drive port.
When the Amiga Workbench has started, we can remove the workbench disk and insert the XCOPY PRO disk: the copy program.
If X-Copy Pro is in ADF format, you have to insert it in the Gotek USB pendrive and start it from the external floppy disk unit.

It is also possible that X-Copy Pro can start directly, without workbench, but this depends on which ADF you find on the Internet and download.
Let's start XCopy Pro. As the source disk (Source) we put DRIVE 1: Click to turn on the light bulb above the disk icon 1. Drive 1 is the external gotek. As a destination album (Target) we set the DRIVE 0: the disk in the internal drive of the Amiga. To do this, we turn on the light bulb under the disk icon 0.
Then, source: Drive 1 (external), where we have already selected through the Gotek or Flashfloppy Selector the ADF of the game or program to be copied.
As a destination, we put the Drive 0 which is then the physical disk that we have included in the internal drive of the Amiga. Remember that the left window of the disk must be covered: the disc must not be protected by writing. Use a disk that does not contain data of your interest!
After setting the origin and destination, we start the copy: we reward the button with the mouse START!
The XCopy program copies track by track. Meanwhile, the Gotek shows the track number that is read.
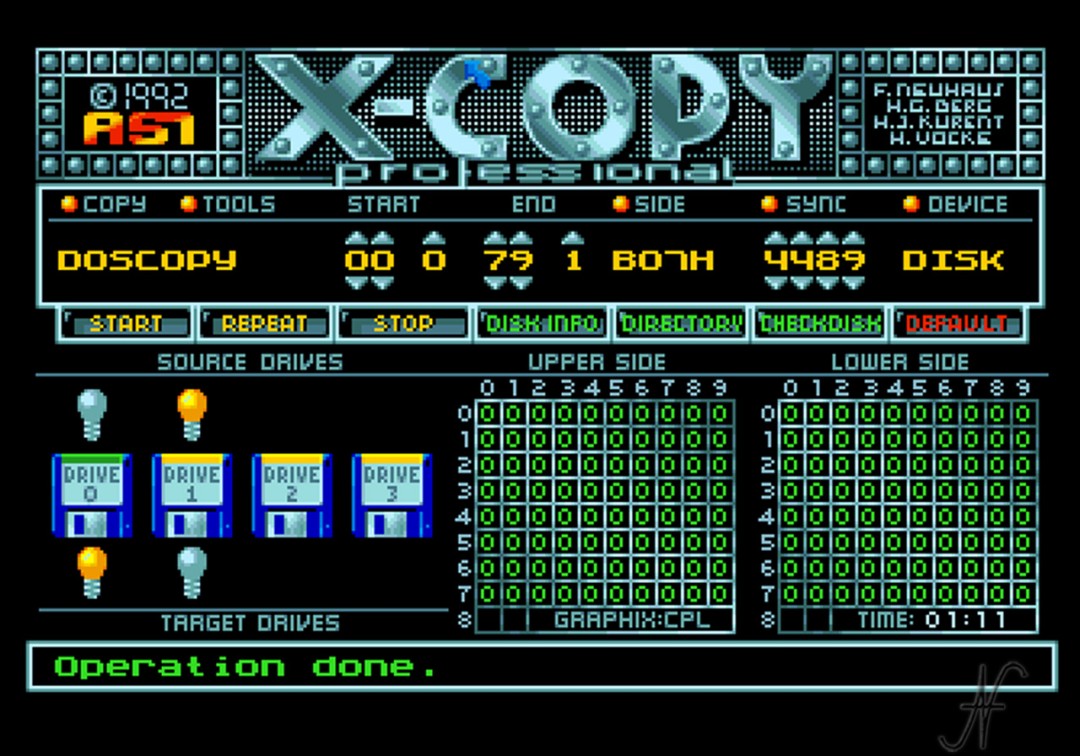
Dopo aver copiato tutte le tracce, X-Copy Pro mostra l'avviso "Operation done", ad indicare che la copia è stata eseguita correttamente.
To test if the copy was really successful, we can restart the computer (through the key combination Control + L.Amiga + R.Amiga) and check if the computer starts the diskette.
I like this software!
Me too!