Do you have the disassembled PS4, why did you clean it, and you don't know how to reassemble it? Have you changed the thermal pasta because the PS4 Pro fan was noisy? Have you replaced the battery? Well, after seeing how to disassemble the PS4 Pro and how to make the internal maintenance, before doing any damage, let's see how to re-assemble the PlayStation 4 Pro.

First, I hope you have followed my advice to store the screws near the corresponding crankcases. In this way, you will find them divided and you will not forget to screw even one.
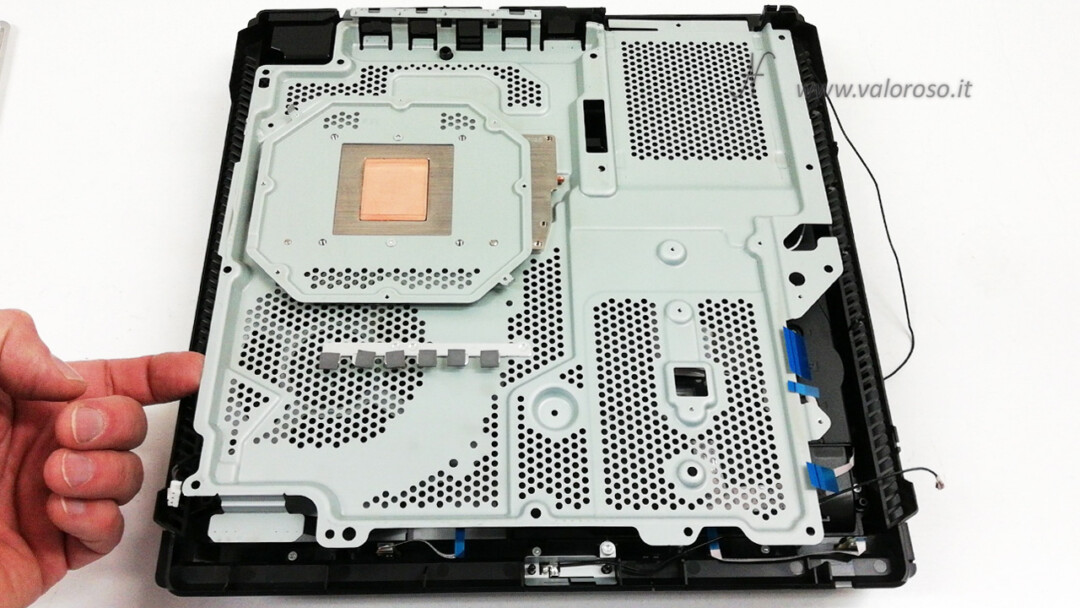
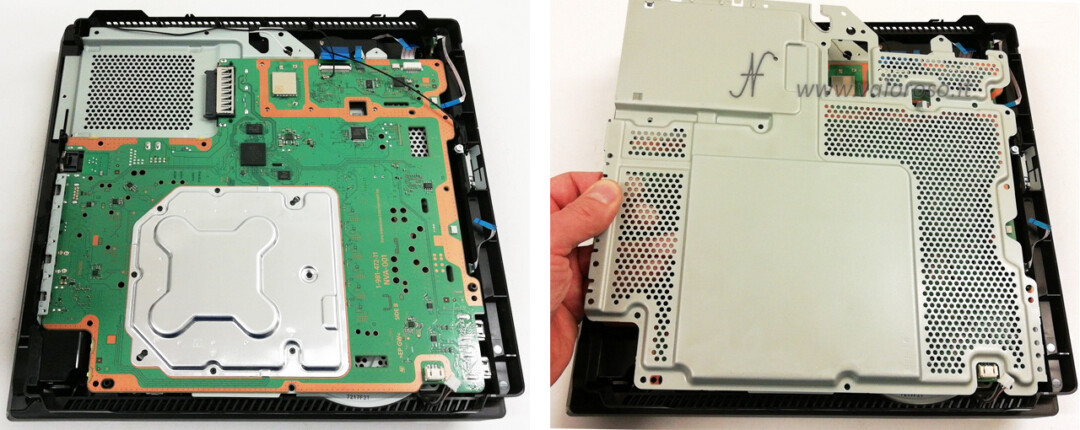
We begin to reassemble the metal plate, the central one that contains the heatsink, following the right orientation. We take care not to crush the cables of the CD, DVD, BD player, as well as the other cables surrounding the plate on several sides.
The CD player, DVD, BD is already reassembled: we had removed it only for experiment, not for real necessity!
Reassemble the PS4 Pro motherboard
Now, let's take the motherboard of the PS4 Pro, where we have already spread the thermal paste on the CPU. We check that the thermal pads are present at the individual power chips.

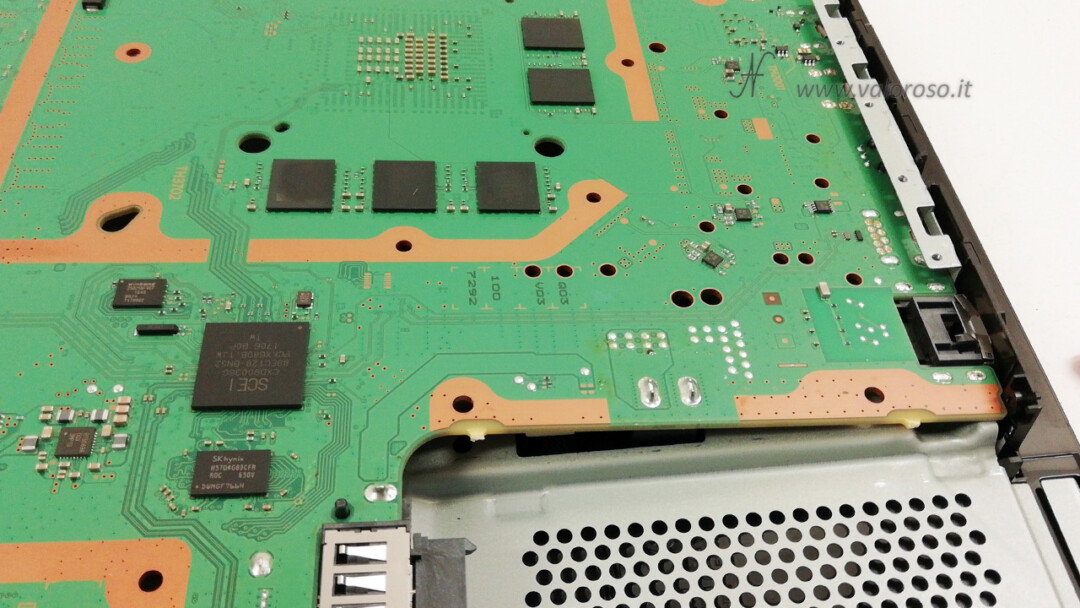
If everything is in place, we can rotate the motherboard, placing it on the plate, holding the CPU at the heatsink.
The following image is not to be taken into consideration. If you have not removed the power supply, you will find yourself in difficulty, so that you will have to reconnect the slats and the connector, but without space to work with your fingers. For this reason, I recommended you, in the article on how to disassemble the PS4 Pro, to remove the power supply on the other side.
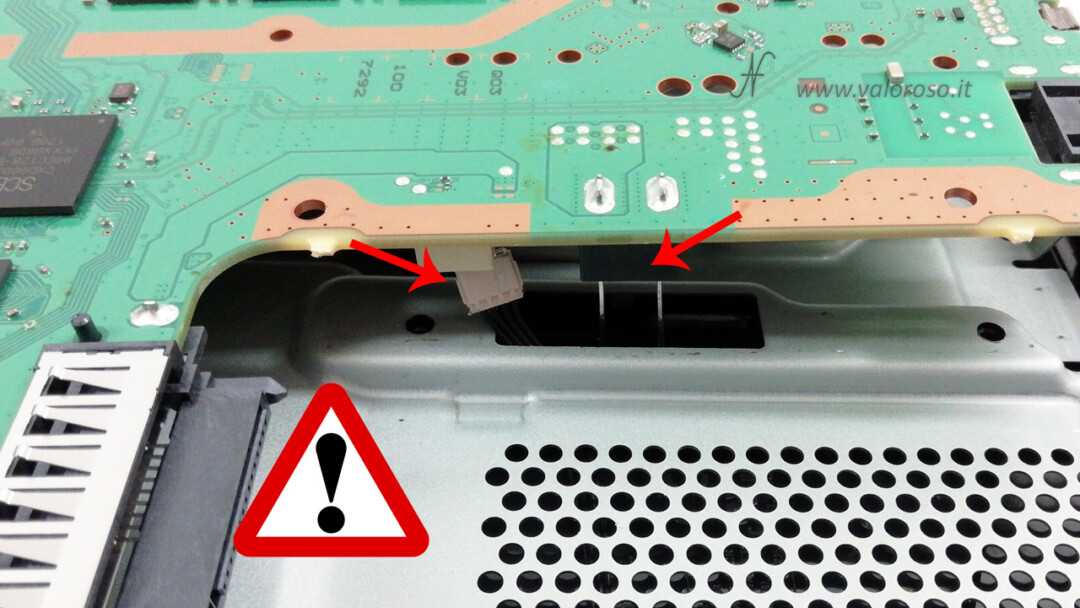
Let's continue and see how to re-assemble the PlayStation 4 Pro. We place the motherboard on the plate, with the CPU at the heatsink. Let's first thread it from the back side, the one with the USB ports.
We make sure that all cables and connectors are not crushed by the mainboard.

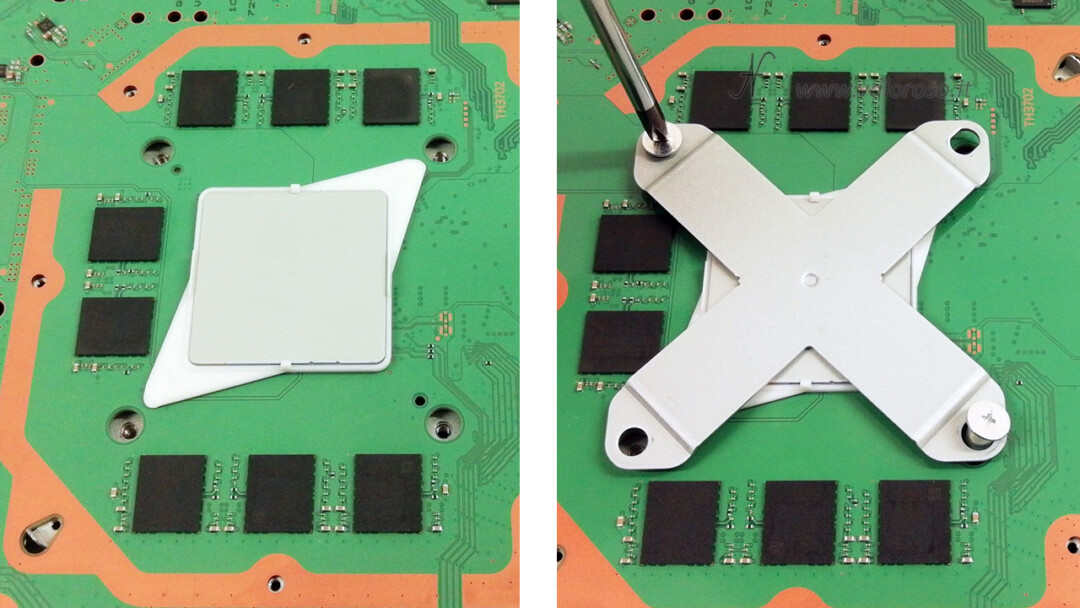
We restart the lower support of the CPU. First we place the spacer, then mount the X-clamp. Finally we screw the 4 star screws. We screw one diagonal at a time, until we tighten, firmly, but gently, all 4 screws.
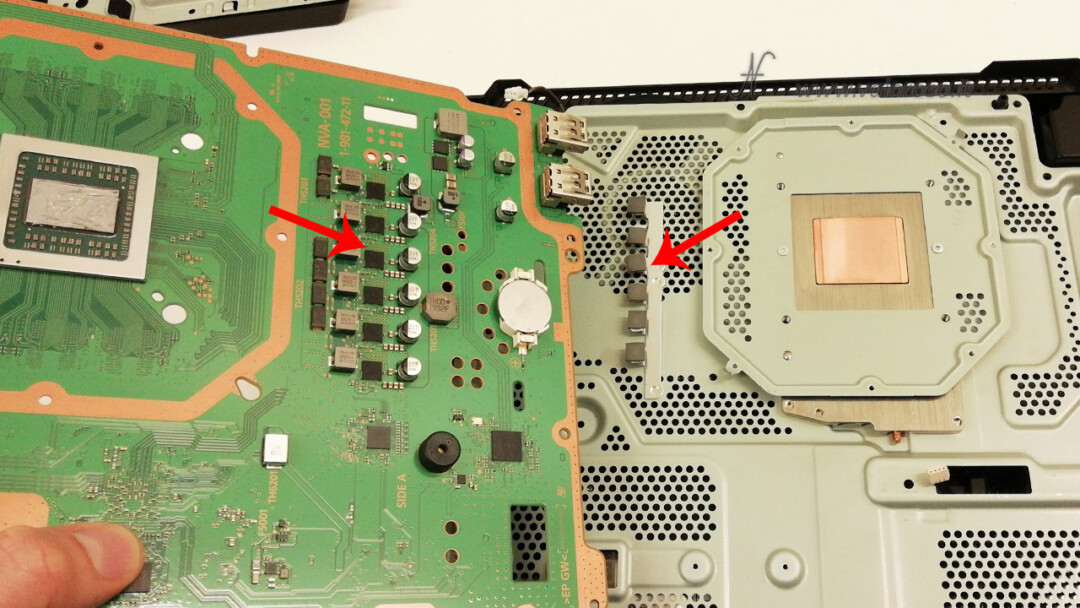
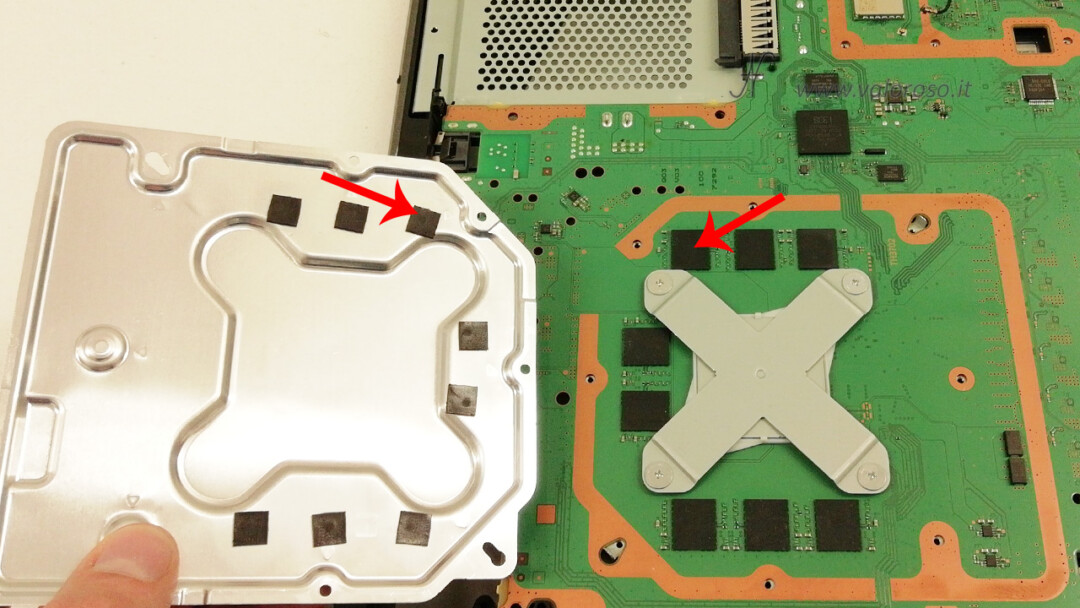
Before reassembling the metal screen that covers the GDDR5 RAM, we verify that all the cooling thermal pads are present. The thermal pads must be at each RAM chip.
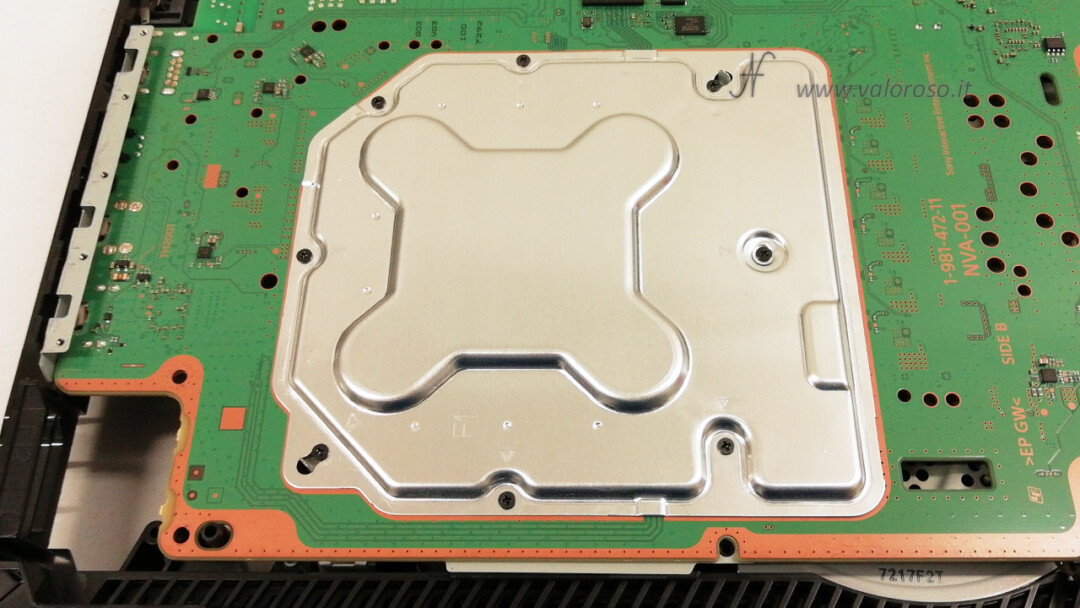
Now let's screw back the small black Philips screws.
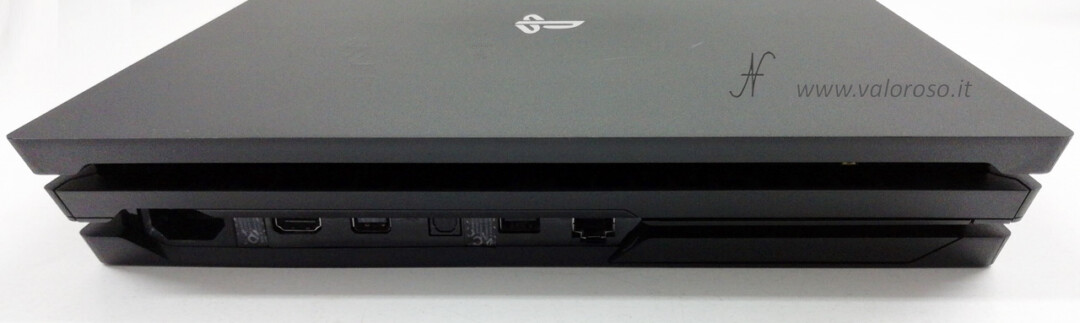
How to re-assemble the PlayStation 4 Pro: the power supply
We can rotate the console to reassemble the power supply. The connector and power sheets are clearly visible. We pay attention that the slats are straight.
Before reassembling the power supply, if you are particularly zealous, you can spray a little inexidant for the contacts at the connector where the slats of the motherboard are put on.
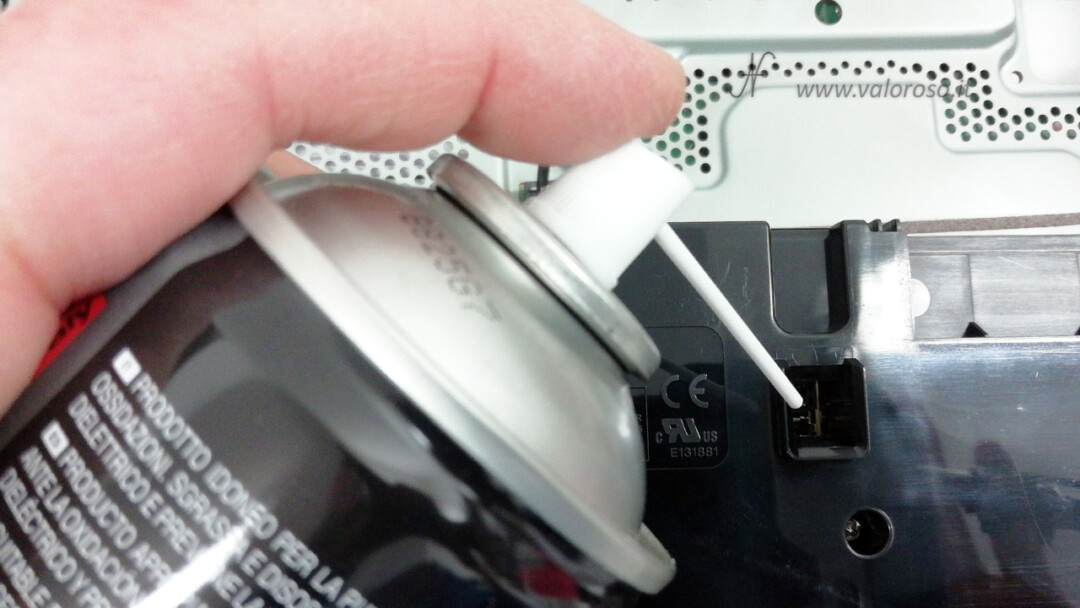
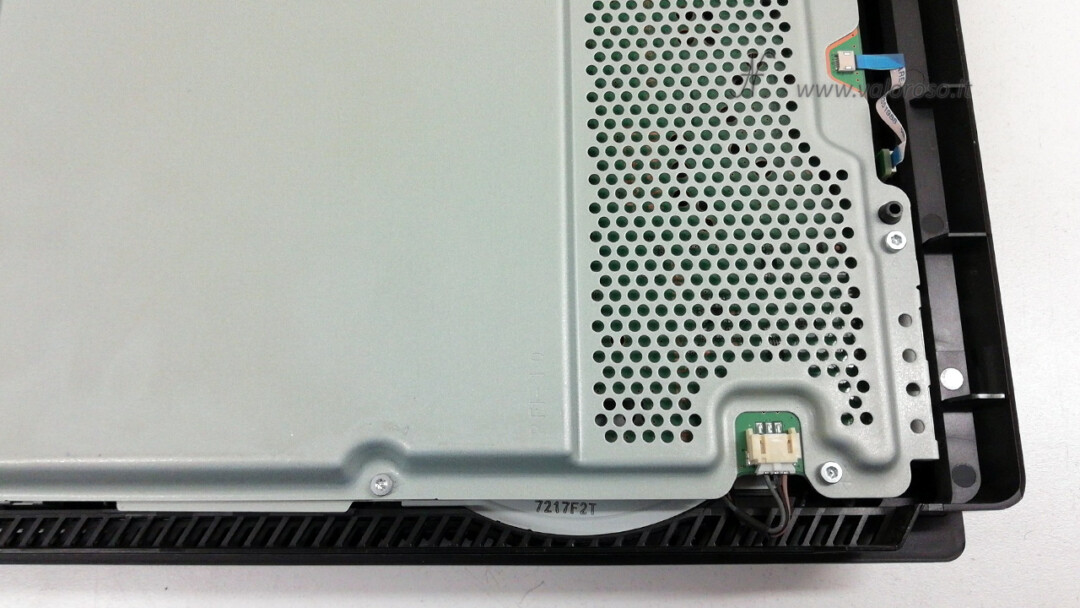
We reconnect the small 4 -pole cable of the PS4 Pro power supply.
We install the power supply, positioning it in the correct direction and inserting it vertically. In this way the power slats will be inserted, without bending.
We screw the 5 torx T9 screws again, taking into account that they have different lengths, as we have seen in the first article.
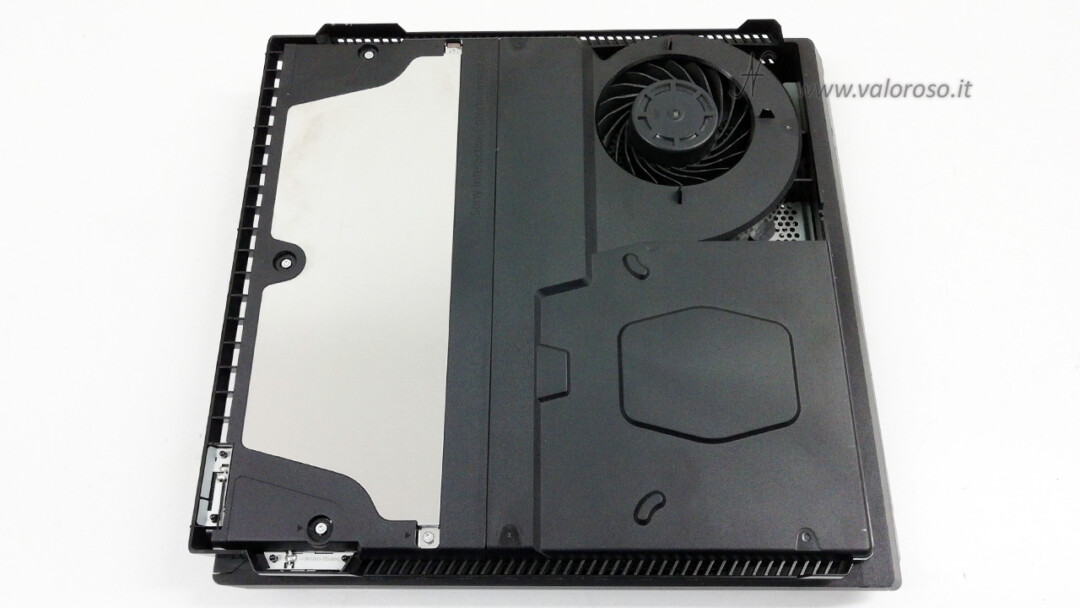
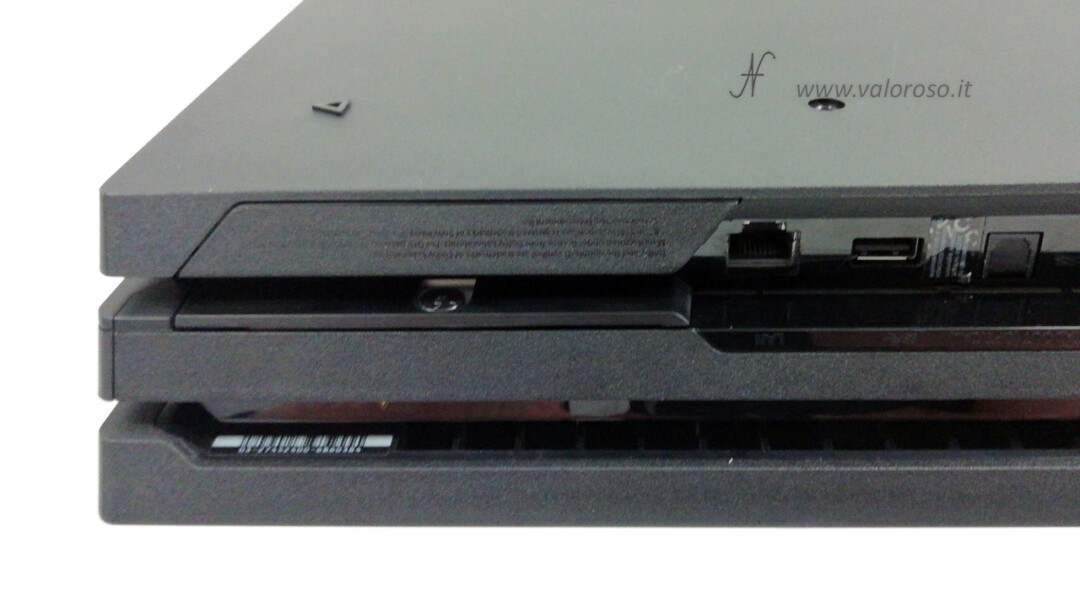
Reassemble the PS4 Pro's metal screen and connectors
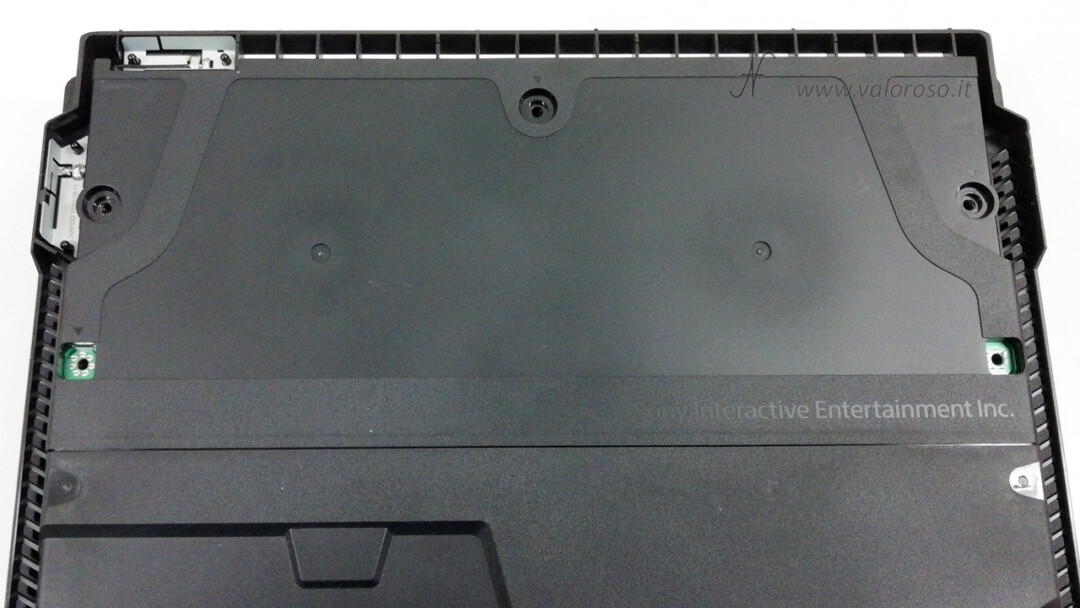
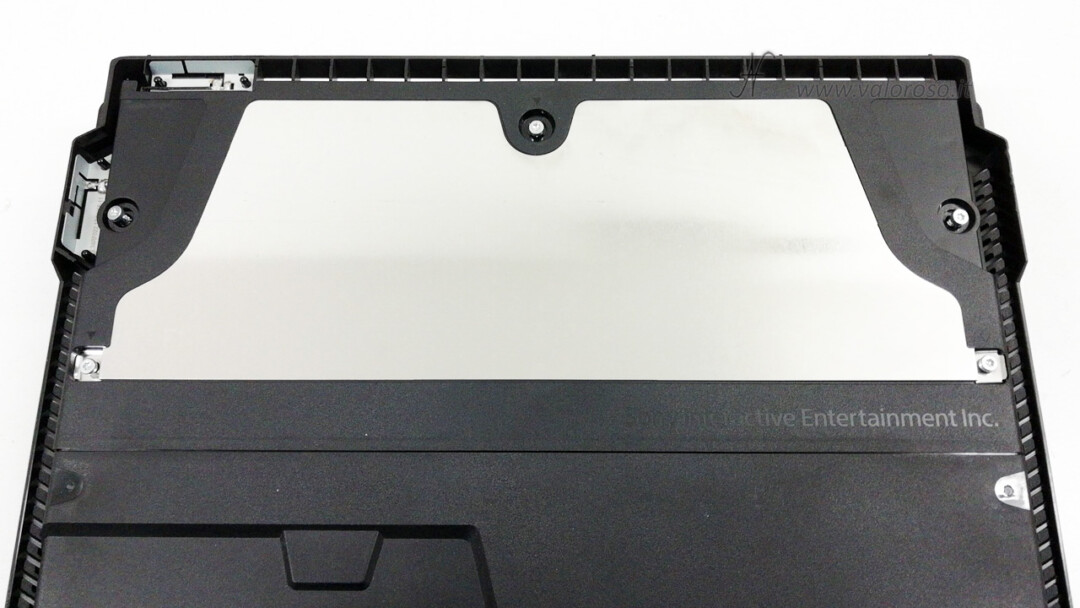
We rotate the console again and place the metal casing on the motherboard of the PlayStation 4. Care must be taken not to crush any cables or connectors.
We can now connect the cables. Smaller flat cables plug into the connector, simply by threading them. With regard to the wider cable of the CD, DVD, BD player, before inserting it, you must make sure that the connector tab is open (in an upright position). The tab must be closed after placing the flat cable.
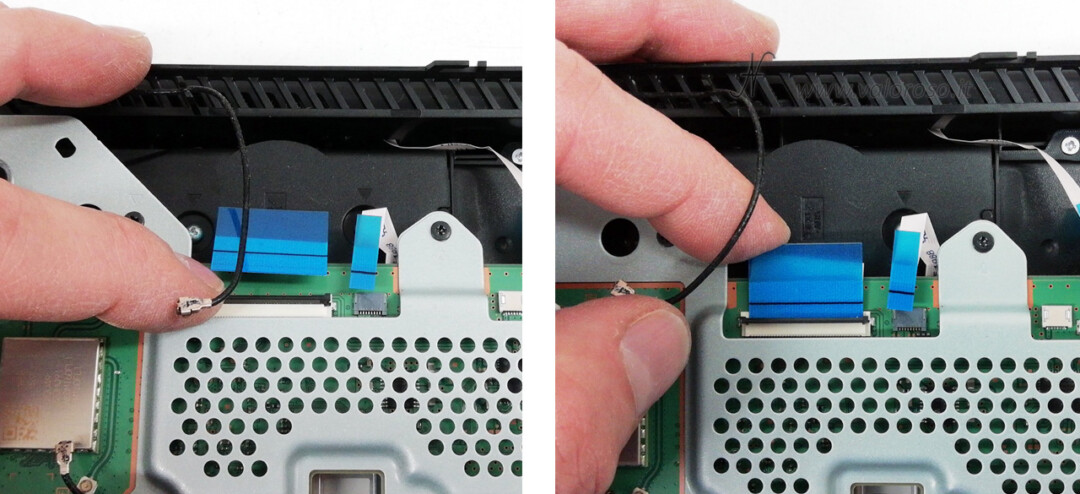
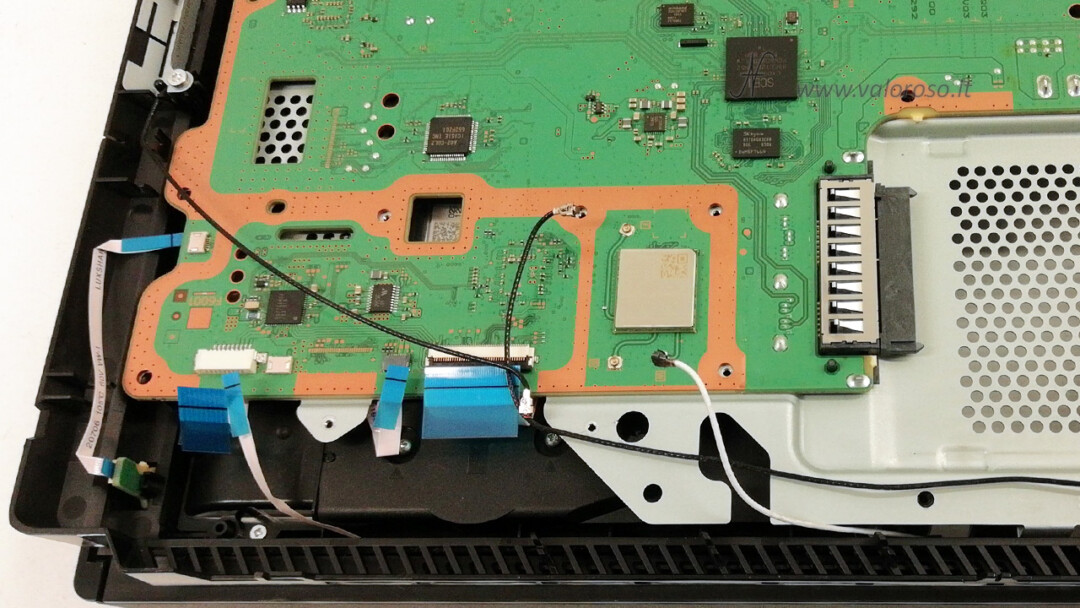
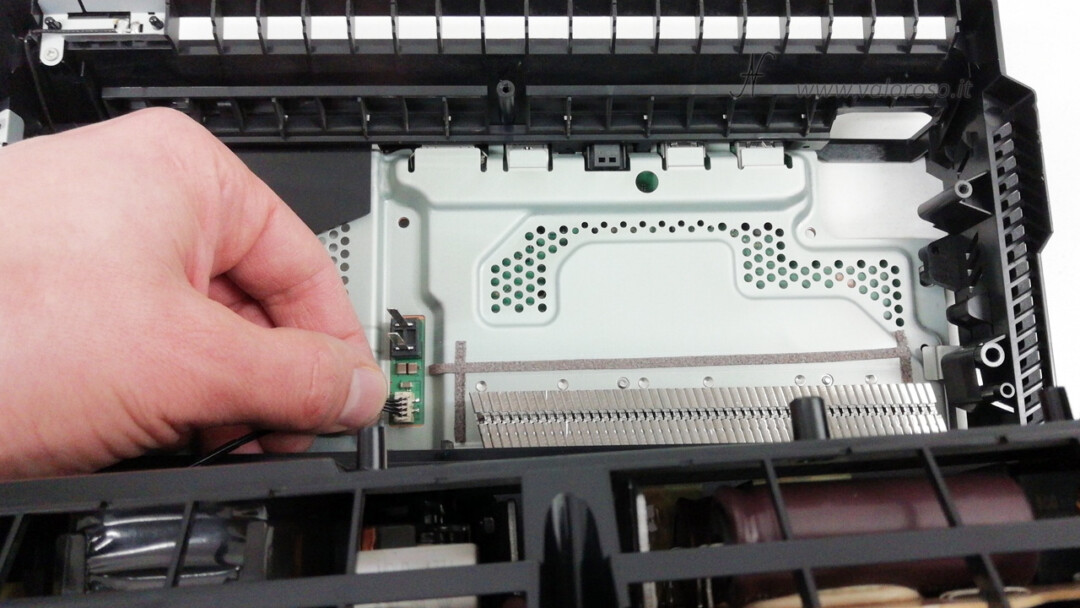
We fix the coaxial cables of WiFi and Bluetooth in the respective clips.
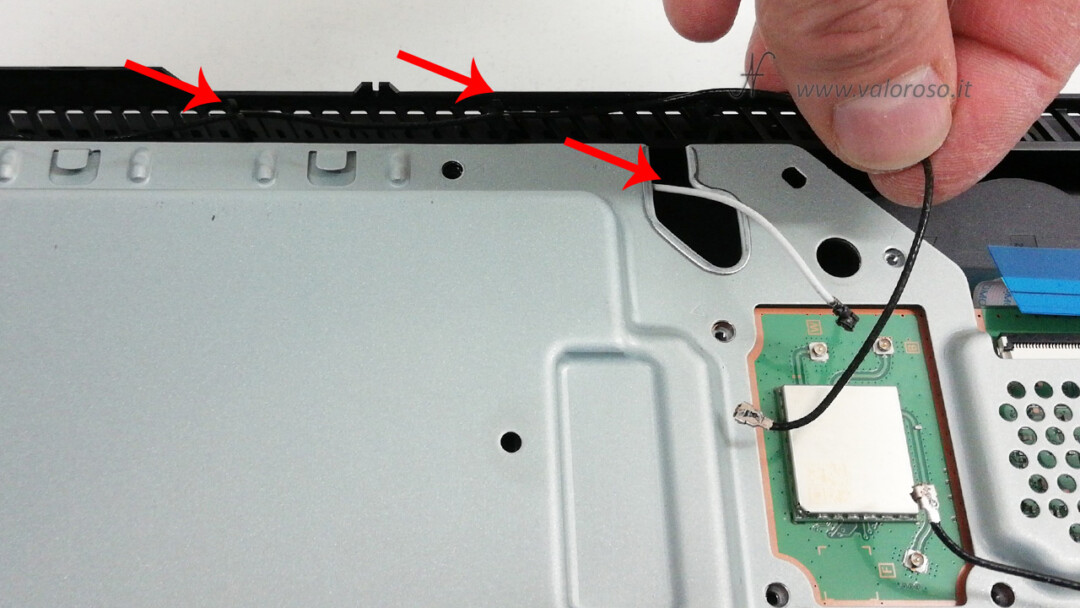
The small U.FL connectors of the WiFi and Bluetooth cables fit into their respective housings, pressing them vertically. We still check that the cables pass in the respective passage clips.
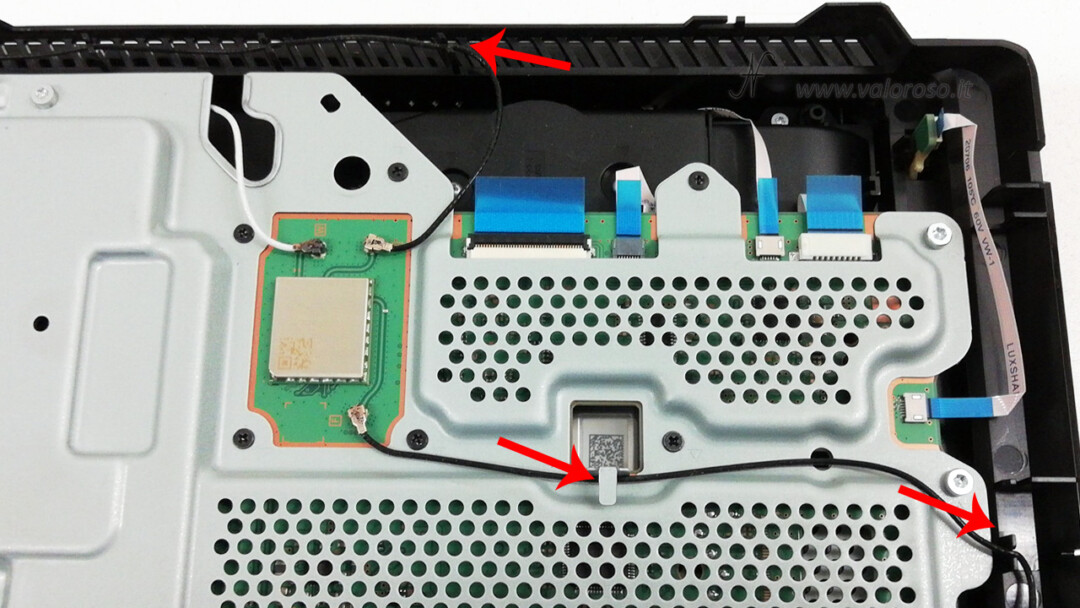
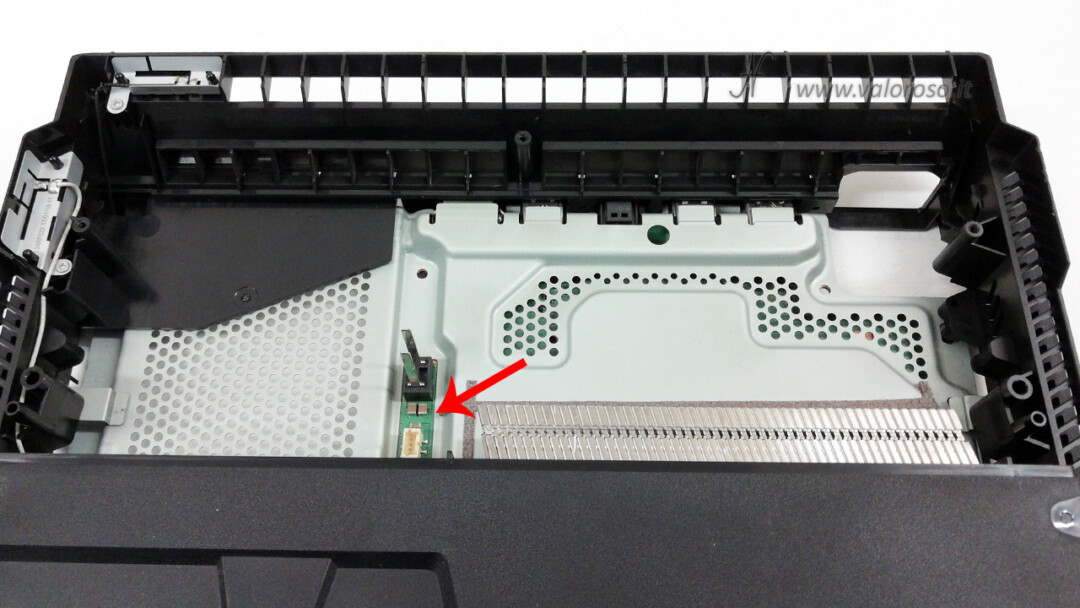
There are still a couple of connectors to reconnect, including that of the cooling fan.
Perfect! The PS4 Pro is almost ready ...
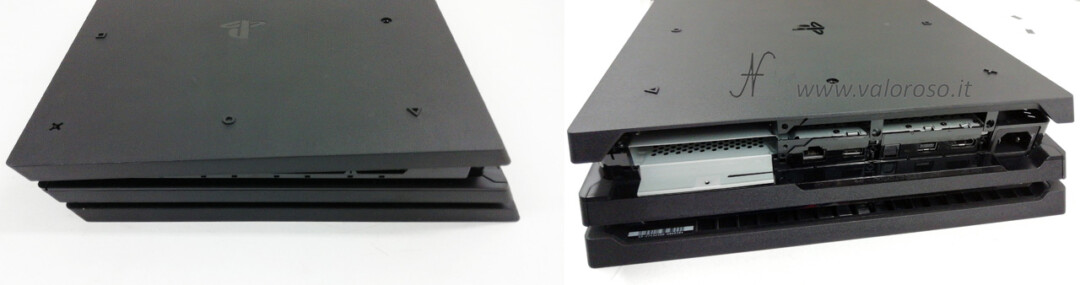
Reassemble the plastic crankcases of the PS4 Pro
To reassemble the top cover of your PS4, first insert it from the back of the console.
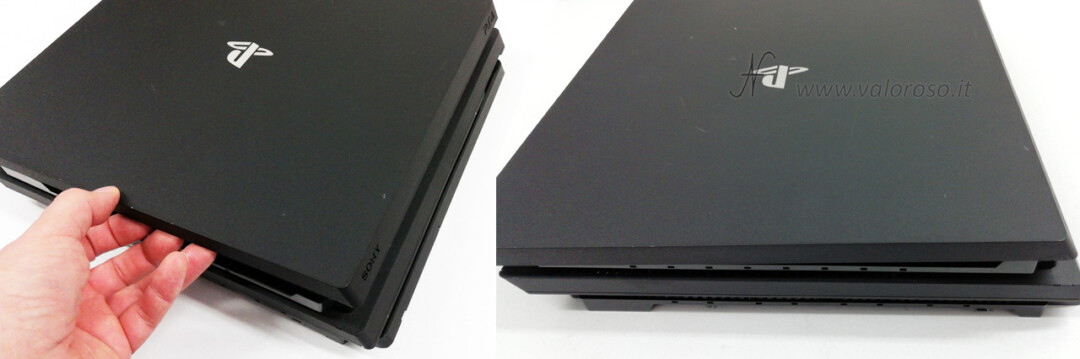
When it is in place, you can press it so as to fit the fixing clips.
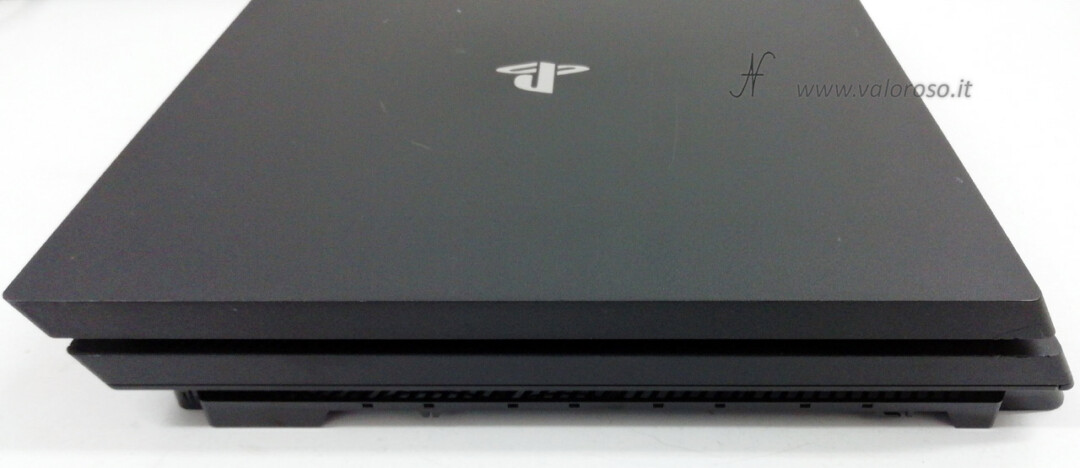
Same goes for the lower lid. It fits first in the front of the console, then, when it is in place, you press to frame the clips. Be careful not to break the vines (those where the warranty stickers were)!
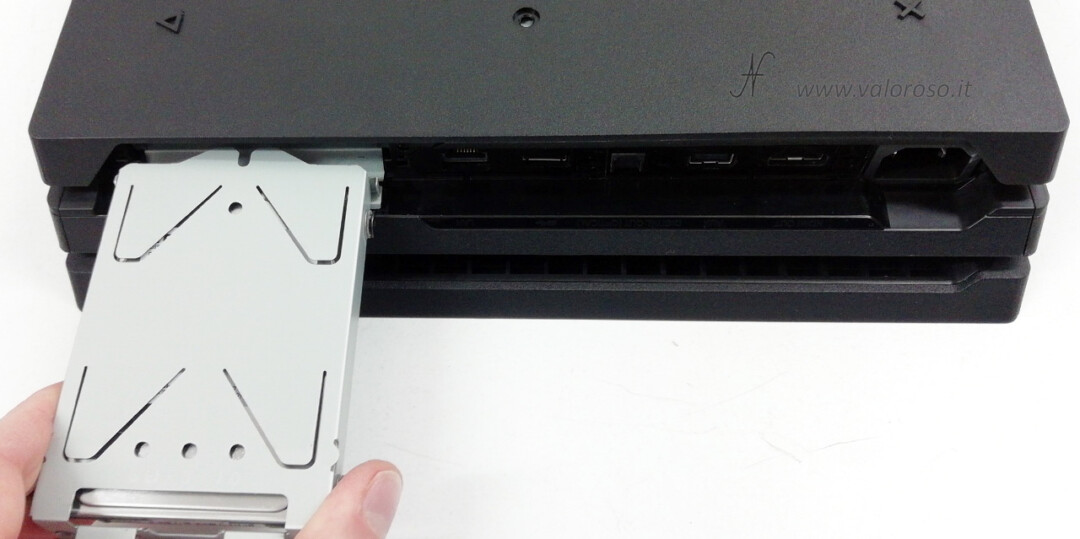
Insert the hard disk of the PlayStation 4
And here we are at the final steps. Now you know how to re-assemble the PlayStation 4 Pro! We insert the hard disk in the appropriate compartment, with the connector facing the console inside.
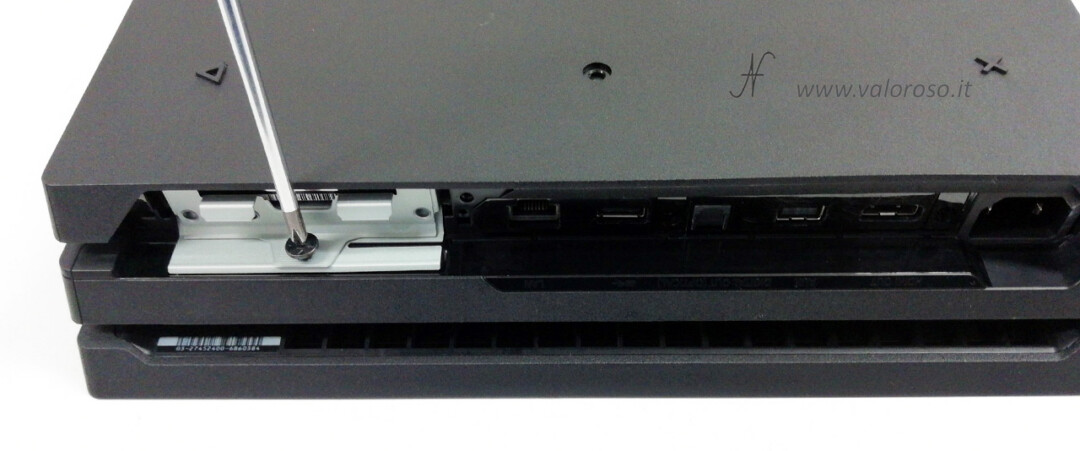
We restart the star screw of the hard disk drawer.
Now, we can screw back the 3 torx T9 screws. When the screws are screwed, we can put the two warranty labels back.
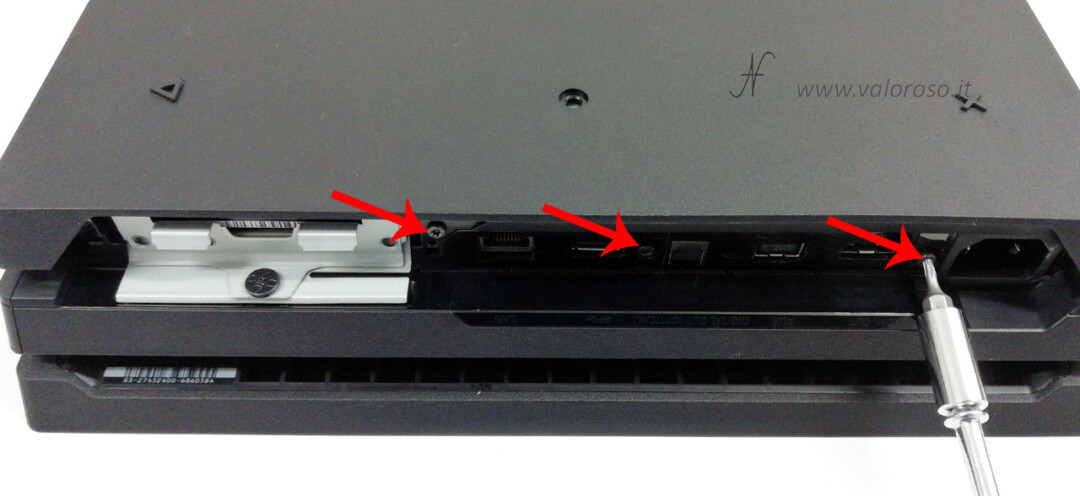
The lid of the PS4 hard disk drawer lid is missing.
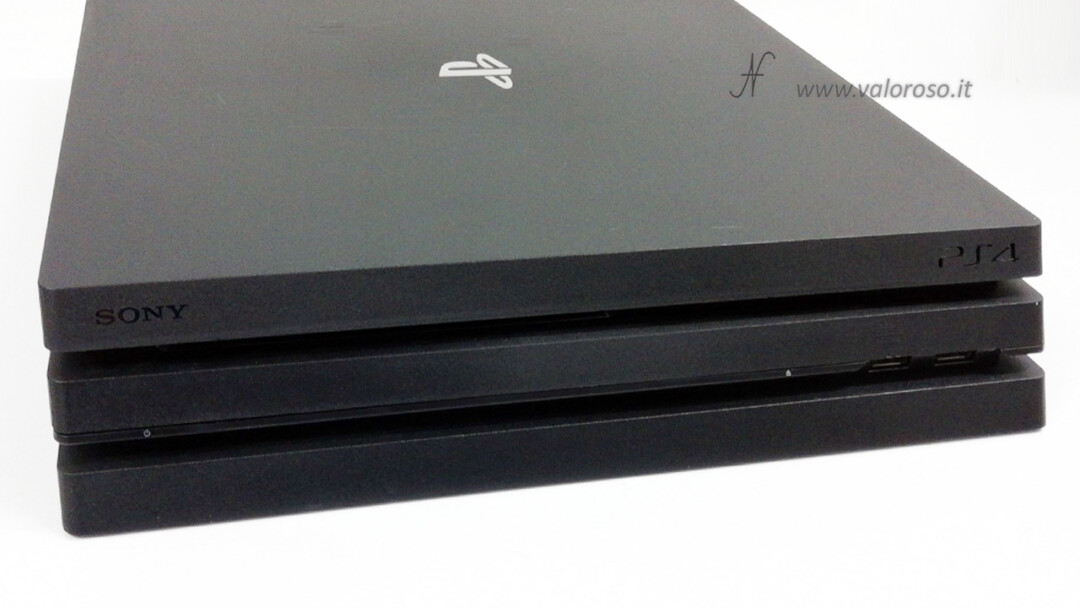
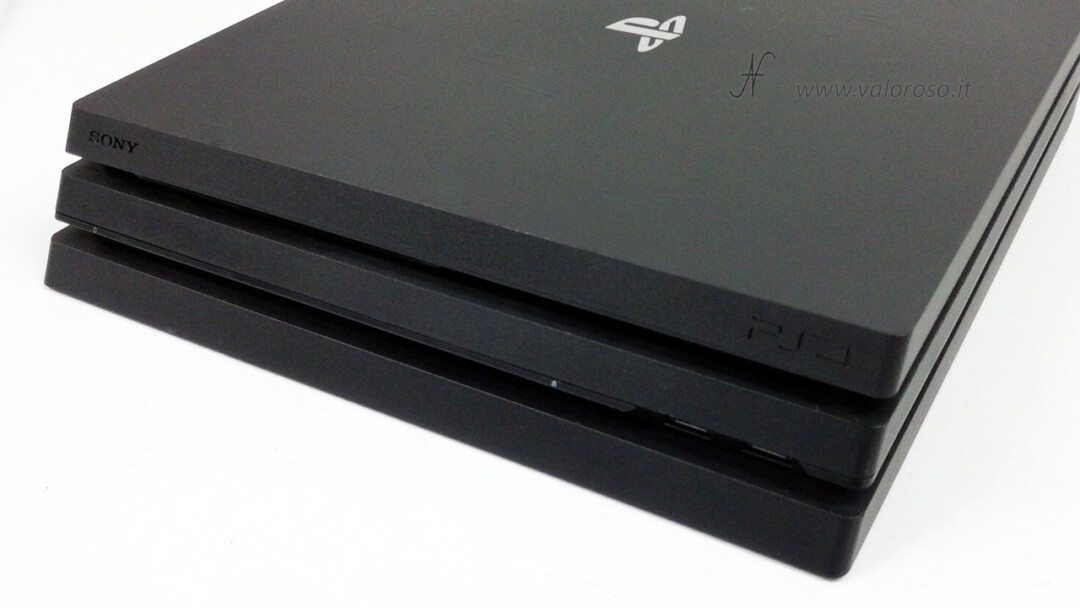
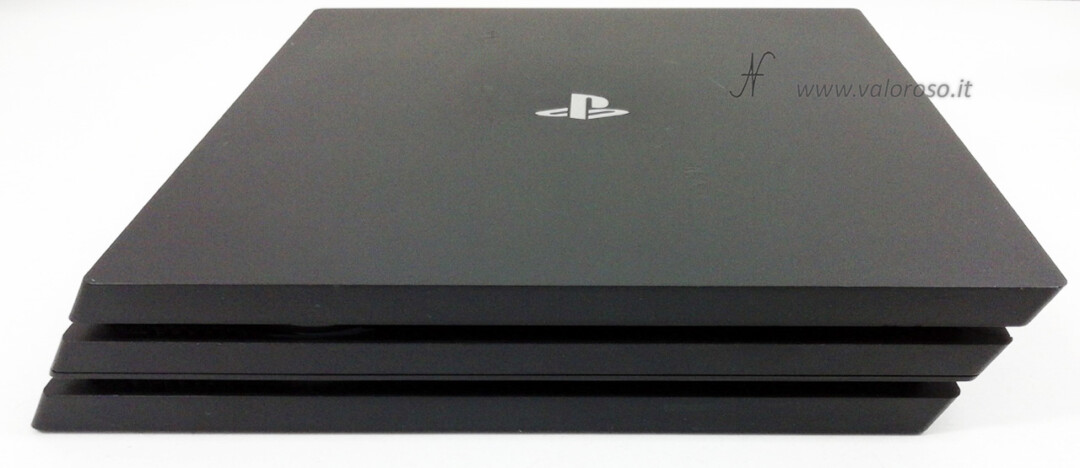
Really a great result!
Il risultato è stupefacente: la console Sony PS4 Pro sembra "quasi" nuova! La ventola non fa più il rumore di un aeroplano e accelera solo quando necessario, per poi tornare ad un numero di giri limitato.
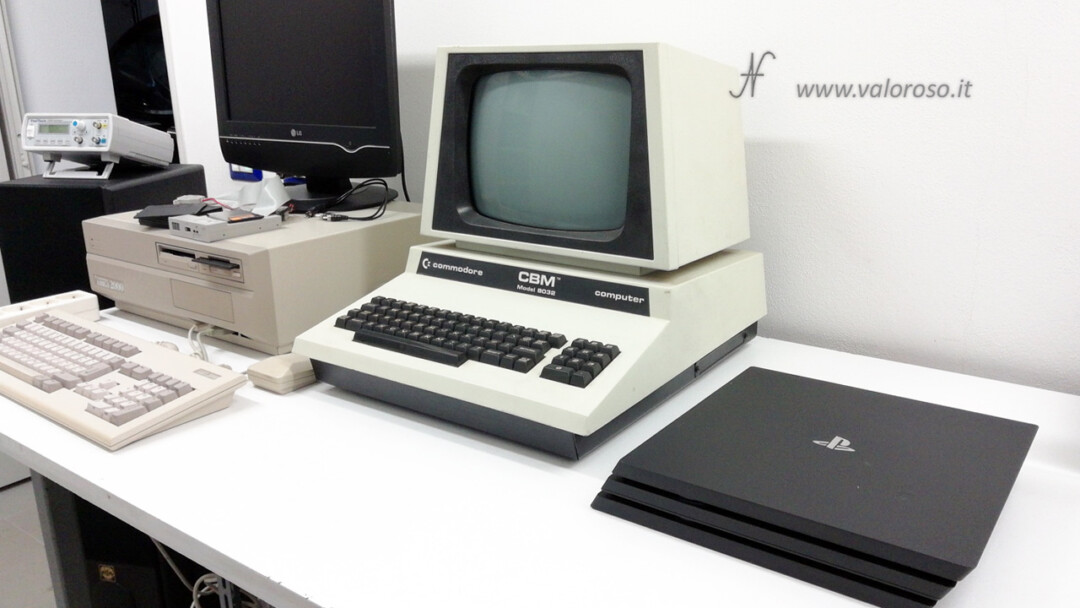
Ed ecco una foto "di famiglia", con la PS4 insieme ai suoi nonni!