In this article I show how I restored an original Competition Pro joystick (dated November 1990), starting from a dirty specimen with some directions not working, up to the final test on a Commodore 64 with dedicated software.

The joystick is not the modern Speedlink Competition Pro Extra with USB port, but the original of the time, with DB9 pin connector.
This is what the Competition Pro 5000 joystick looked like
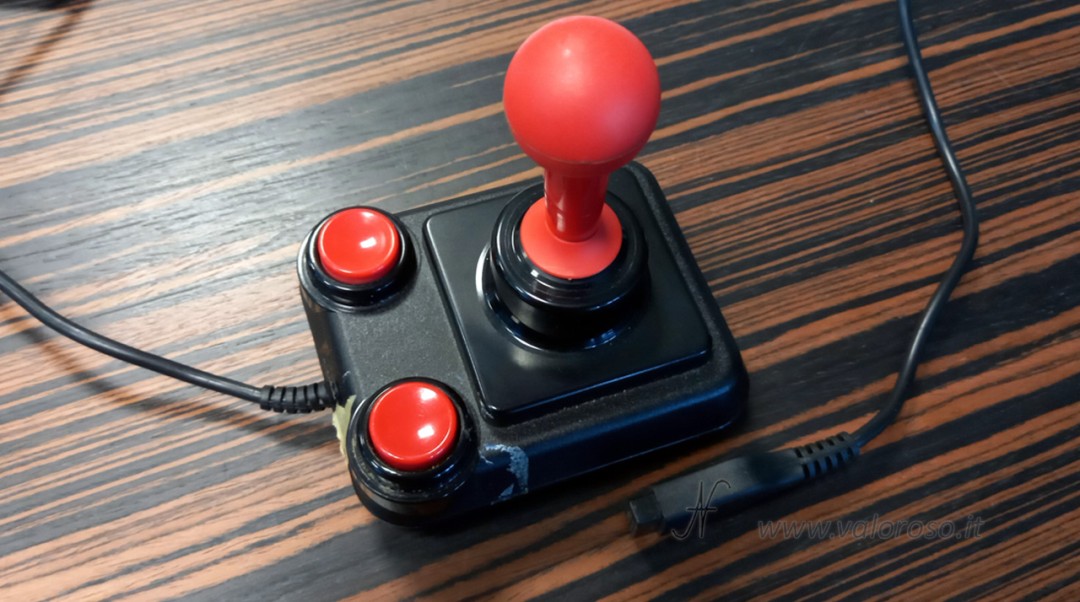
Before restoration and repair, the Competition Pro 5000 joystick was complete, but with obvious signs of use. There was scotch tape on the case which had left a sticky film. Luckily the tape wasn't an attempt to replace a broken screw: I found no structural damage to the shell or internal supports.
Regarding operation, the joystick appeared unstable on the firing button: sometimes it worked, sometimes it didn't. Furthermore, some managements were not responding.
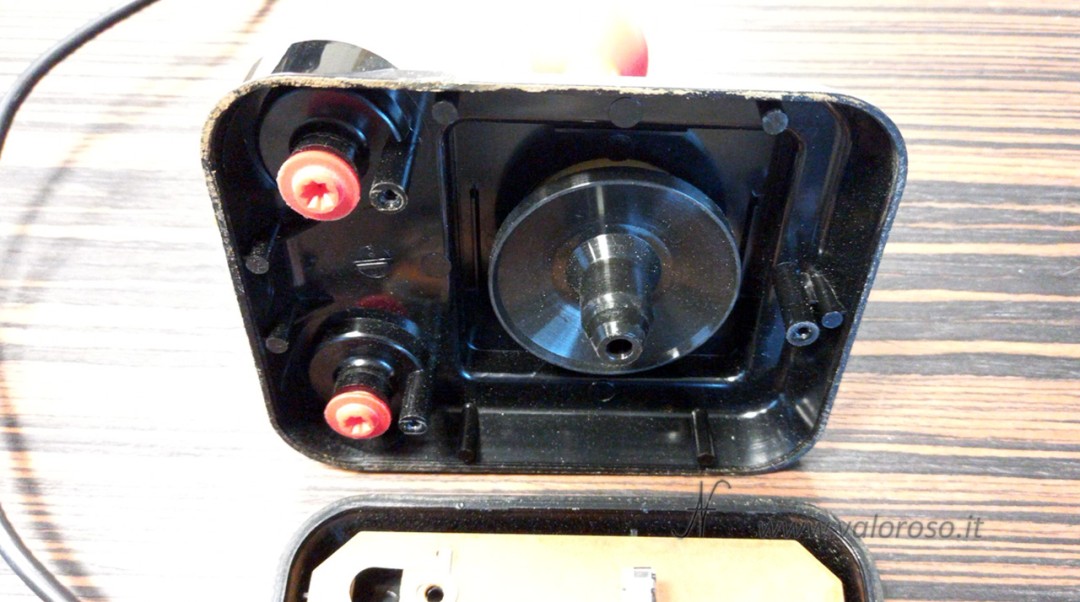
Opening and first inspection
Opening the joystick, the first thing I noticed was the internal dirt: dust and residue accumulated over the years, especially in the upper half of the case and around the lever area. This is one of the reasons why I always prefer complete disassembly: even if it seems acceptable on the outside, inside is often the worst part of the dirt. Nothing sensational, however: I've seen much worse!

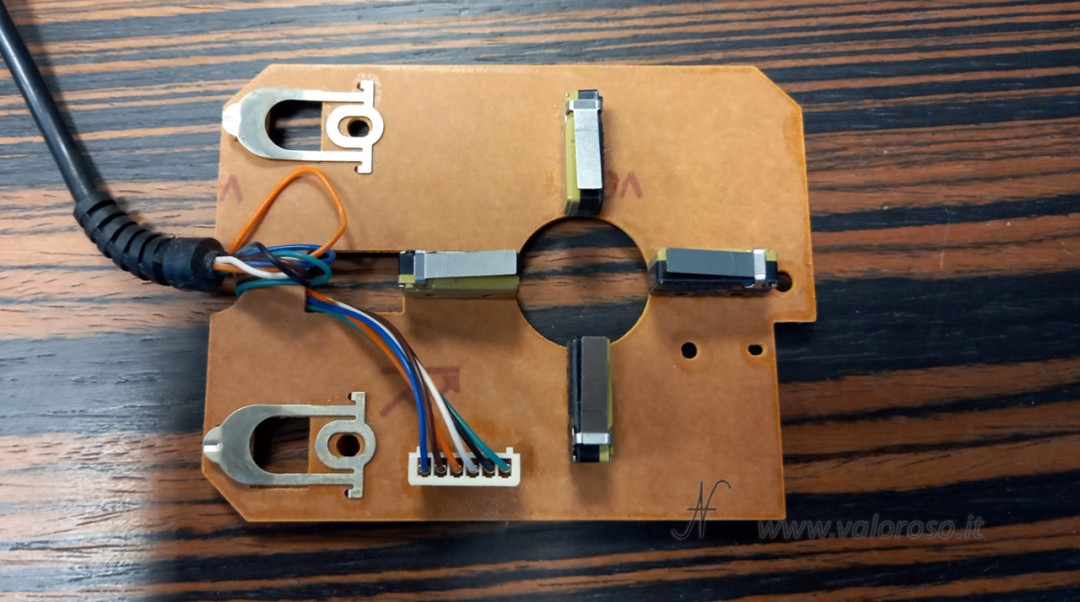
Regarding the board: here you can clearly see the direction microswitches, arranged in a cross around the central hole of the lever, and the contacts/blades of the buttons.
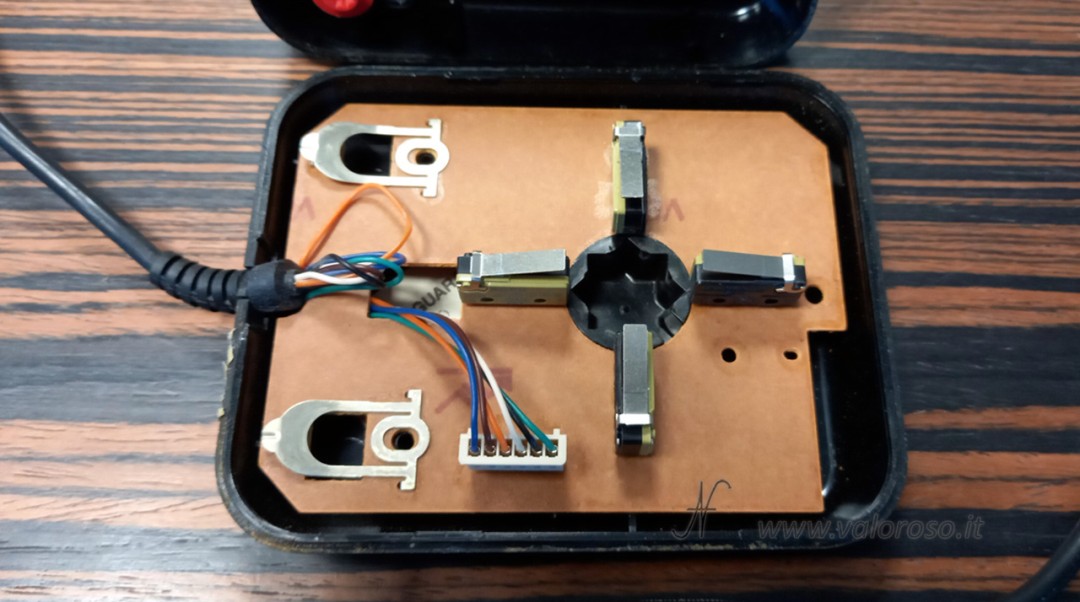
The problem was right here: two microswitches didn't work, so some directions were dead or intermittent. The slats of the shot were oxidized, so they only worked if pressed with energy.
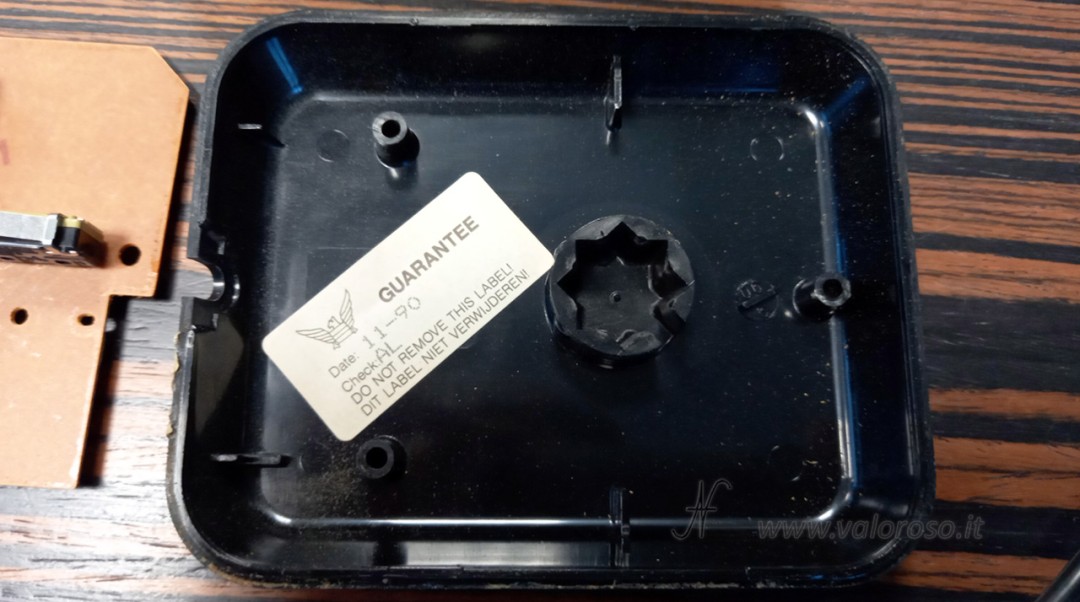
Internal label with date and quality control
Inside the back shell I found the “GUARANTEE” label with the details: Date: 11-90 and Check: AL. It is a detail that I like to document in photos, because it is a useful clue for placing the specimen in time and for keeping track of the originality of the components.
Cleaning and deoxidation of the Competition Pro microswitches
After separating all the parts, I washed and degreased the plastics well (and above all I patiently removed the residues of the scotch glue, which is the most tedious part because it spreads on the plastics).

Regarding the electronic part, I concentrated on the microswitches: to deoxidize them I sprayed contact deoxidizer inside, passing it through the hole where the internal button of the microswitch is located. To reach that hole I had to remove the metal lever, otherwise I wouldn't have reached the right point. Then I repeatedly operated the microswitches to make the internal contacts work with the flux. This step, in my case, was decisive: the two microswitches that were not responding started working again.
The same repair was done to the fire contacts: I gave them a good cleaning with deoxidizer. Being visible and reachable, I was able to use a rag to vigorously rub the parts that close the electrical contact.
Other useful texts…
On the back of the card you can clearly see the silkscreen: 22-3120 S. T. C. ROTTERDAM. This is also a detail that I always photograph, because it helps to recognize the variant of the card and compare it with other examples over time (when the same model comes back into my hands).

Test on Commodore 64 with Game Controller Tester
Once everything has been reassembled, we can finally move on to practical testing. To check directions and buttons, I use Game Controller Tester V1.0 (2019) by RetroComputation: it is a tool designed specifically to clearly check the status of the controllers connected to the Commodore 64.
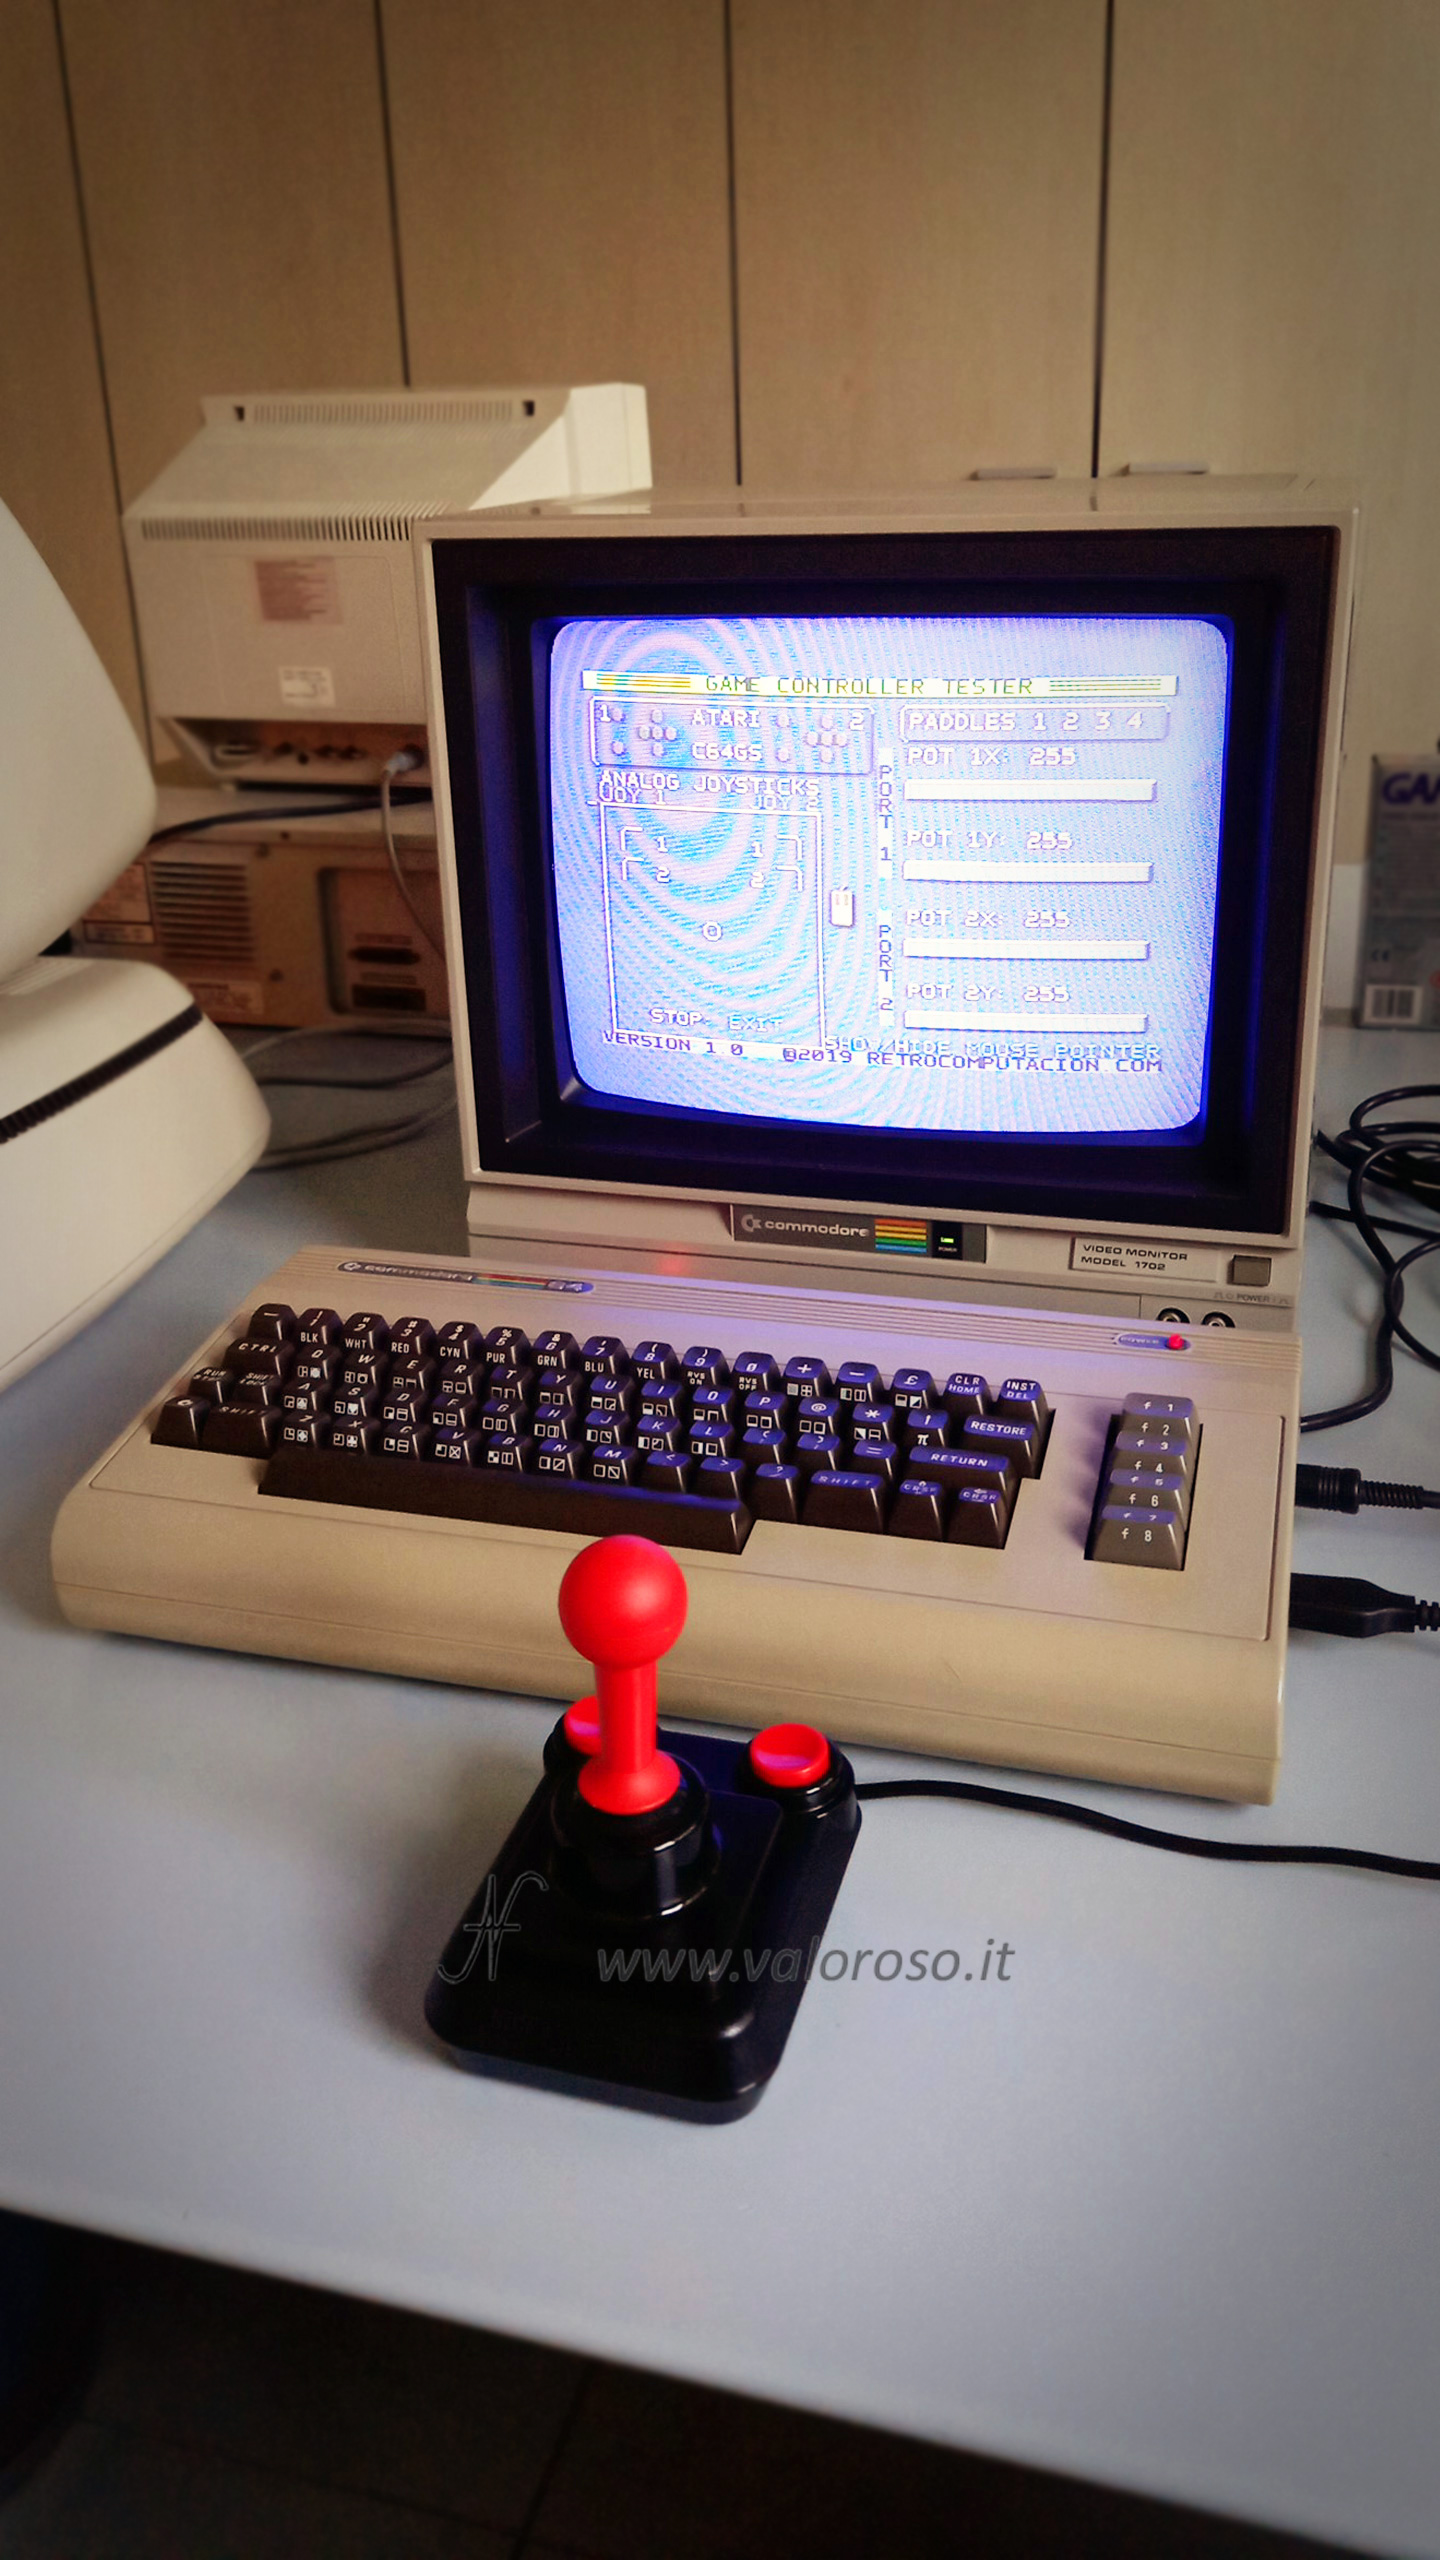
With this test I verify that each direction is detected correctly and that the buttons respond without hesitation. After cleaning and deoxidation, the joystick is finally stable: no more missing directions and safe shooting.
Obviously... a game with Ghosts'n'Goblins couldn't be missing! I was passionate about the game (as passionate as a non-gamer can be...) and I forgot to take the photo!
Follow me @ValorosoIT for other restorations, tests and guides dedicated to retro computers and vintage electronics.