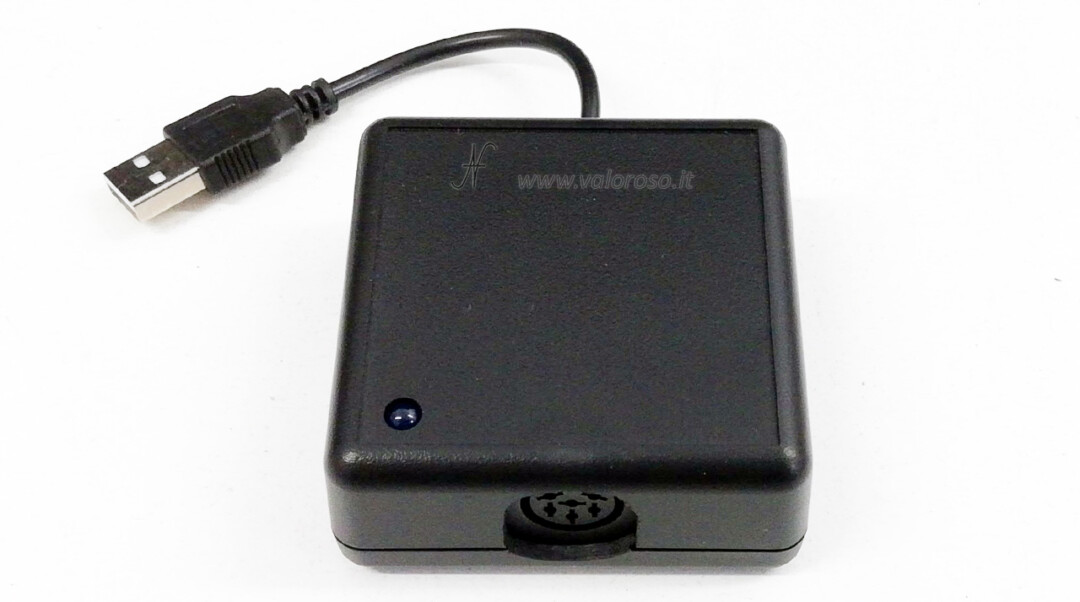
I ordered an XUM1541 mounting kit on eBay. This interface allows you to connect the drive Commodore 1541 original (with IEC port) to the USB port of a Windows PC (also Windows 10). In this video tutorial, let's see how to build a XUM1541.

This new kit replaces the old X1541, XM1541 and other cables… that connected to the PS / 2 or parallel port of the PC. In fact, it is very likely that a modern computer does not have such ports.
In a Previous Video, I had already explained how to solder the electronic components on the printed circuit board, in complete safety. We have seen all the necessary tools, how to choose the temperature of the soldering iron and how to clean the PCB after assembly. Today I don't repeat all those concepts.
Through appropriate software (OPENCBM, CBMXFER - CBM Transfer), you can check the Floppy Disk Drive Commodore 1541, connecting them directly to a PC, without going from the Commodore. In this article, we will see how to build an XUM1541, while, in a subsequent video, we will see how to install software on Windows 10 and transfer files (even virtual D64 disks).
How to build a XUM1541: we solder the components on the printed circuit board.
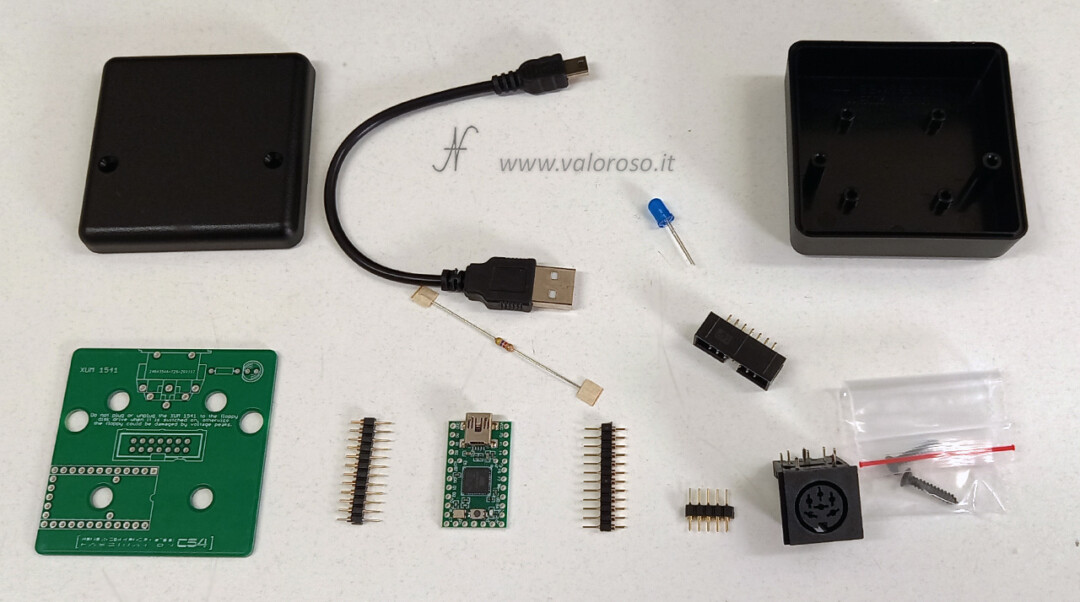
Let's see how to build a XUM1541. Inside the kit, which I purchased on eBay, there are all the electronic components to be mounted on the PCB. I also ordered the box to close the printed circuit board once assembled.

Let's start with the resistance, which is the lowest component. We try to mount it nice adherent to the PCB. Then we solder the two leads and cut the leftover with a wire cutter.
As suggested in the manufacturer's instructions, we continue the assembly with the header. This connector is for an optional parallel adapter, which I did not purchase. After positioning the header in the correct direction, we solder only two pins at opposite corners. Then we straighten it, pressing it while we heat the soldered pins again, so that it is well adhered to the printed circuit board. Finally, we can proceed to solder all the pins.
The assembly of the TEENSY 2 module requires some attention. The instructions suggest to mount the pinstrips with the flat part of the pin facing the PCB.
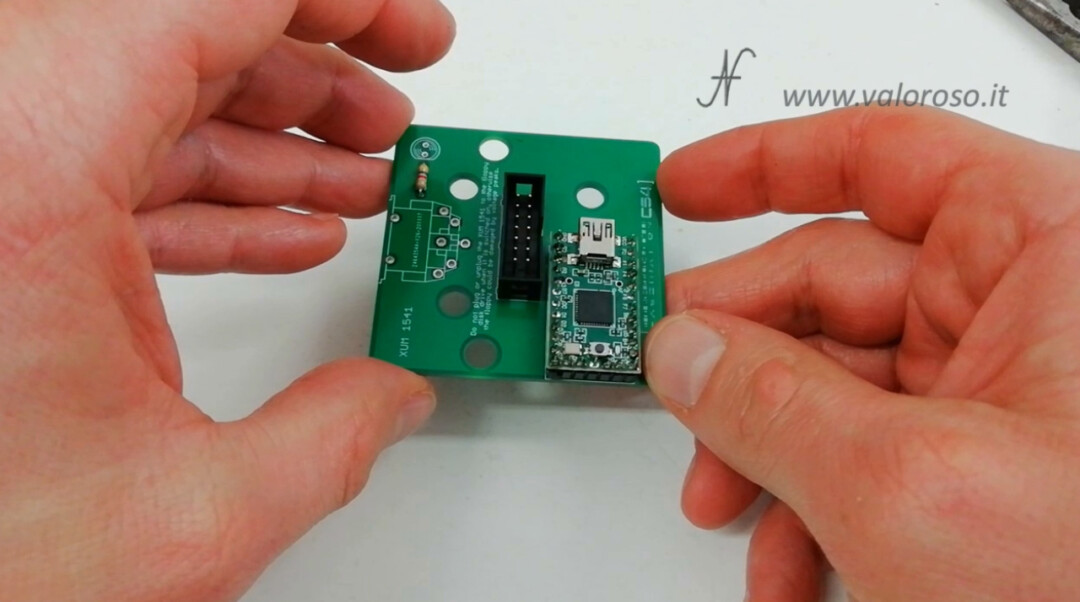
Without soldering anything, we begin to position the three strips of pins and place the module on top of them, in the correct direction. Next, we solder a pin for each strip, both at the top of the module, and at the bottom of the printed circuit board. By re-heating the three pins we have just soldered, both at the top and at the bottom, we bring the module as close as possible to the PCB, so that it is straight.

Only when the TEENSY2 module is straight, we can proceed to solder all the pins, both in the lower layer of the PCB and in the upper layer of the module.
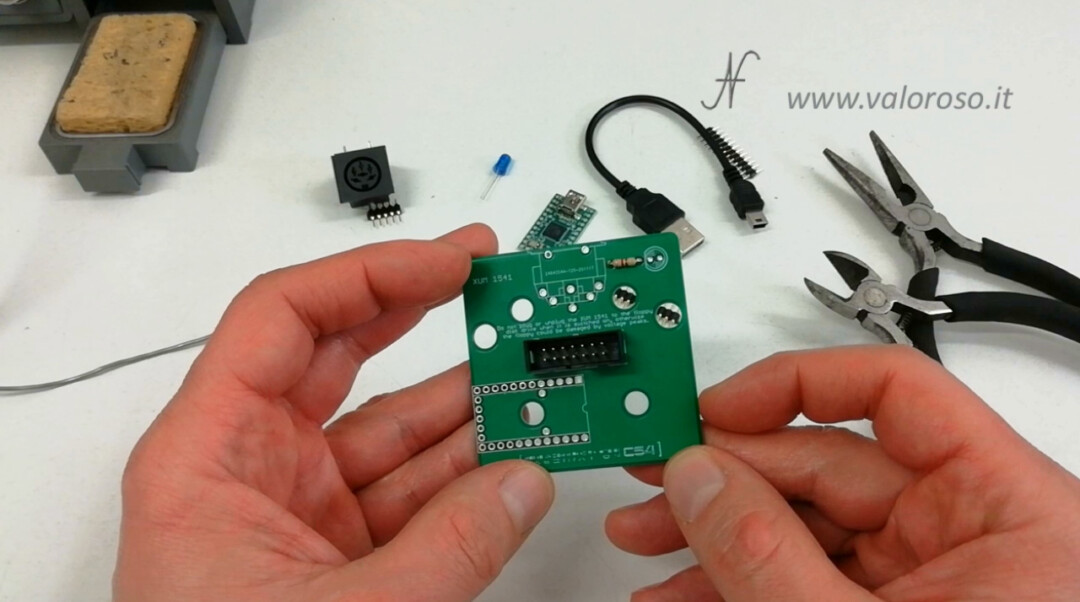
The penultimate electronic component to be mounted on the printed circuit board is the IEC connector. We start by soldering a couple of checkers, then we straighten the connector well so that it is nice to adhere to the printed circuit board. Finally, we solder all the pins.
As also indicated in the instructions on how to build a XUM1541, the connector is too high and must be shortened, otherwise the case cannot close completely. The upper plastic surplus must be cut with the cutter. Then you can proceed to file the connector to make it lower and smoother. In this way, the container can be closed.
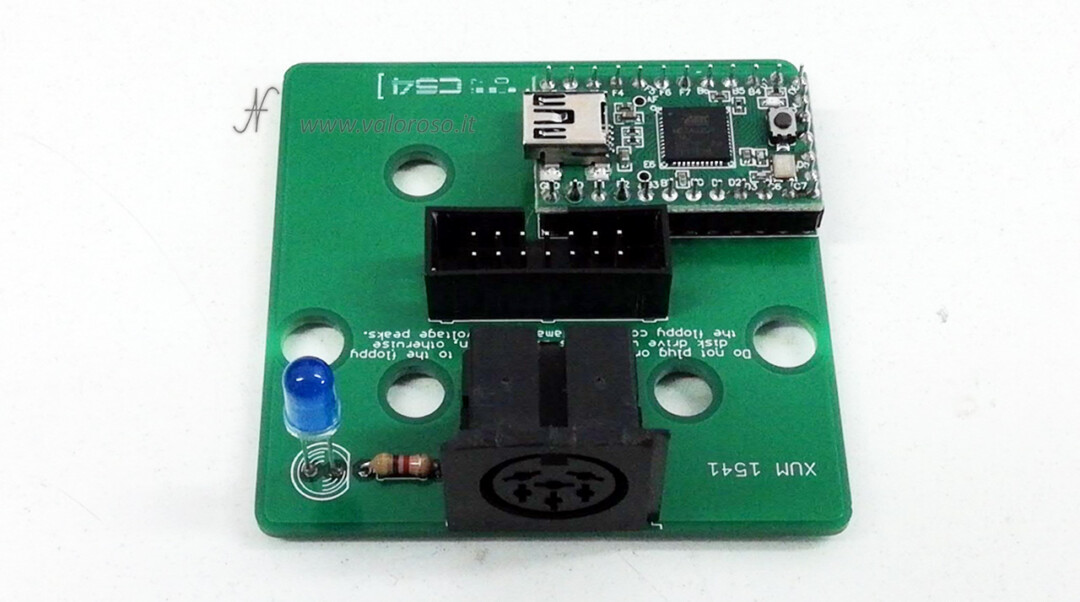
To mount the LED you have to pay attention to the polarity: you have to insert it in the correct direction! We solder the pins at the right height, since the LED must come out of the plastic shell.
Once the assembly of the XUM1541 kit is finished, we can proceed to clean the printed circuit. I use alcohol, a lint-free rag and a toothbrush. In soldering tutorial, I had shown in detail how to clean a printed circuit board from flux residues. Lo and behold, our kit is assembled and clean!
How to build a XUM1541: we work the plastic container
In the video tutorial on how to build an XUM1541, I also explain the work to be carried out on the plastic container. We must proceed to make the three necessary holes: that of the LED, that of the USB cable and that of the IEC connector of the floppy disk drive 1541.
We can start from the hole of the LED, with a 5mm tip. The exact measurements are given in the assembly manual.
Then, we proceed with the hole of the USB cable, also 5mm, taking into account that we must make sure that the hole takes both parts of the container. Only in this way, we will be able to insert the USB cable.
Finally, the IEC hole must have a diameter greater than 14mm and, moreover, it must extend over both lids of the container. You can start by making a hole with the drill bit, then widen it with a hacksaw, cutter, file and scissors.
Obviously, during all processing, the container must be protected to prevent it from being scratched.
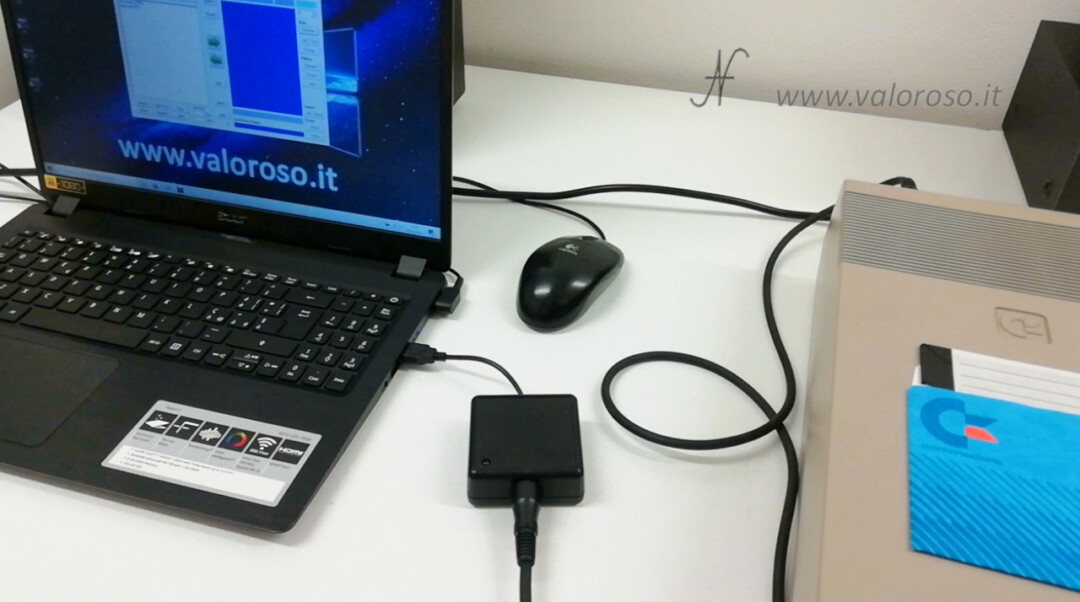
XUM1541: connect the Commodore 1541 floppy disk drive to the USB port of a Windows PC
In this video, we only speak quickly about the use of the XUM1541 interface. To find out how to install drivers, how to use OpenCBM and CBMXFER software - CBM Transfer in detail, I will soon make another video.
With the drive turned off, the XUM 1541 adapter must be connected to the Commodore 1541 floppy disk drive, using the IEC cable. On the other hand, the adapter is connected to a USB port on the PC with Windows 10 operating system.
To be notified when I publish more tutorials, experiments and reviews related to retro computers and vintage electronics, I invite you to subscribe to the YouTube channel and activate the notification bell!