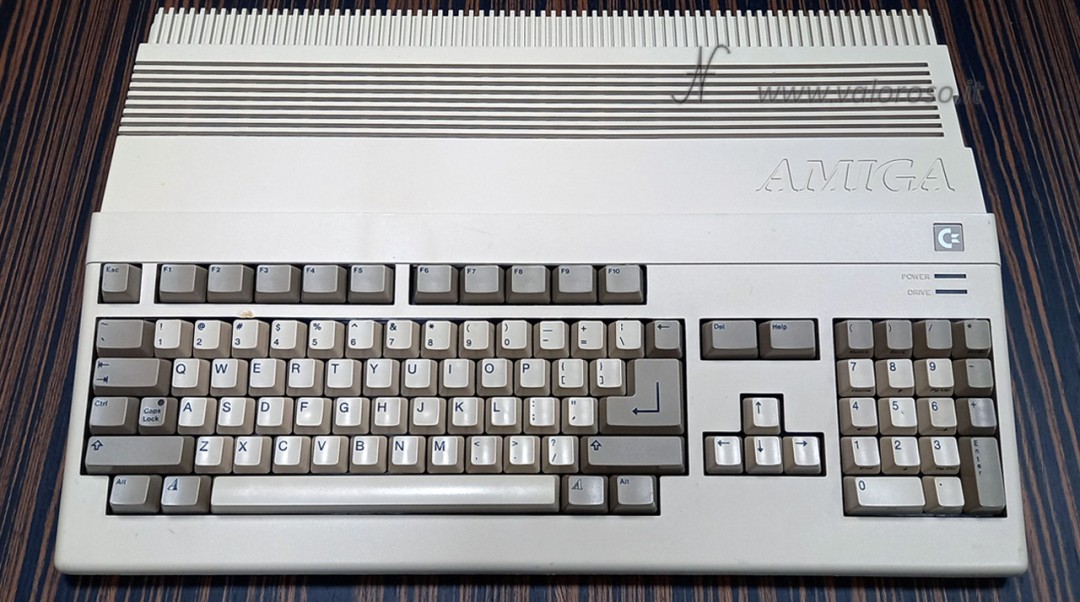
In the vast panorama of vintage computers, many machines need some attention to maintain them in perfect condition. For example, the Commodore Amiga 500 can be equipped with Commodore 501 expansion, which has a battery to be replaced inside. The same goes for the Commodore Amiga 500 Plus, which has a paid battery on the motherboard. Over the years, these batteries tend to lose acid, seriously damaging the motherboard and components of the computer. In this article, we will explore the replacement process in detail, providing technical instructions and practical advice to guarantee a safe and effective operation.

Identification of the Commodore 501 expansion and removal from the Amiga 500
To start, it is essential to identify the Commodore 501 expansion inside the Amiga 500. This optional component is located inside the lower computer of the computer and provides clock features in real time (RTC) together with an expansion of the 512kb RAM (Slow Ram). Not all Amiga 500 are equipped with it, but it is better to check.
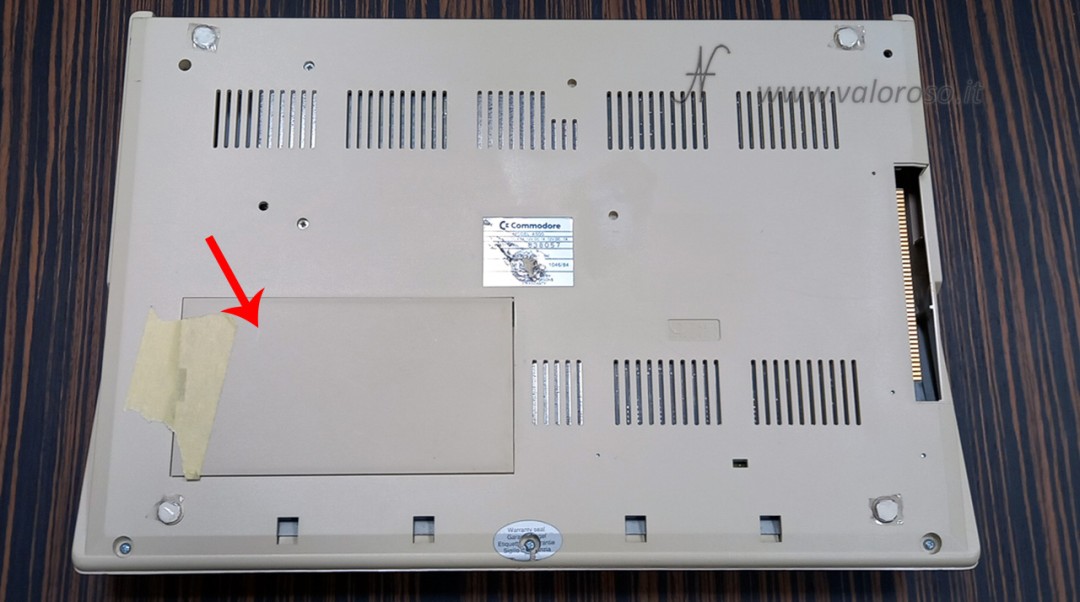
Once the expansion is identified, proceed with its removal, gently, disconnecting the connector that keeps it bound to the motherboard. This operation requires attention to avoid damage to the components. Following the orientation indicated in the photo, the expansion must be scored to the left in order to disconnect the connector. Only later is it possible to extract it.
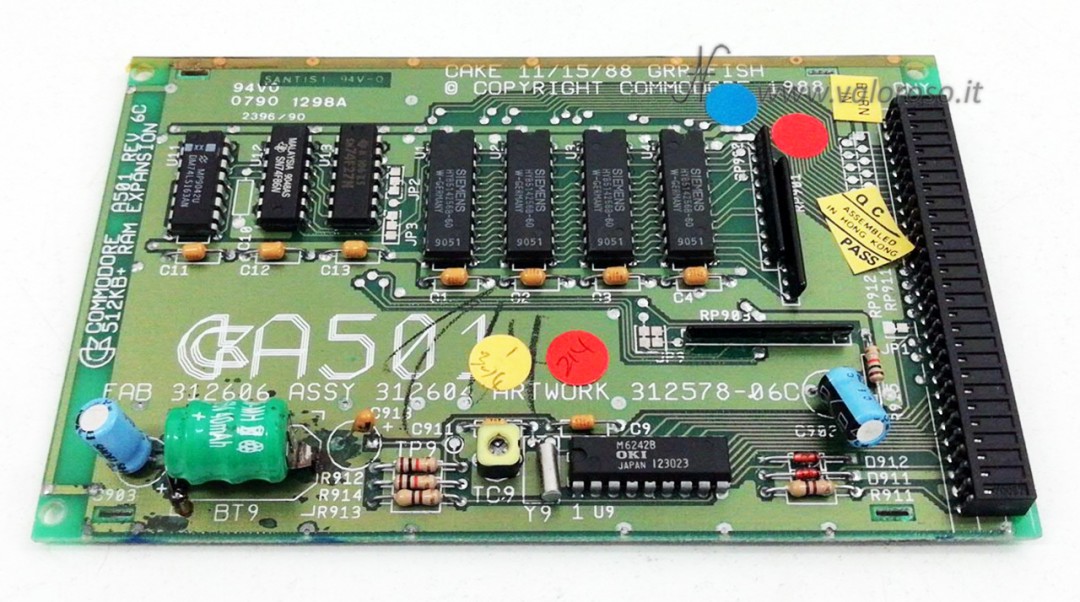
Commodore 501, A501
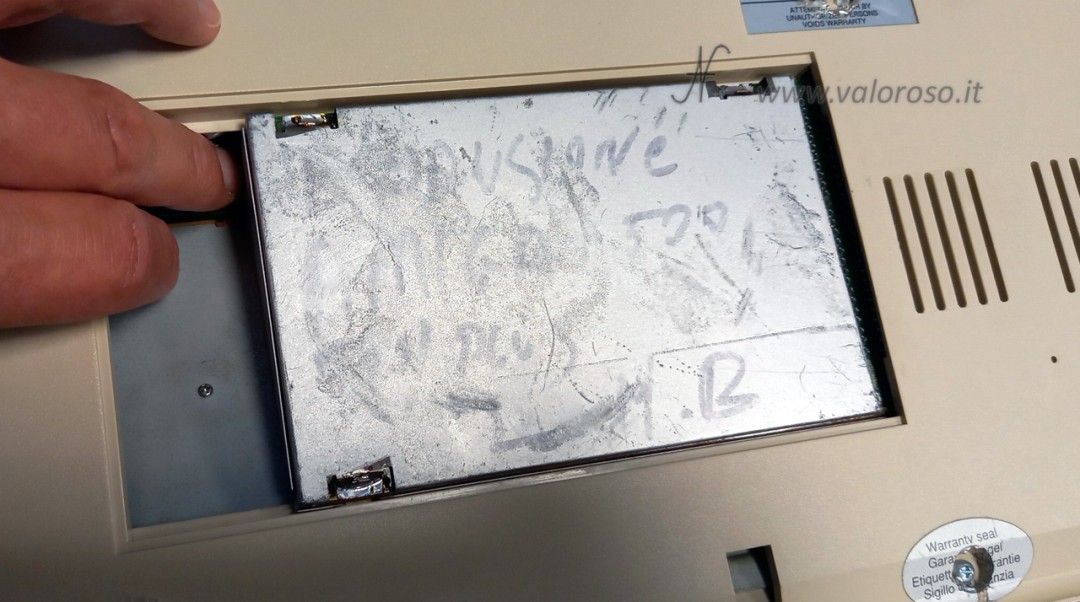
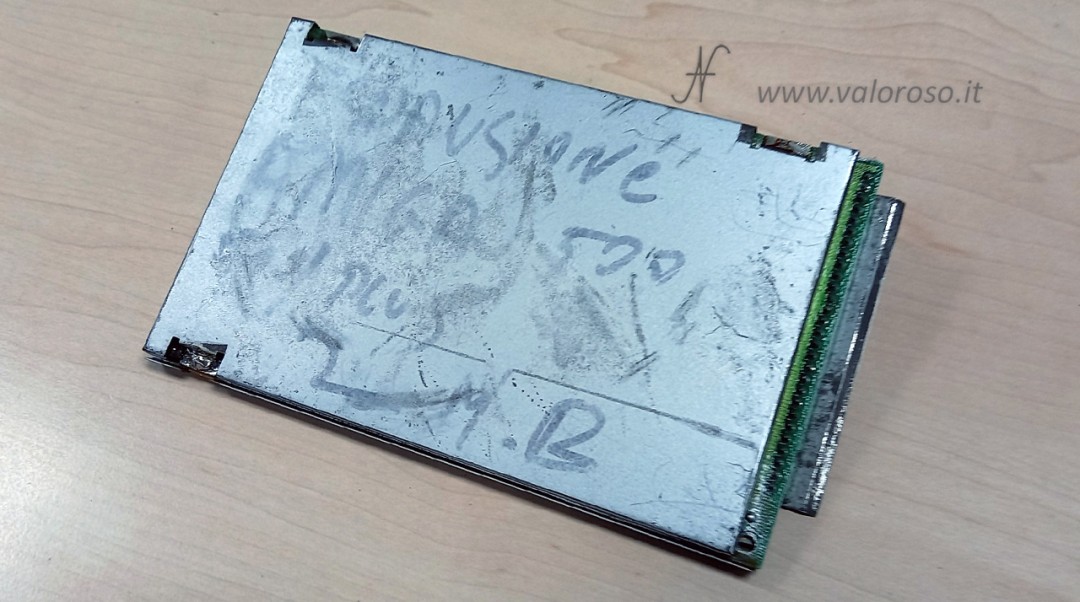
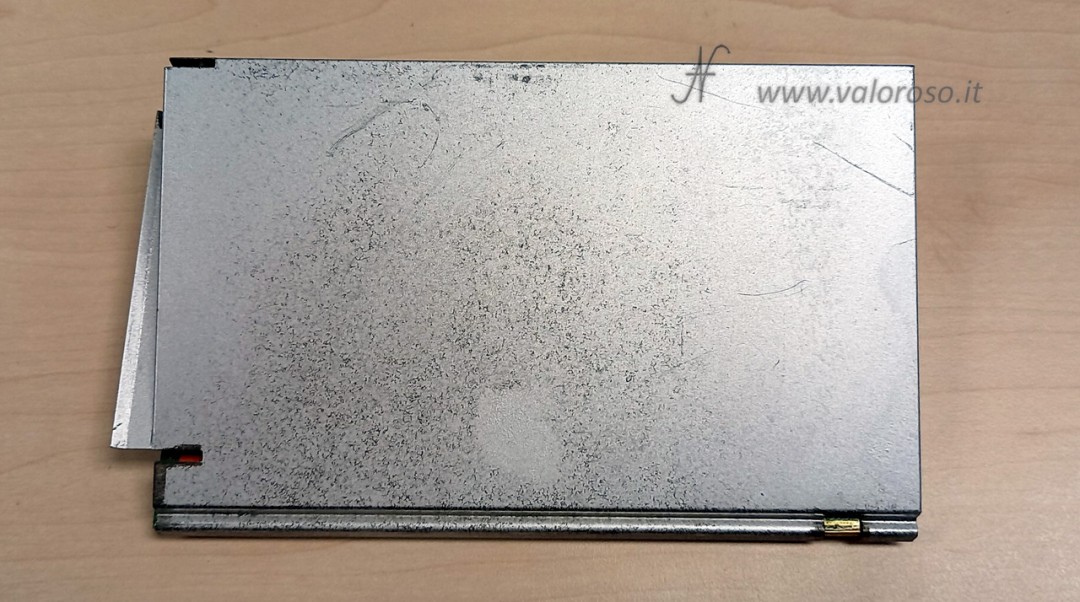
And here's how the Commodore A501 expansion is presented, when it is extracted from the Amiga 500 computer. It is possible that the metal container of the expansion is a little oxidized or, as in the case of these photos, that it has even been messy!
Opening of the expansion and battery inspection
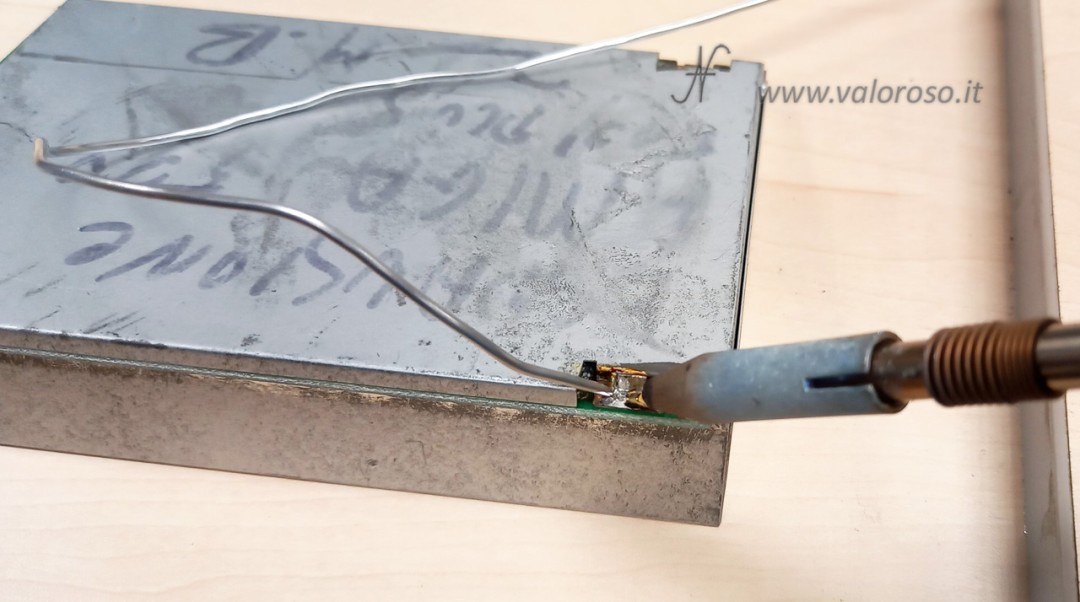
After removing the expansion from Amiga 500, it is necessary to open it to access the NICD battery. Using a welder with a large tip, heat the welding points on the metal custody of the expansion, to open it without damaging the internal content. It is important to pay attention to the duration of the heat application to avoid damage to the thin transparent plastic foil which is located under the internal printed circuit.

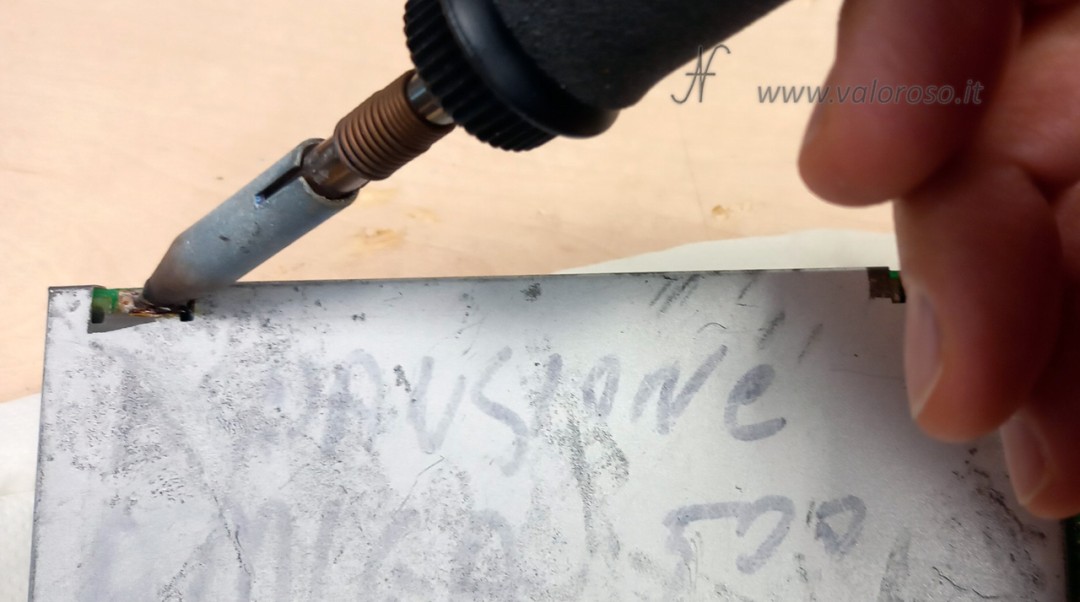
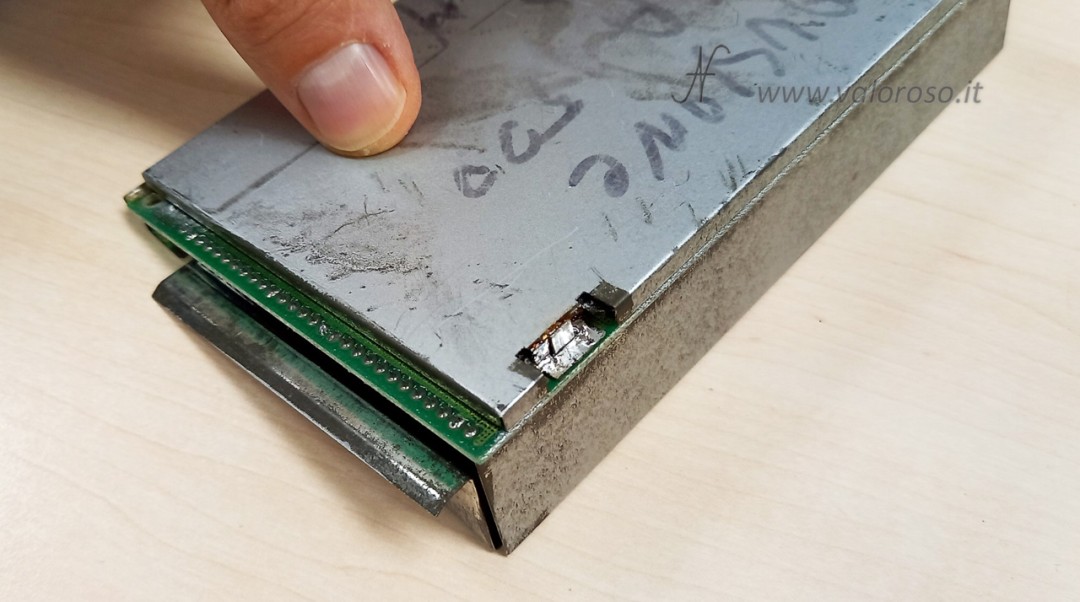
There are three points where the shell is welded and must be deceived. After dissolving the pond with the welder, keeping the welder on the point, proceed to suck the pond with a pump suck. It is also possible to use a uncomfortable station, as I had shown in this article.
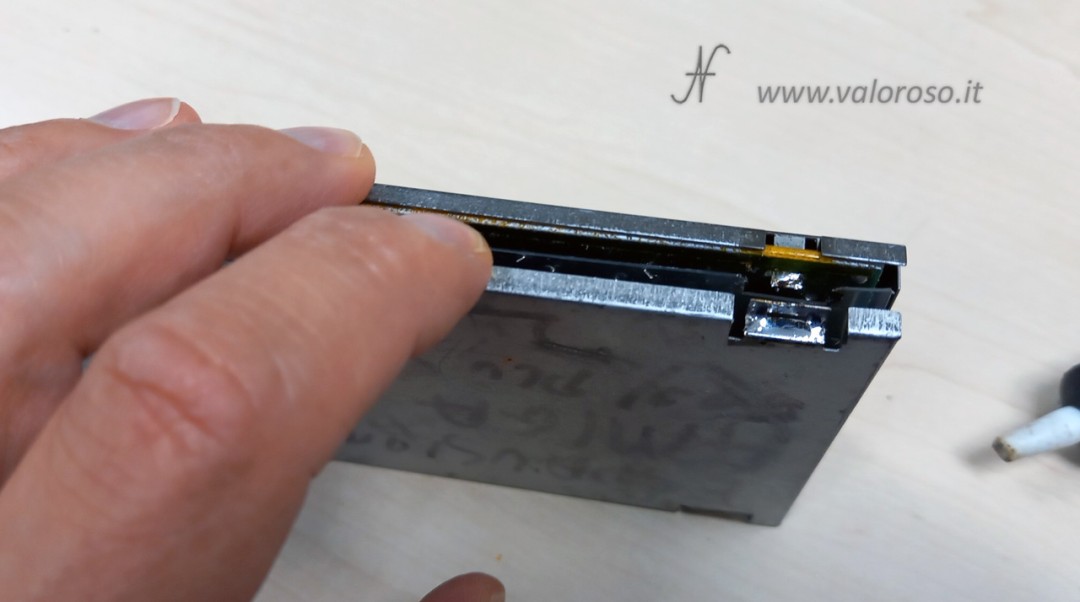
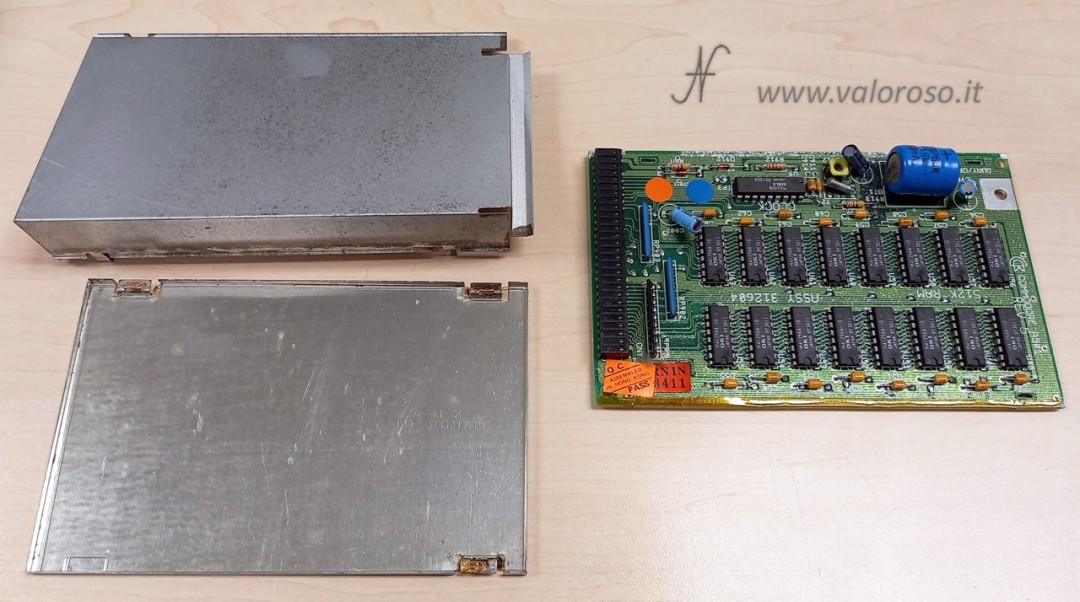
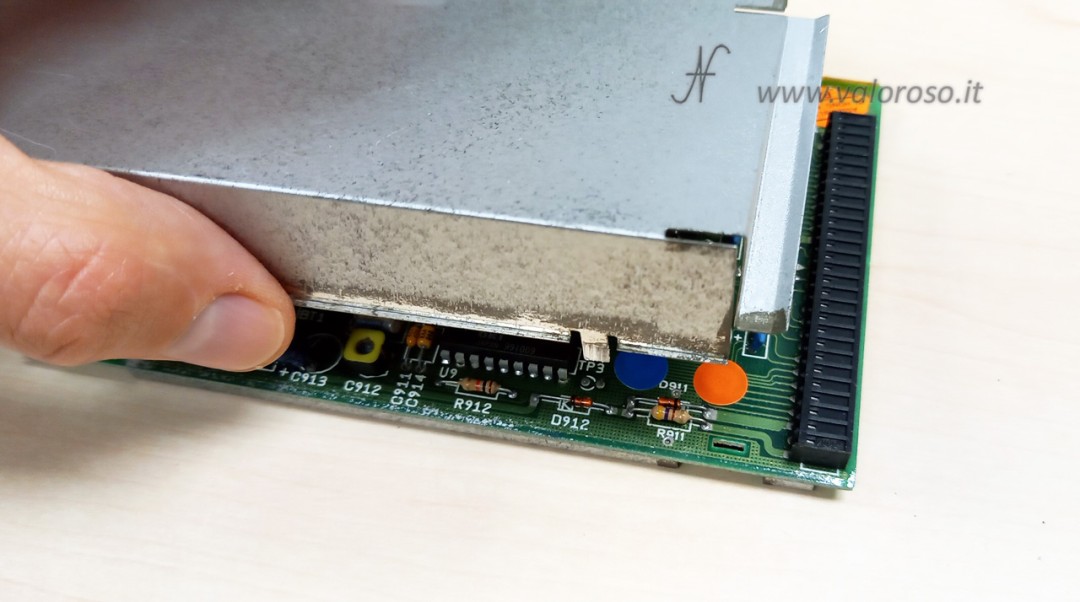
To separate the metal shells, there is no need to use too much force: when the three points are free from the solder, the shells separate with relative ease and the expansion board can be extracted. If you want to use a screwdriver for leverage, I recommend not damaging the printed circuit board.
Once opened, carefully examine the condition of the NiCd battery. Check to see if it has caused damage to the surrounding PCB tracks, as this is a common problem that can occur over time.
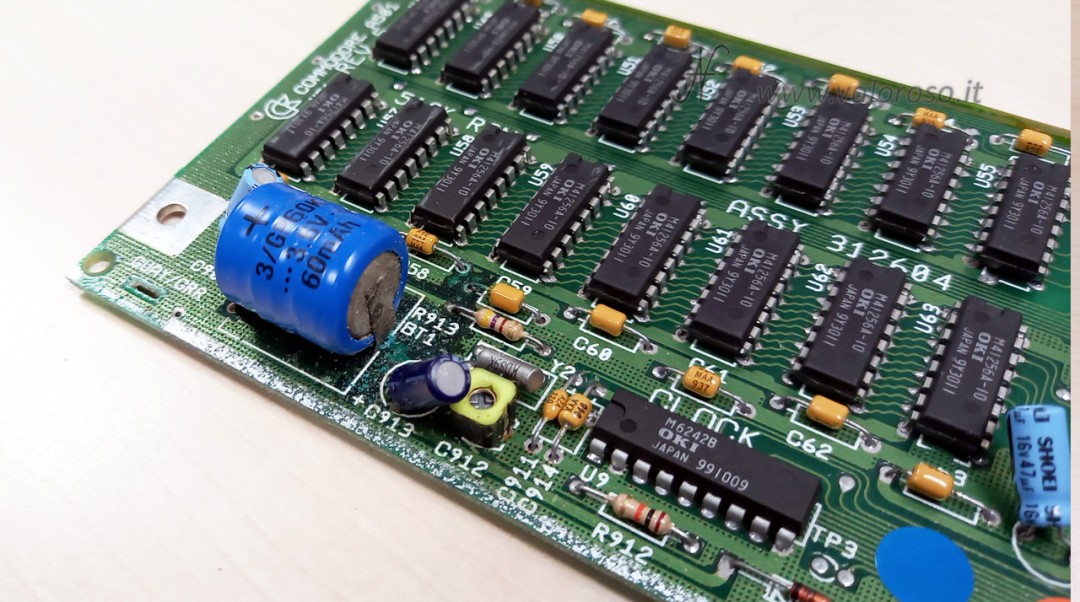
Commodore 501, battery removal and track cleaning
To proceed with the replacement of the battery, carefully heat the soldering points of the battery on the printed circuit using the soldering iron. Make sure the solder is completely dissolved before lifting the battery, to avoid damage to the PCB tracks. It is advisable to use a tin sucker to remove the molten tin and ensure effective cleaning of the soldering points.

In this article, I had shown an interesting tool for removing solder and desoldering components from printed circuit boards.
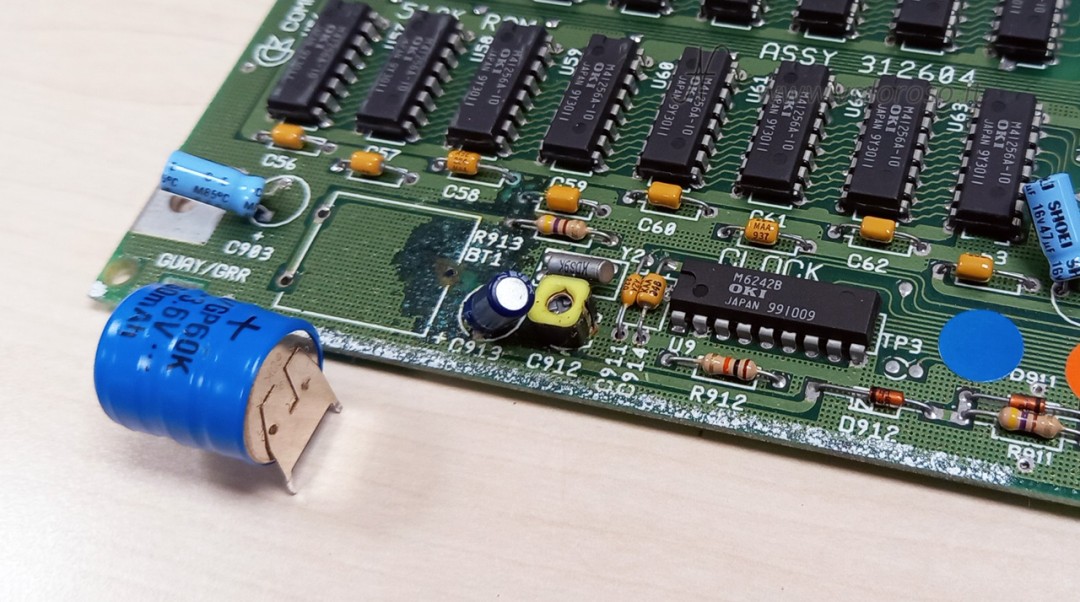
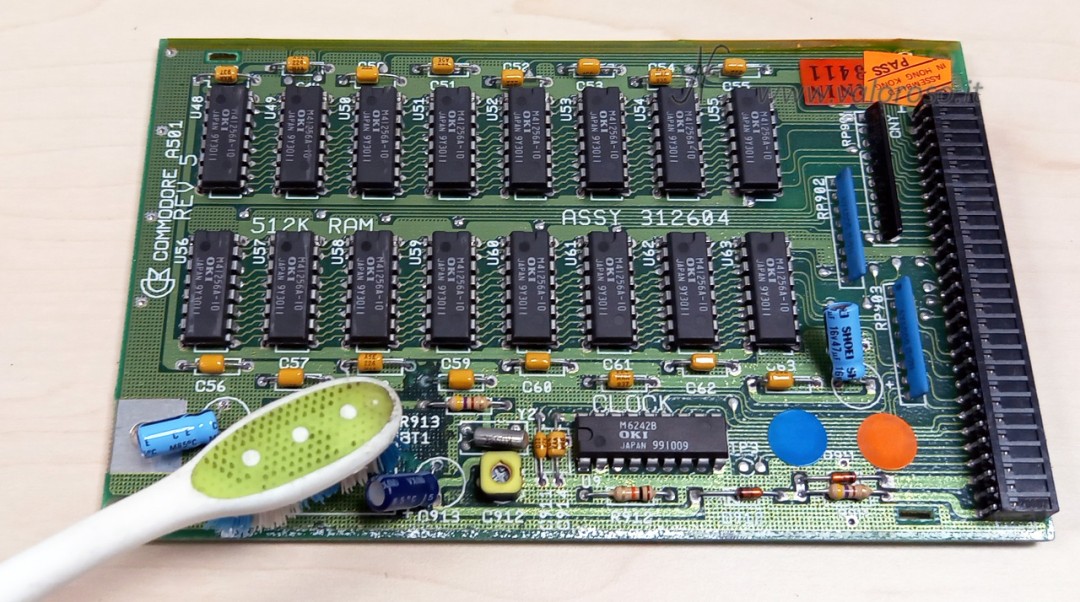
After removing the battery, you should carefully clean the PCB pads using flux and alcohol.
In more severe cases, it is possible that the battery acid has compromised the printed circuit board tracks, as well as the electronic components. Luckily, in the expansions I came across, there was some acid, but the tracks were still intact.
Use the soldering iron, new solder and flux to restore the shine to the pads, then suck away the excess solder and reopen the pad holes.
Check with the tester whether the tracks near the battery are still conductive. If they are not, it is necessary to restore them with a thin copper wire.
Battery replacement and testing
At this point two scenarios open: install a new battery, with the same characteristics (3.6v, 40ma - 60ma) or remove the battery and leave the Commodore 501 expansion without battery.
If you opt for battery replacement, be sure to install a new NiCd or NiMH battery with the same specifications as the original battery. In this case, however, it will be necessary to repeat the replacement operation every 5-10 years.
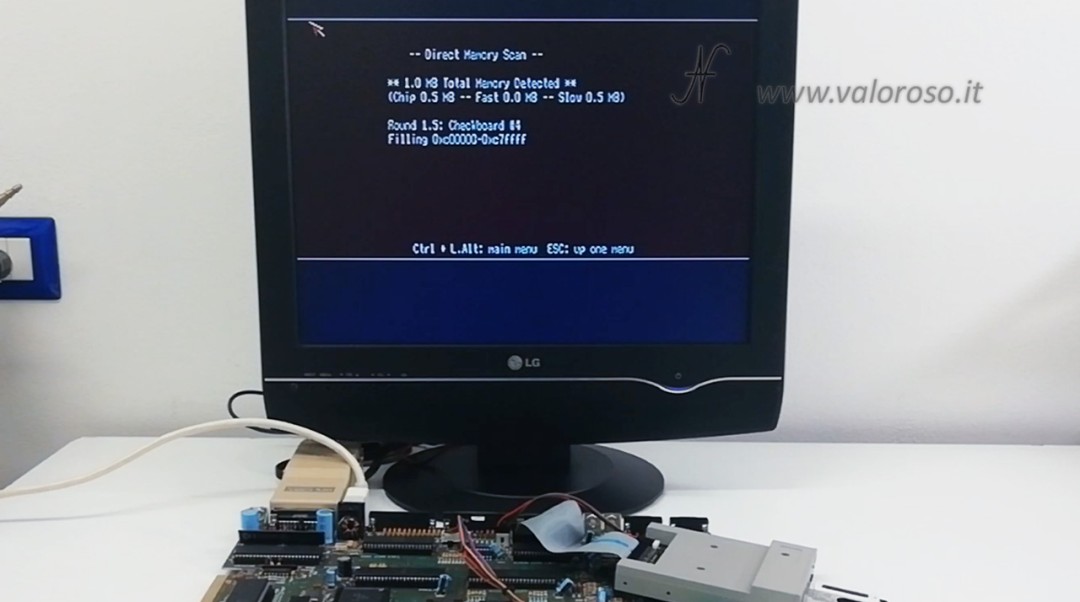
Once the battery is replaced, it is important to test the expansion with Amigateskit to check all the features.
Without a battery, the expansion works like RAM, since the date and time could not be maintained due to the absence of the battery.
Closing of the Commodore 501 expansion and further final test
After completing the replacement of the battery and verified the correct functioning of the expansion, it is possible to close the metal custody. Pay attention to the correct position of the insulating plastic foil, which is positioned under the electronic card.
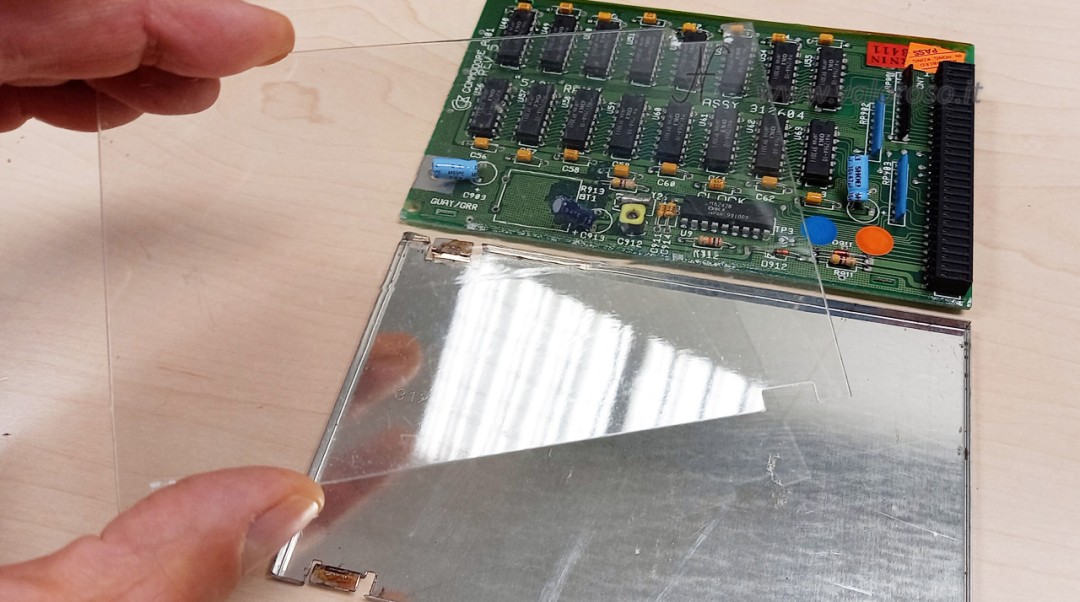
Reassemble the metal shells, the plastic foil and the electronic board following the correct orientation.
Then, re-weld the anchoring points of the metal box, taking care, as we did before, not to heat excessively.
It is advisable to carry out an additional verification with Amigateskit To confirm that everything works correctly before repositioning the expansion in the Amiga 500.
To stay updated on other useful tips and guides for your vintage computers, I invite you to follow the @ValorosoIT social channels on YouTube, TikTok, Instagram and Facebook!