Let's repair the Atari 1050 floppy disk drive power supply, which, in the previous video, had blown the power! Even though it's just a transformer, the repair made me sweat! Please always unplug when working on electrical circuits: there is high voltage!

In the previous video-article, I showed you the purchase of the Atari 800XL rear computer and drive, as well as the repair of the computer's power supply.
We dismantle the power supply drive power supply of Atari 1050
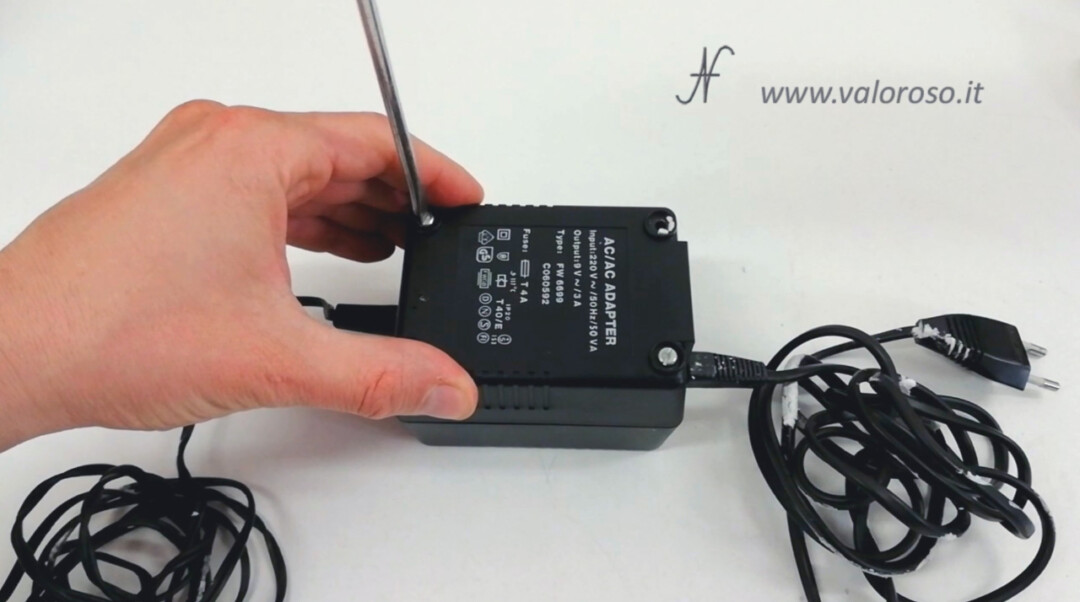
Let's open the power supply of the Atari 1050 floppy disk drive! Please, always unplug when working on electrical circuits: there is high voltage!
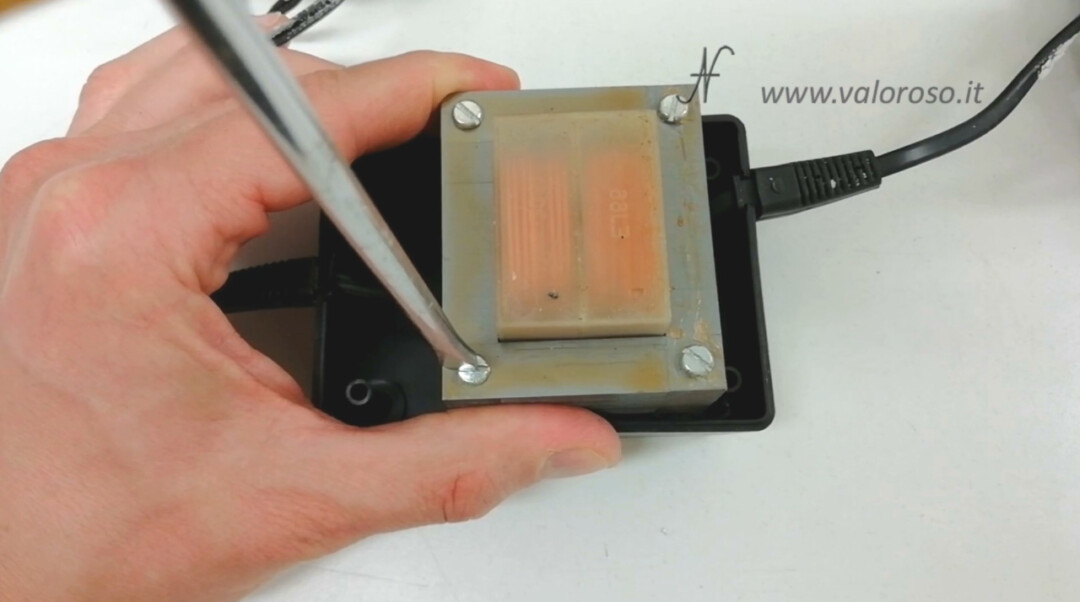
To open the psu, in the lower part of the plastic case, there are four slotted screws to unscrew.
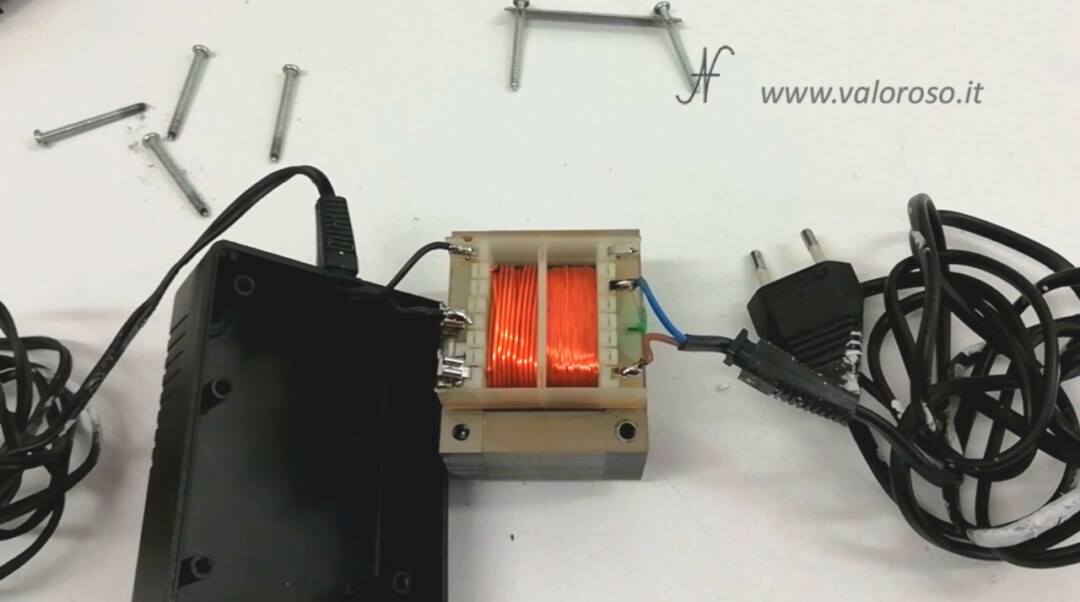
The interior is very simple, there is only one transformer!

We unscrew the 4 screws that fix the transformer to the container. A piece of the air gap has come off!
The impression I had when I made the Previous video, was that the transformer was short-circuited. You can't see it well in the video, but on the primary winding of the transformer, the one with the thinnest turns, there was a small dark spot. I thought that the winding insulation was loose at that point.
In reality, the stain came off simply by cleaning it, leaving the wrapping intact. On closer inspection, in a short-circuited transformer, I should expect the winding to be completely burnt, loose.
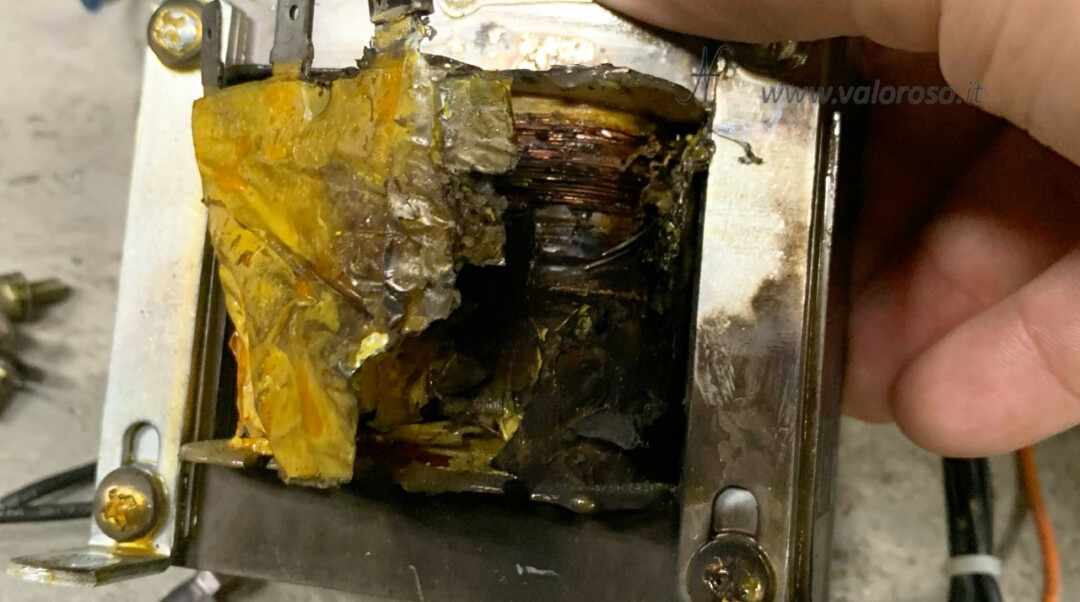
Instead, the transformer of the Atari 1050 is practically intact. No defects are seen with the naked eye. Resistance, measured on the primary, also returns plausible values.

Atari 1050 floppy disk drive power supply repair
My opinion is that there is a wire that does not make good contact and, when it is crossed by current, it creates voltage surges that trigger the meter. Let's go over all the solder joints. We disconnect the electrical cables, both the mains voltage and the low voltage output.
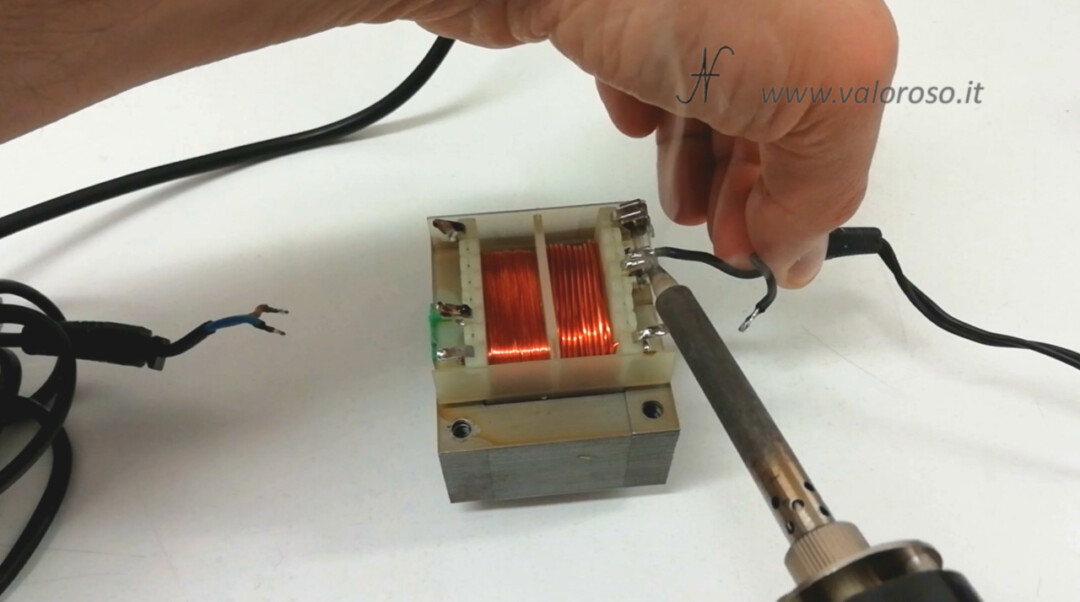
We apply flux to improve the adhesion of the copper and to remove some of any oxide. At this point, we can resolder the high voltage cables.
In addition to the electrical cables, we also review the solder joints of the thin copper wire of the winding, which connect it to the contacts of the spool.
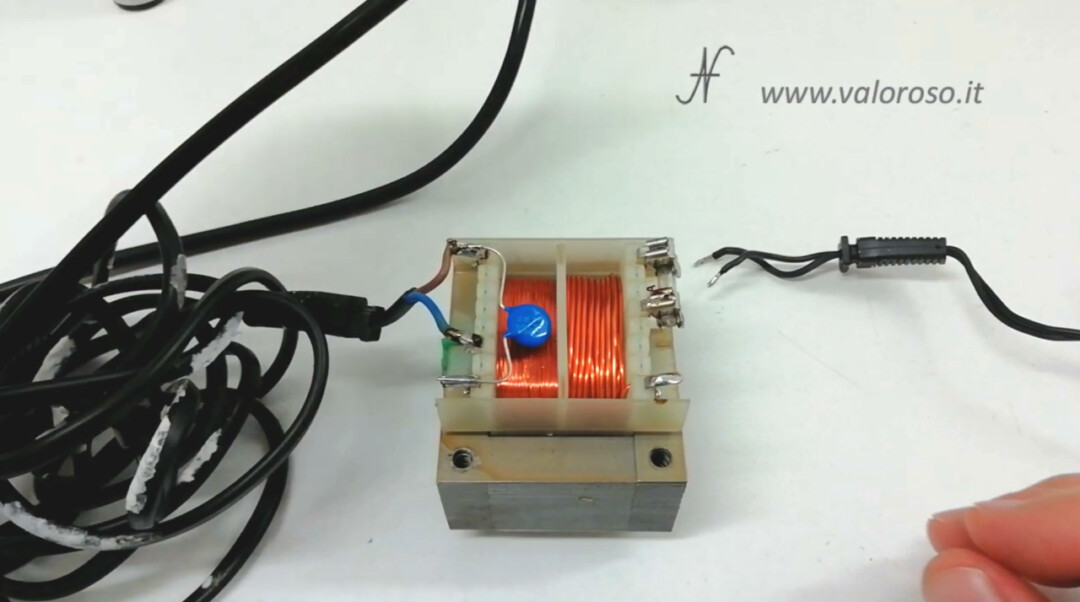
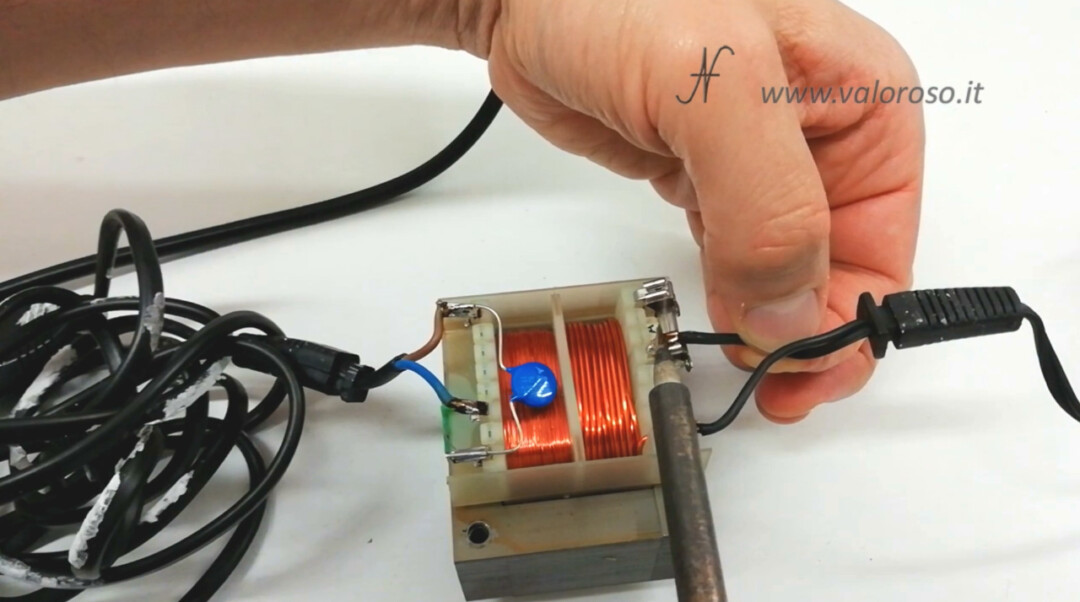
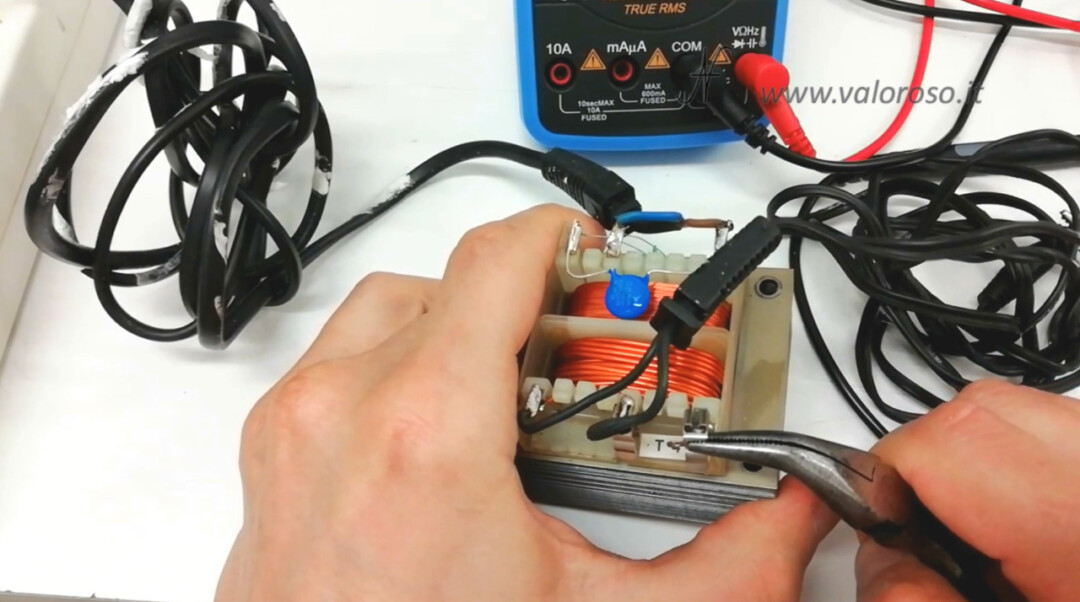
Installation of the varistor on the primary of the transformer
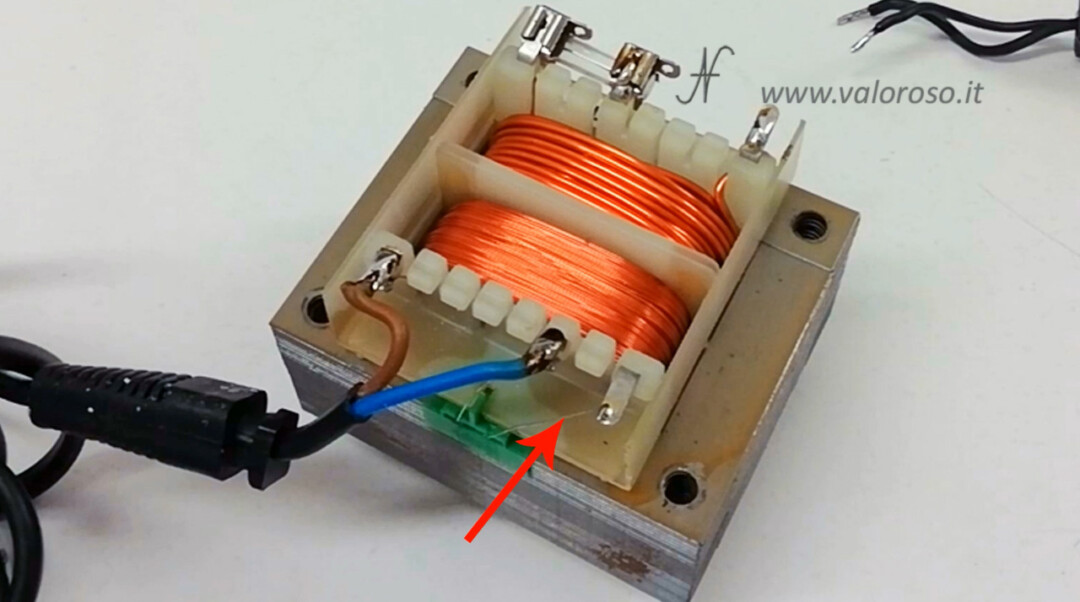
After reviewing the soldering of the transformer primary, we also install a varistor, to protect both the transformer and the electrical system of the house from any voltage fluctuations. We install it after this thin wire, which acts as a fuse, in case the varistor short-circuited.
Power surges can have two directions:
- the surge, or voltage transient, can come from the electrical system of the house and can damage the transformer or the Atari;
- or, on the other hand, the transformer can cause voltage transients and damage other appliances connected to the electrical system of the house.
For this reason, in general, I prefer to install protection varistors.
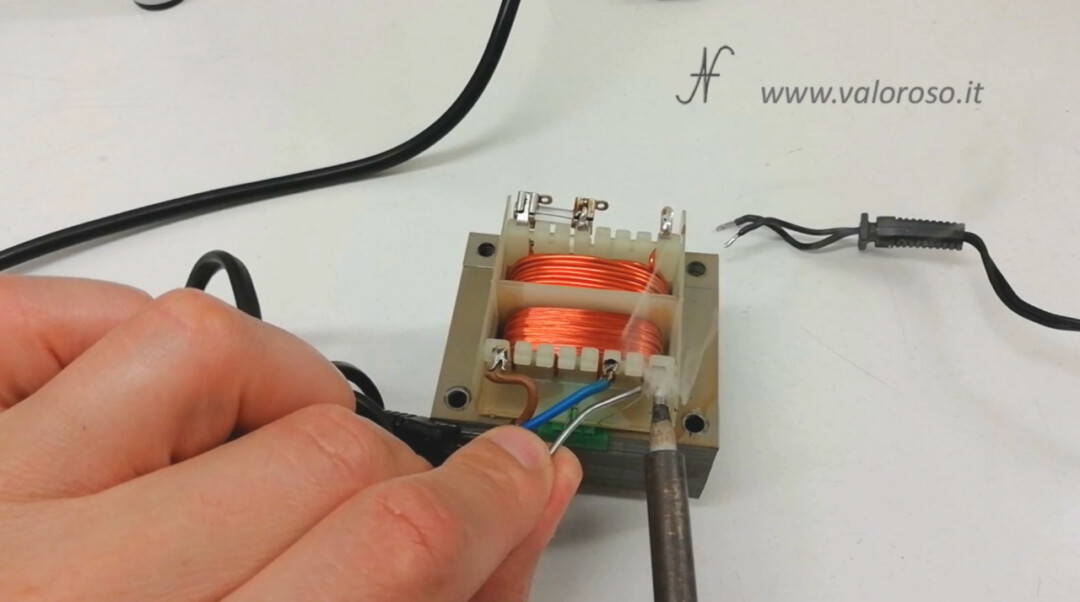
After arranging the primary winding, we re-solder the secondary winding cables.
The first test!
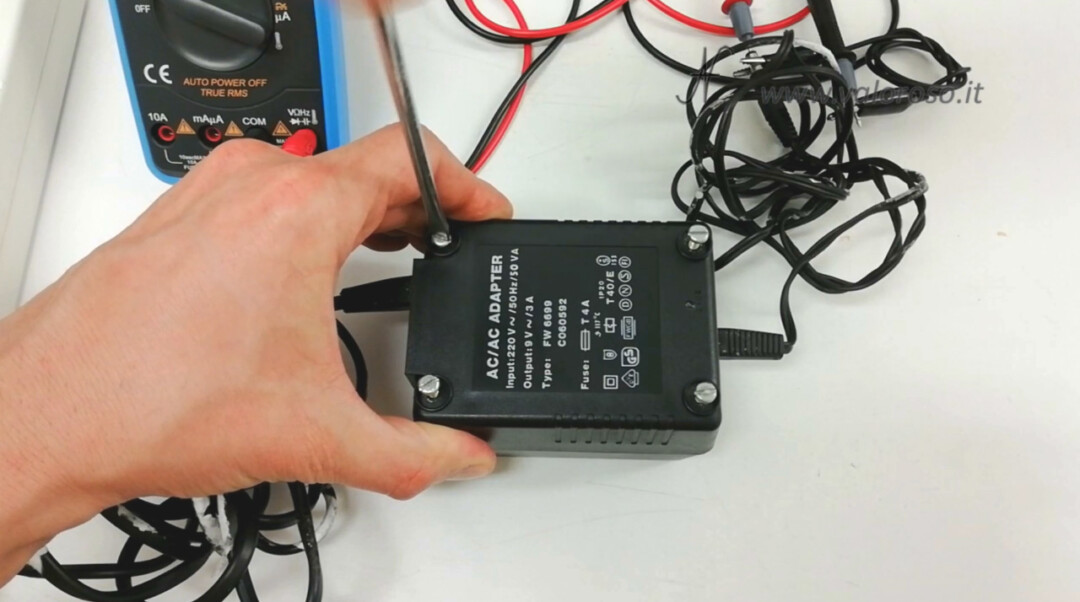
The first test already denotes an improvement. Now the current is no longer skipping and the transformer is no longer making noise, but the output voltage is wrong. On the secondary, there are 3.4 volts in alternating current, instead of the 9, or even more, that we should see without load.
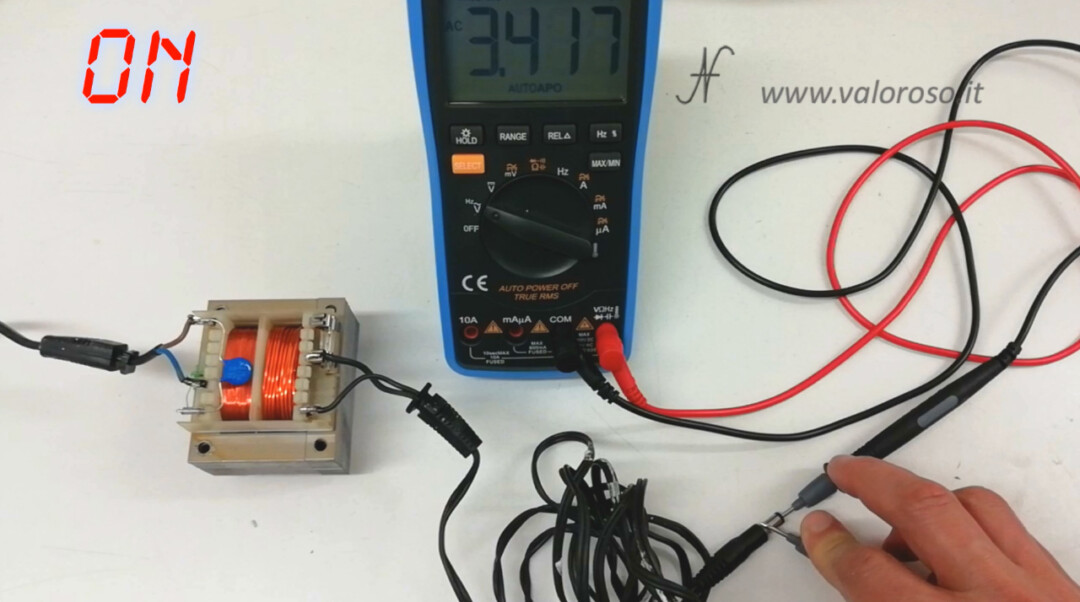
On the primary the voltage is right, 230 VAC, but on the secondary it is too low.
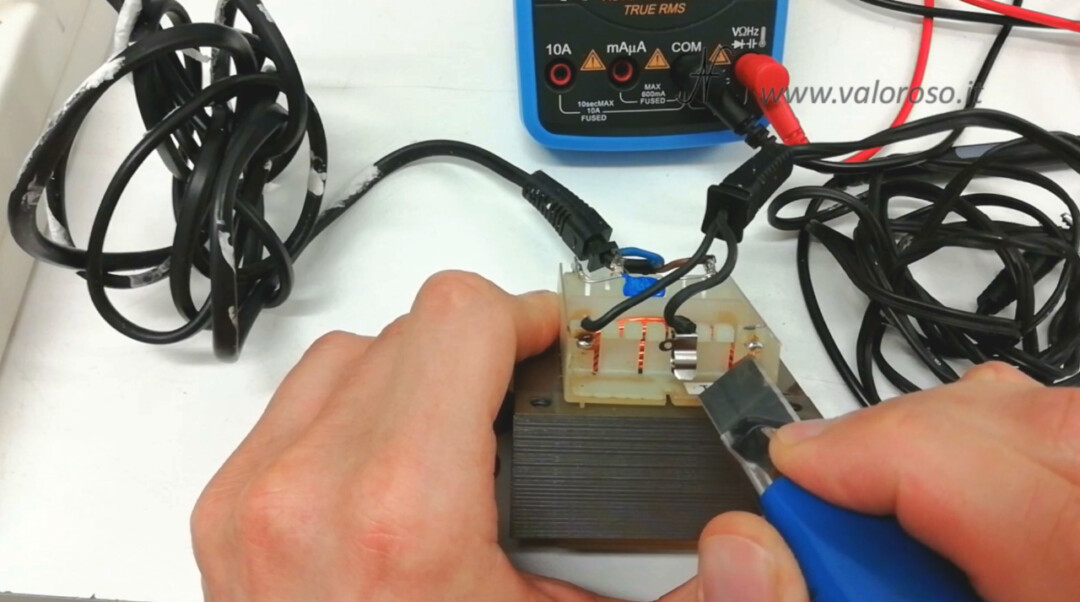
We scrape off some insulating paint from the copper of the secondary of the transformer, to redo the soldering.
What you see, in fact, is not bare copper. To wind the coils on top of each other, without short-circuiting them, the copper is covered with an insulating paint with high dielectric power. To solder the copper, we need to remove the paint, where we are going to apply the solder with the solder.
Let's put some flux and re-solder.
The second test of the transformer!
Despite being a simple transformer, the question is becoming embarrassing! The second test also denotes a drop in tension at the exit.
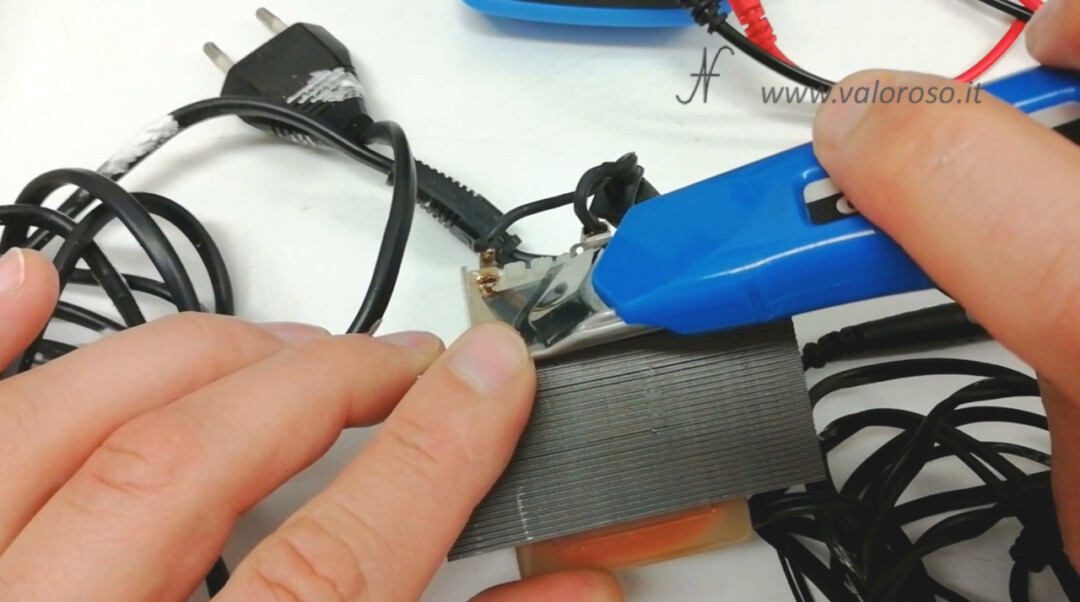
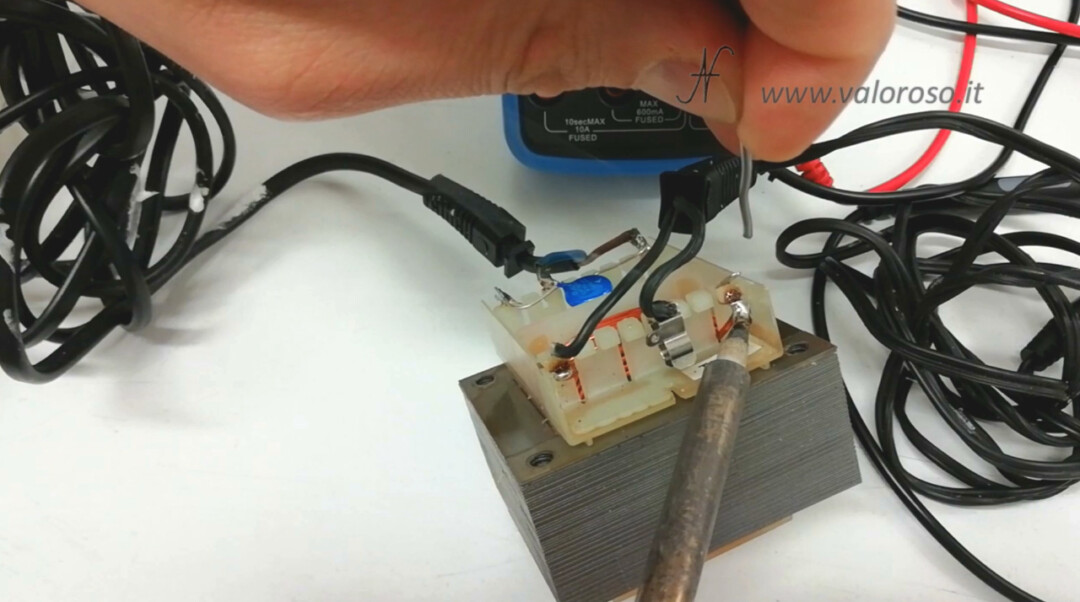
At this point, we re-solder the copper also on the other side of the secondary. We remove the fuse and also the fuse holder, which is fixed to the tabs of the spool.
As before, we scratch the insulating paint from the copper of the transformer secondary. Then, we apply some flux and re-solder.
The soldering is pretty abundant!
We reassemble the fuse holder and the fuse and ...
Finally, the Atari 1050 floppy disk drive transformer is working!
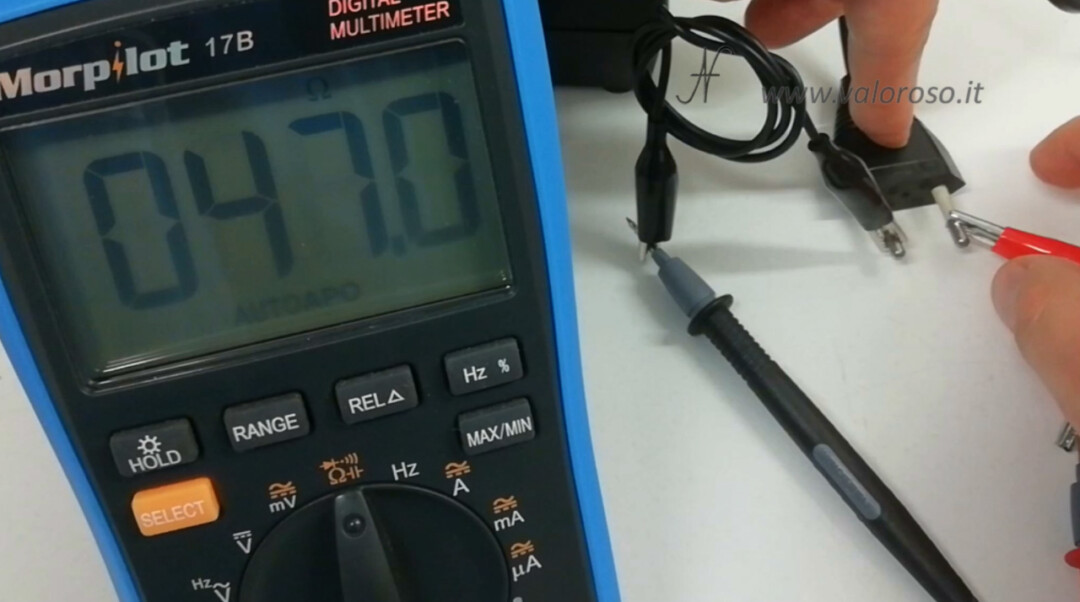
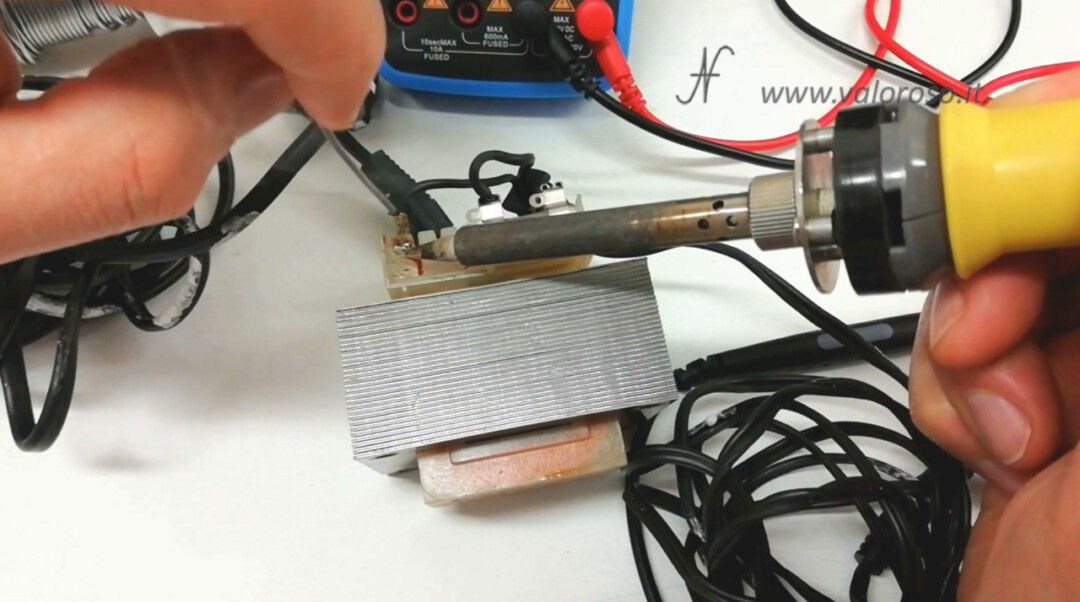
In addition to carrying out a test of the no-load voltage on the secondary of the transformer, let's also test it under load. We apply a 4.7 ohm resistor, in parallel to the secondary of the transformer.
We are going to absorb about 2 Amperes. The resistor has to withstand about 10 Watts, so I expect the resistor to heat up a lot!
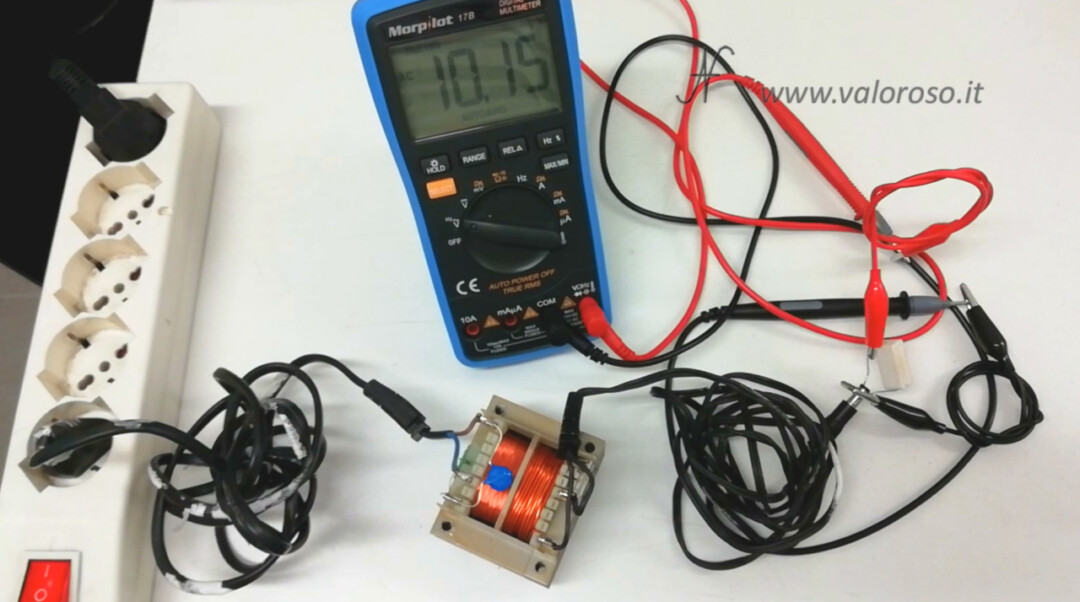
I would say we did it! We won! Even moving the transformer, the voltage remains constant.
Let's clean the transformer case and the electrical cables
Let's unplug and take a little bit of the aesthetics of the power supply. Before closing the transformer, we can wash the transformer box with water and a little degreaser. Then, dry well with compressed air and an absorbent cloth.
We reassemble the transformer in its box and tighten the screws.
We can close the transformer case of the Atari 1050 floppy disk drive. We tighten the four lower screws.
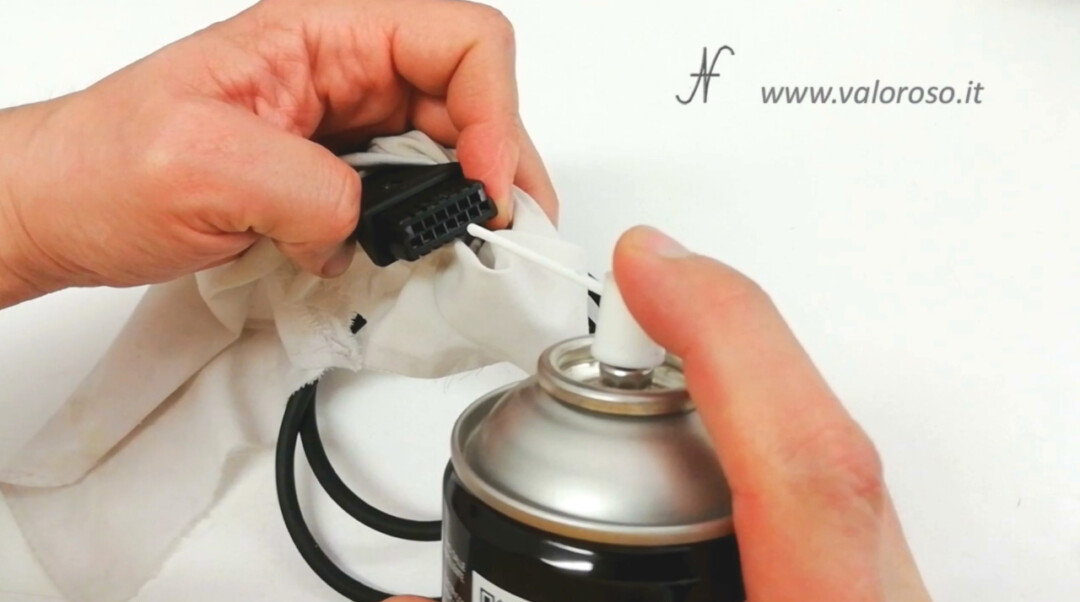
Now, let's also deal with the aesthetics of the electric cable. Let's give the cable glands a nice brush. We can also remove the polystyrene that has melted on the cables. Even if the dirt is stubborn, the polystyrene can be removed quite easily by scratching it off with your fingernail.
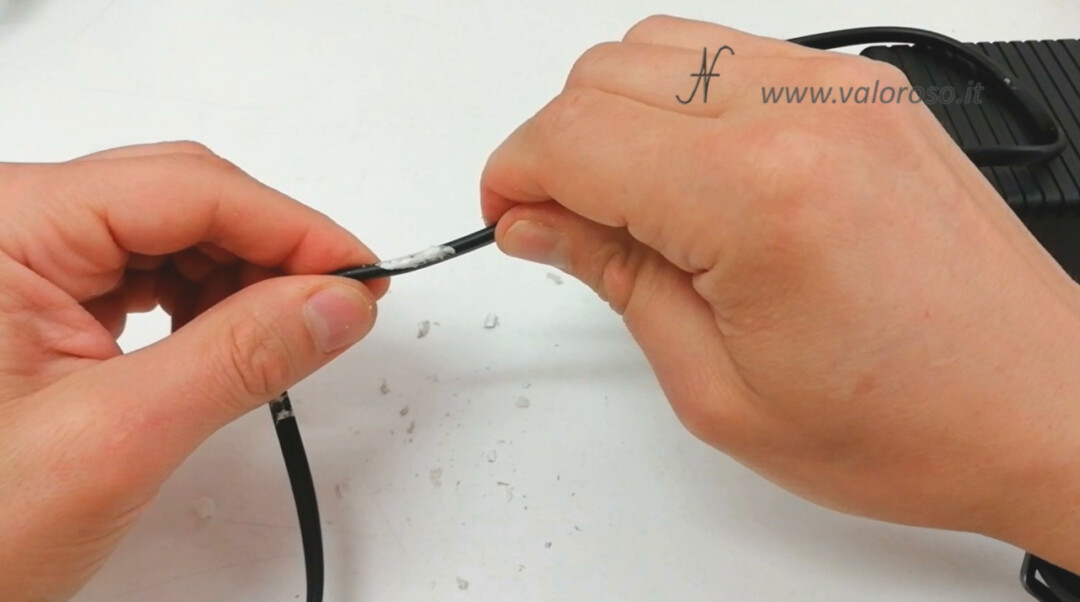
This styrofoam has slipped everywhere! Even in the cracks of the plug!
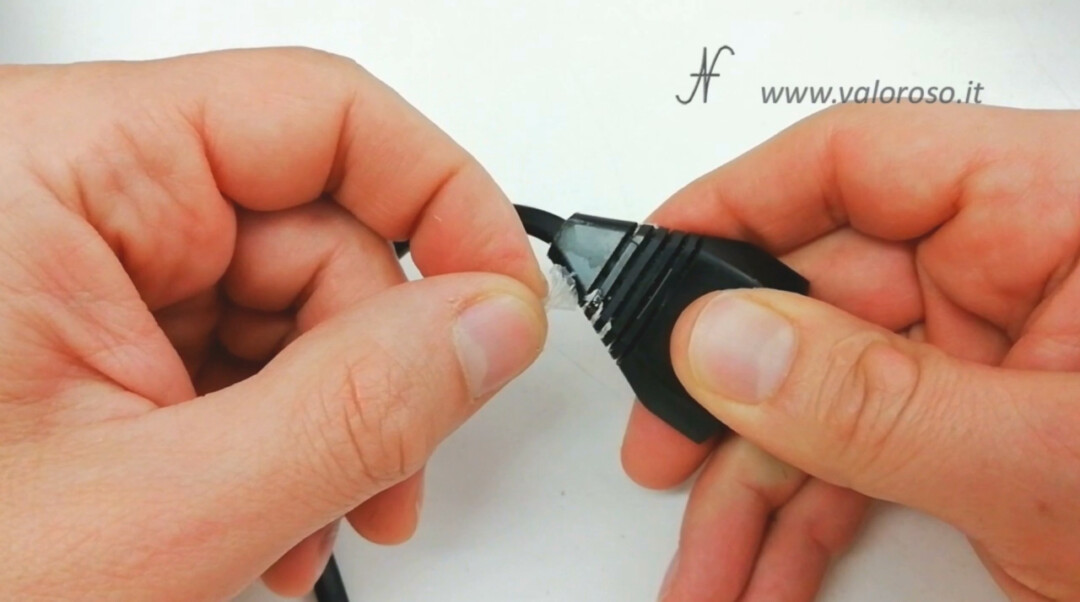
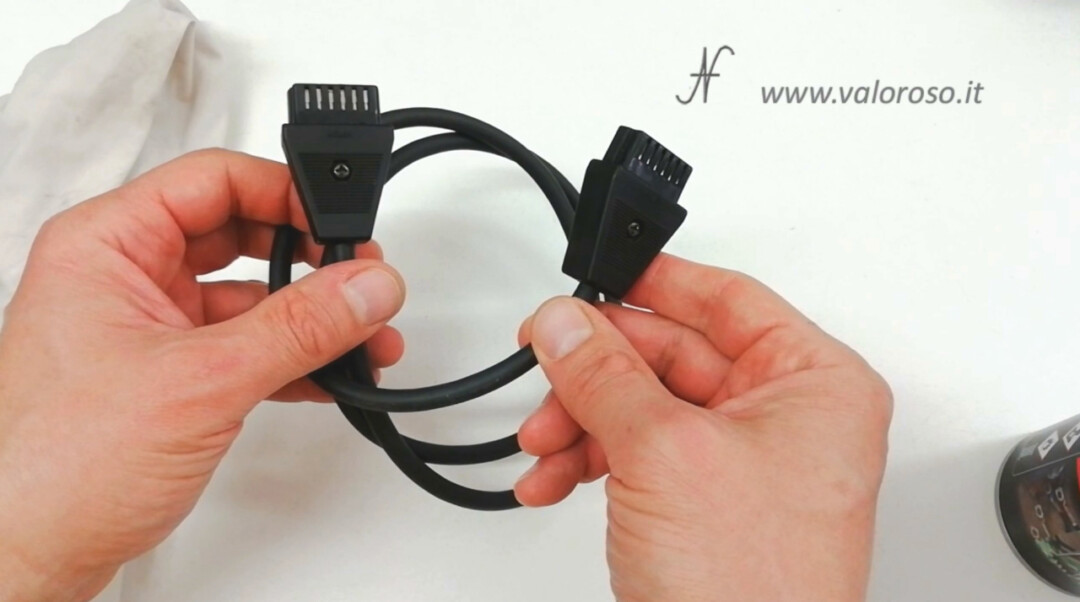
This is the SIO cable, which connects the Atari 1050 floppy disk drive to the Atari 800XL computer. I clean it well, so then we'll do the test.
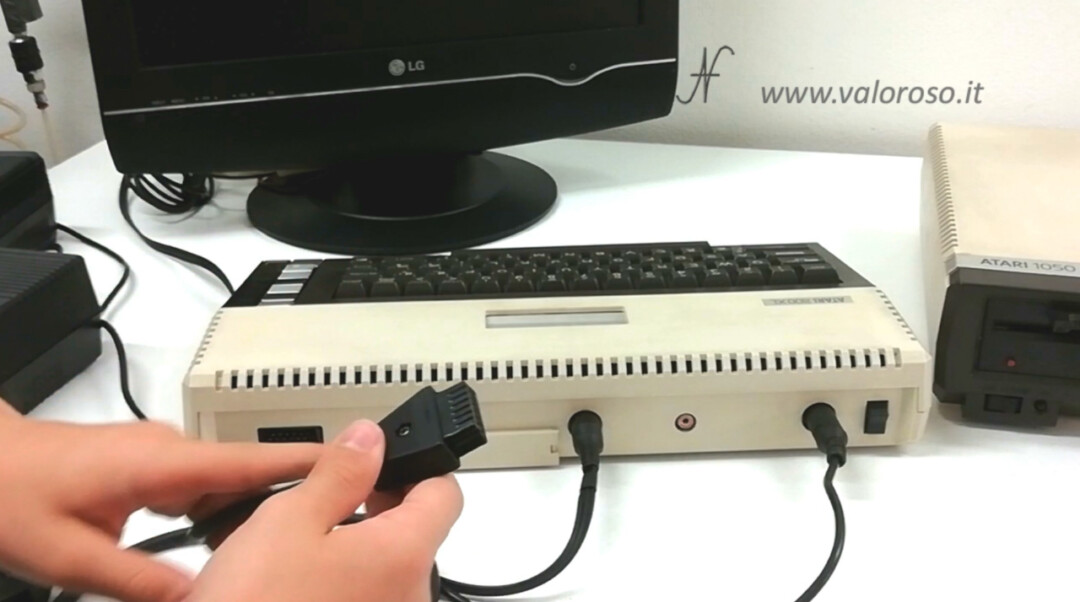
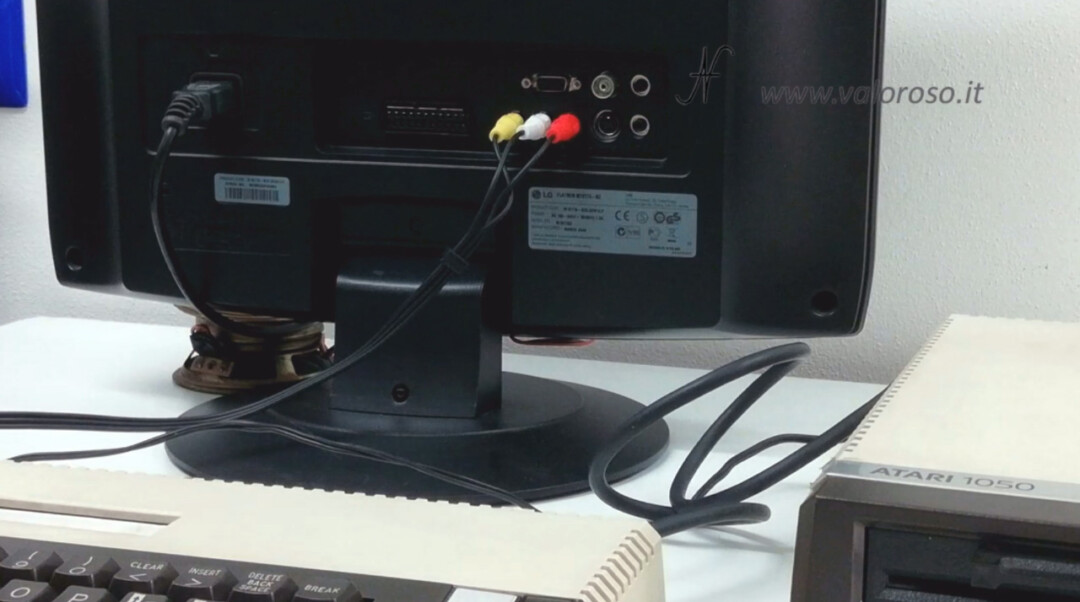
Connect the Atari 1050 floppy disk to the back of the Atari 800XL computer
Here's how to connect the Atari 800XL with the Atari 1050 floppy disk drive and television. Behind the Atari 800XL computer, we need to connect:
- the power cord;
- the composite video cable, which is the same with a 5-pole DIN connector that I use with the Commodore Vic20 and Commodore 64;
- the SIO cable for the floppy disk drive.
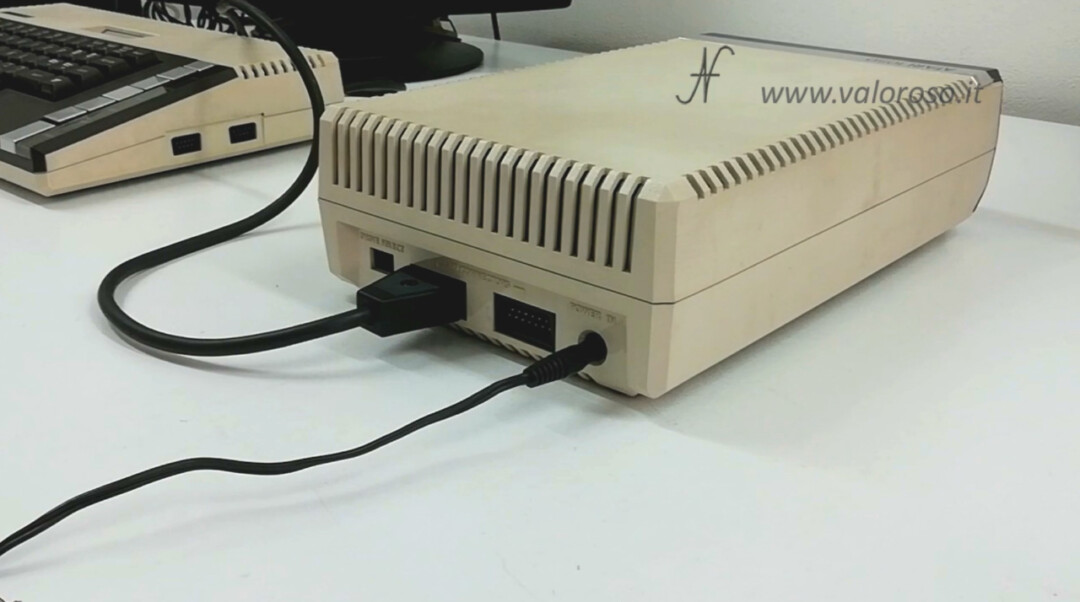
Obviously, all connections must be made with the computer and drives turned off, as well as plugs disconnected from the sockets. Regarding the Atari 1050 drive, we connect:
- the power cable, coming from the power supply we have just fixed;
- the SIO cable.
Behind the monitor, we connect the composite video cable (yellow RCA) and the audio cables (the two RCAs: white and red).
We can then connect the three plugs to the power sockets: computer, drive and monitor.
Let's try the Atari 800XL with the ATARI 1050 drive
We insert a floppy disk into the drive. Then, we turn on the monitor first and set it to the audio / video input.
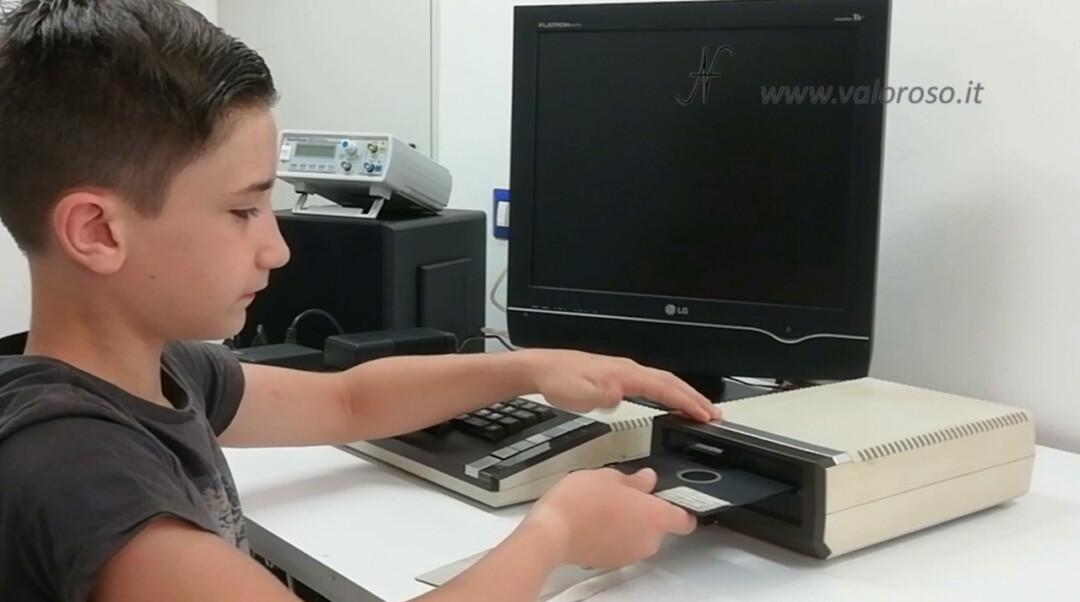
We turn on the Floppy Disk Drive Atari 1050. Subsequently, we also start the computer! The start screen of the floppy disk is loaded. It's good news!
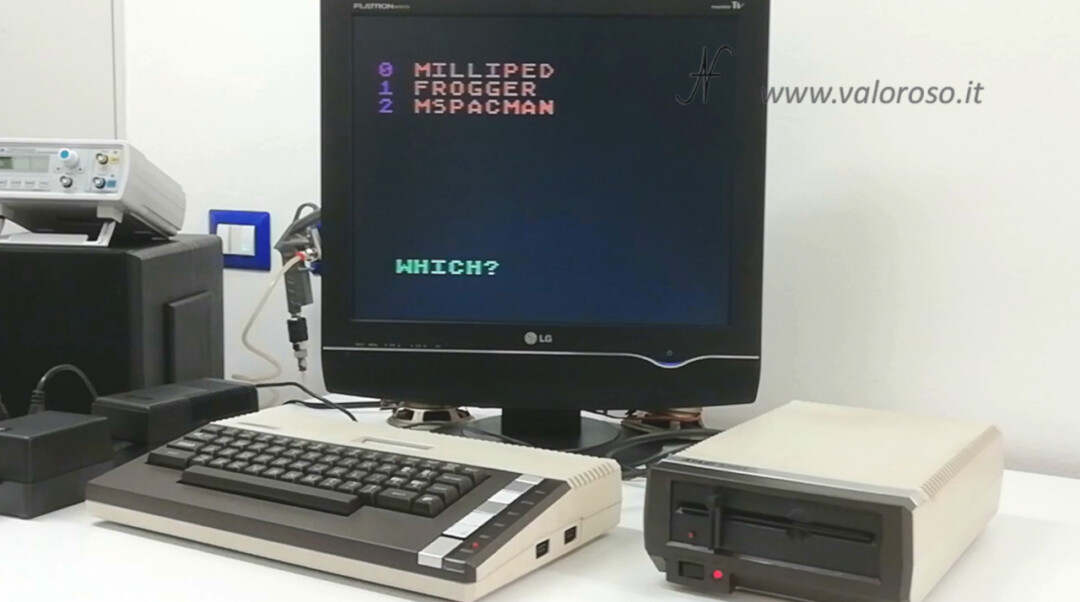
The trial with loading the first game did not go very well. Perhaps the disk is partially demagnetized.
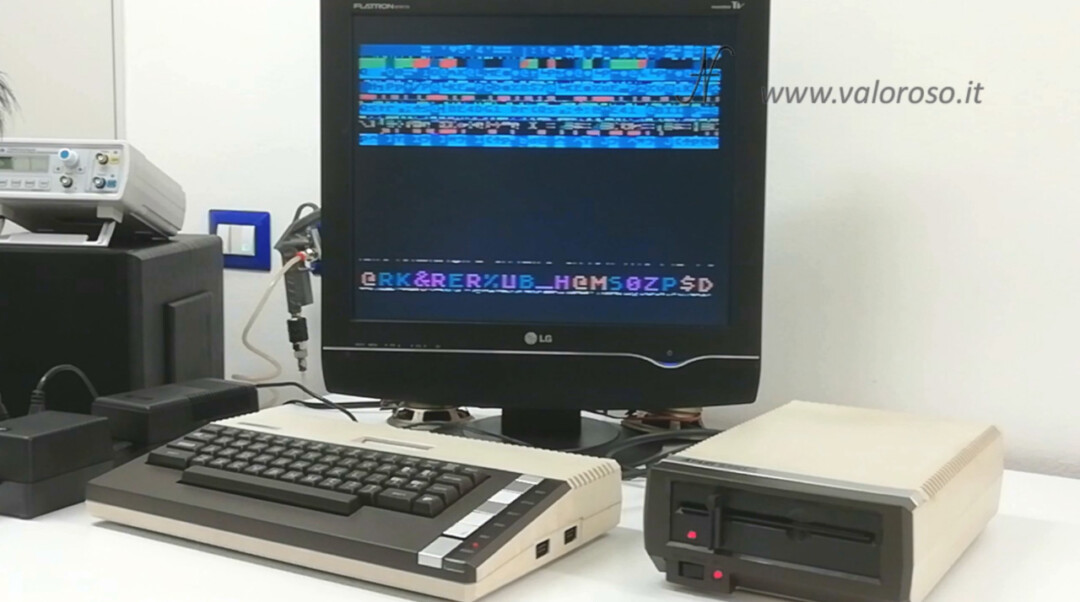
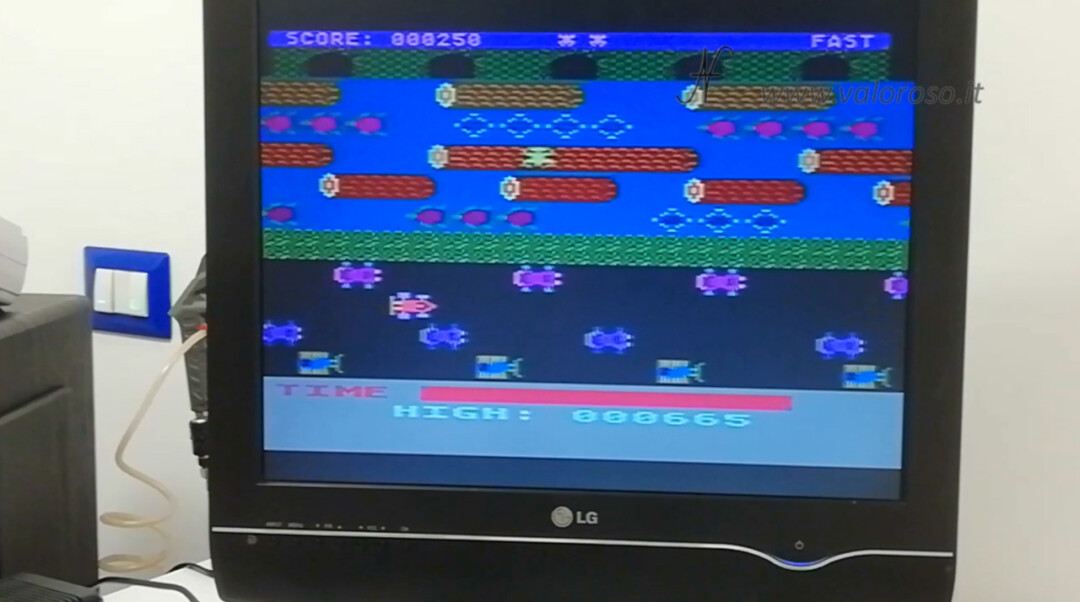
Let's try to load another game present inside the spot: Frogger. He left! The Atari 1050 disk drive works!
Continues...
I plan to open the Atari 800XL computer and the Atari 1050 drive, both out of curiosity to see how they are made inside, and to do a thorough cleaning.
Credits: in the video tutorial, the music is: (1) Jet Set Willy by Rob Hubbard, (2) Frogger published by Sierra On-Line.
To be notified when I publish the other videos on the Atari, as well as the other videos related to retro computers and vintage electronics, I invite you to subscribe to the YouTube channel and activate the notification bell!