In this article, I provide a Word template for creating and printing 5.25-inch floppy disk sleeves. The file was created by Massimiliano Gnecchi, whom I thank for sharing it with the ValorosoIT community.

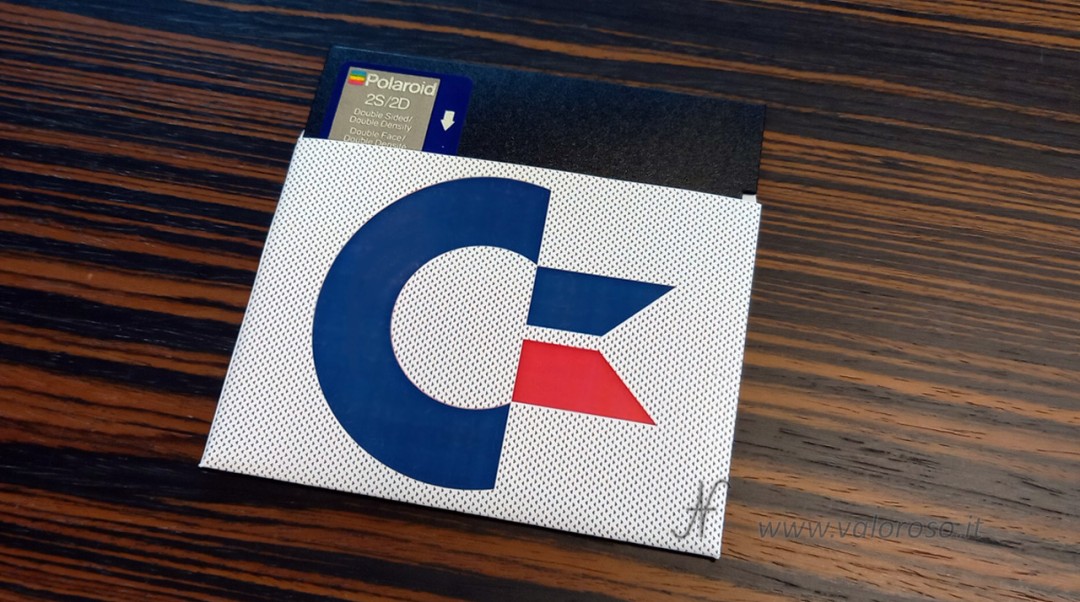
The Word template for the floppy disk sleeve
The document contains the floppy disk sleeve design and the LATO.A and LATO.B fields, where we can list the contents of the two sides of the disk. You can also translate LATO.A with SIDE.A and LATO.B with SIDE.B.
Here is the link to download the Word template for the 5.25-inch floppy disk sleeve:
https://www.valoroso.it/wp-content/uploads/Floppy-5-25-cover.docx
Download and install the C64 Pro font
To display the text on the floppy disk sleeve correctly, we need to install C64 Pro, included in the C64 TrueType v1.2.1 package created by Style. The package includes C64 Pro and C64 Pro Mono:

https://style64.org/c64-truetype
The procedure described here works with Windows 10 and Windows 11. After downloading the ZIP archive containing the font, we extract it to a temporary folder of our choice. We open the extracted folder, enter the fonts subfolder and look for C64 Pro. For this template, we use the TrueType file with the .TTF extension. We right-click the file and select Install or Install for all users.
Paper and print settings
To make the sleeve sturdier than one printed on standard 80 g/m² office paper, we can use 160 g/m² paper. Before printing, we check the print preview and keep the scale at 100%, avoiding any automatic scaling that could alter the dimensions. We also select a good print quality.
Cut, fold and glue the sleeve
After printing, we cut out the sleeve following its outline.


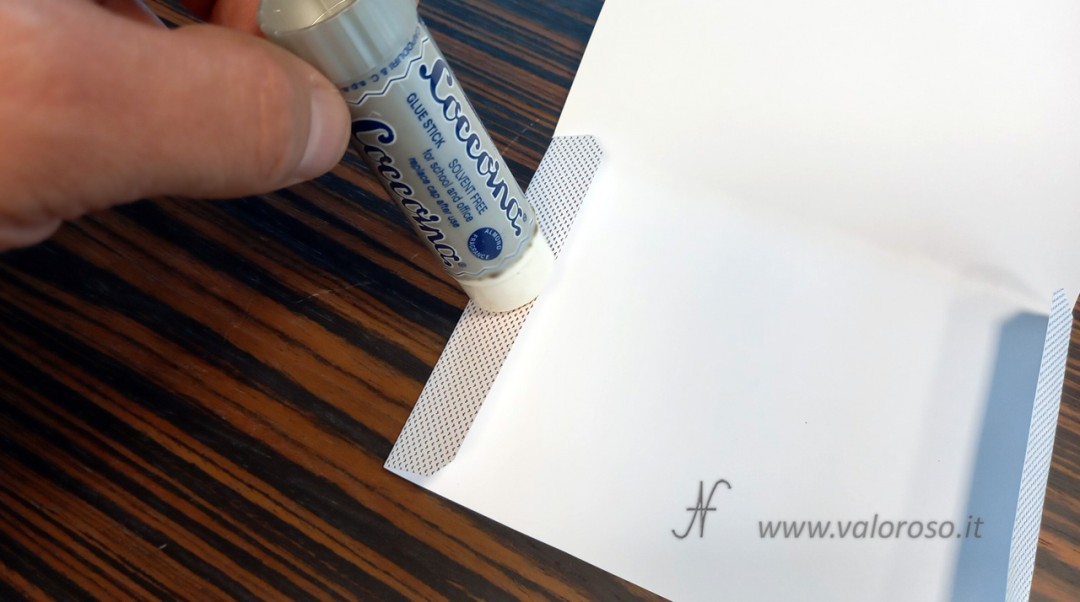
We fold the different sections and glue the tabs using a glue suitable for paper, such as Coccoina, UHU, Pritt or an equivalent product. We use only a small amount of glue and let the sleeve dry thoroughly before inserting the floppy disk.
Storing and cleaning floppy disks
Before inserting an old floppy disk into the drive, we check its magnetic surface. If we notice circular stains on the magnetic surface, they could be mold and could damage the drive. On ValorosoIT, I have already shown how to clean 3.5-inch floppy disks using the RetroManiak tool, which allows us to rotate the disk manually and gently clean its magnetic surface with a soft microfiber or cotton cloth. The same procedure can be used for 5.25-inch floppy disks, using the appropriate tool.
Keep following me on ValorosoIT for more tutorials, downloadable files and content dedicated to vintage computers and vintage electronics.