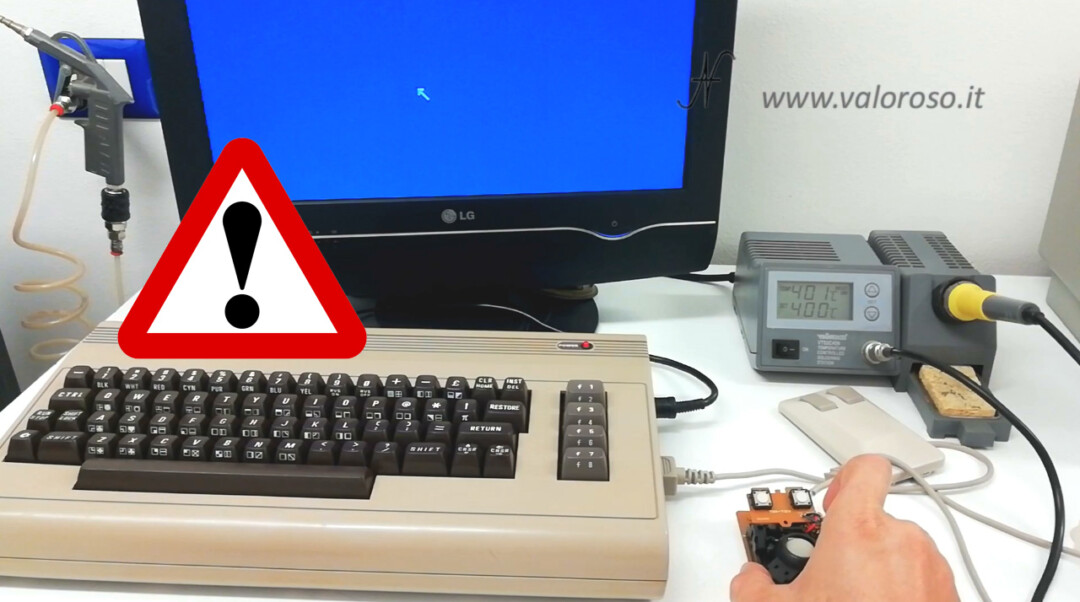
Is there a mouse for the Commodore 64? Here is the Commodore 1350 mouse! Let's see where I bought it, we try it with The Final Cartridge III+ and let's open the mouse to clean it.

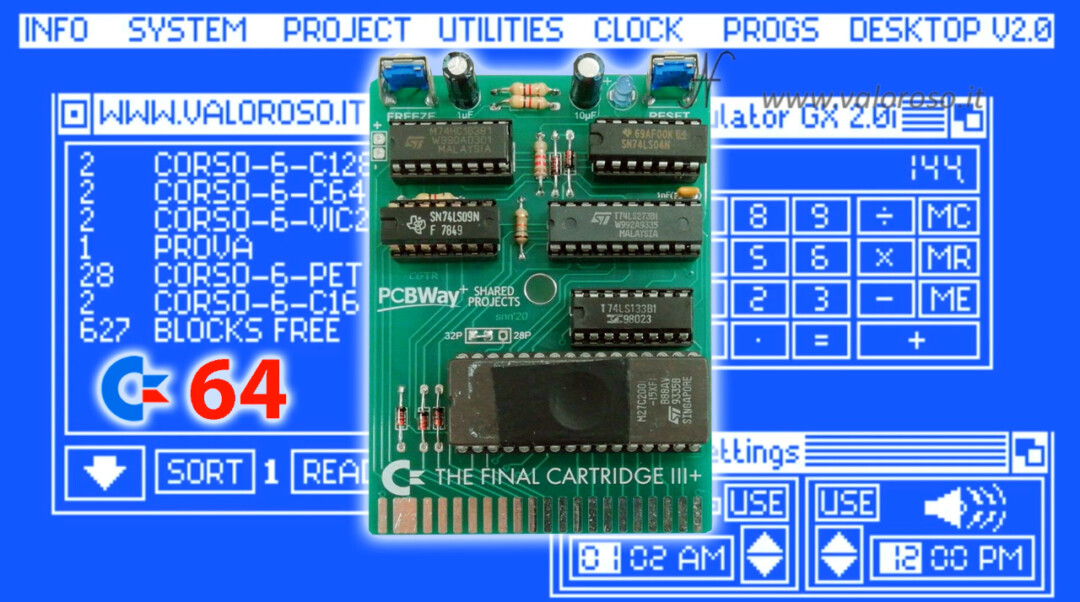
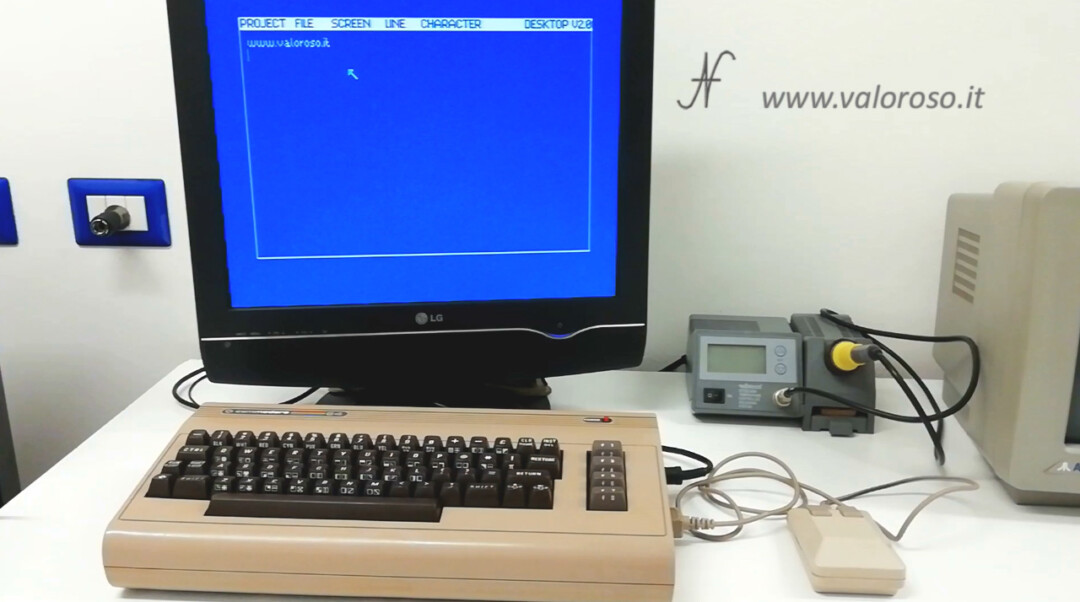
Testing the interface The Final Cartridge III+, an interface that plugs into the expansion port of the Commodore 64 and starts an operating system... similar to Windows, I realized that it is rather difficult to move the mouse pointer with the joystick.
I did some researches and I found out that there were several mice for the Commodore 64. I therefore decided to buy a mouse compatible with the Commodore 64.
Buy a mouse for the Commodore 64
When you buy the mouse pay attention! Although they have the similar connector, not all mice are compatible with the Commodore 64. You need to buy a compatible mouse, such as the Commodore 1350 or the Commodore 1351.
Other mice, such as those for Amiga, for Atari or the old serial mice for PC are not compatible!

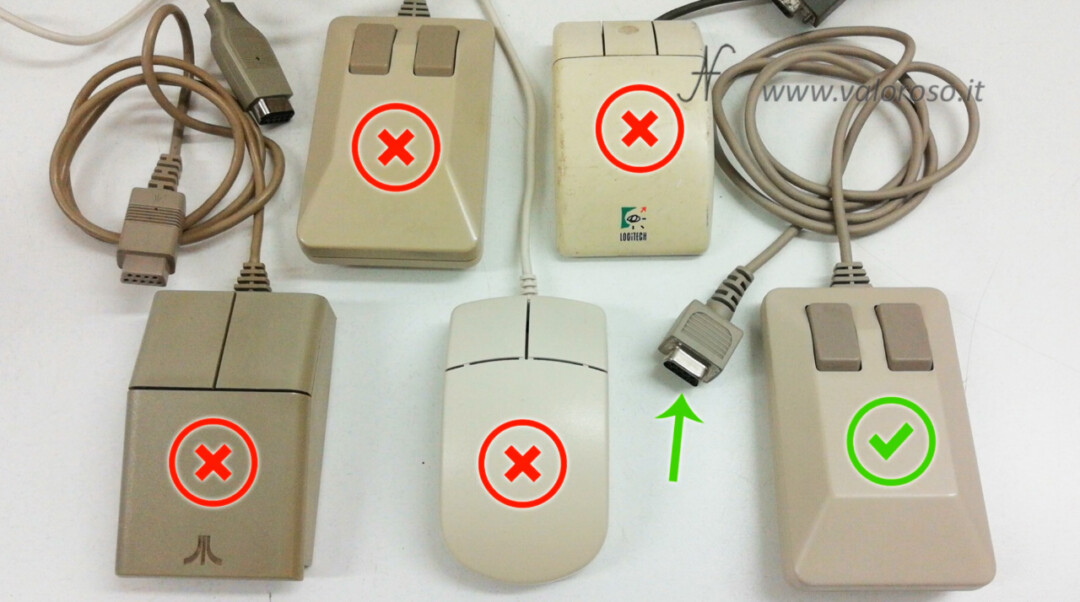
By connecting the wrong mouse, you could damage the computer, as happened to me when I connected a serial PC mouse to theAmiga 500!
Unfortunately, the mouse for the Commodore 64 are quite expensive. If you don't want to make such an investment, you can settle for an adapter, to connect a PS2 mouse to the Commodore 64. Alternatively, you will have to train to open the wallet, because the prices are really exaggerated! Fortunately, it happened to me, on Ebay, an opportunity for an inexpensive mouse.
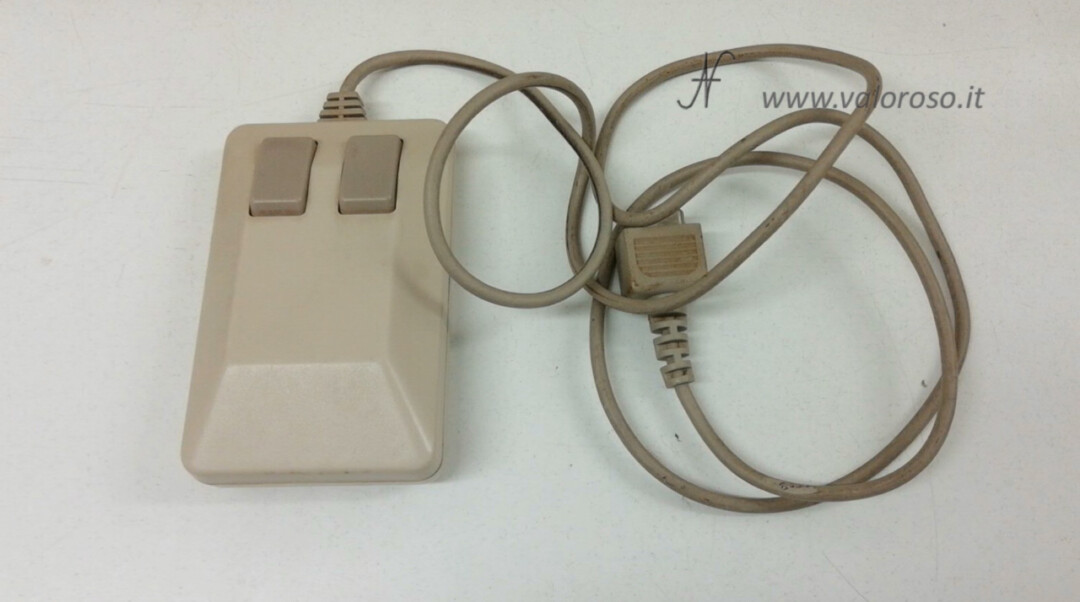
After a few days, the package with the mouse was delivered to my home. The mouse is in good condition... not excellent, actually. A thorough internal and external cleaning is appropriate, and I will show you if you continue reading this article until the end.
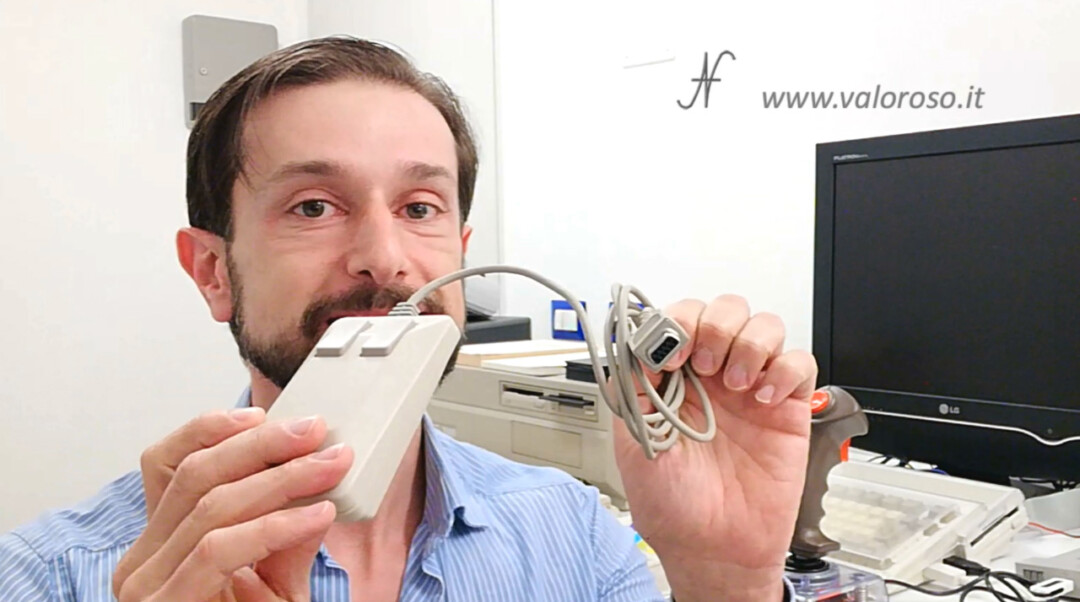
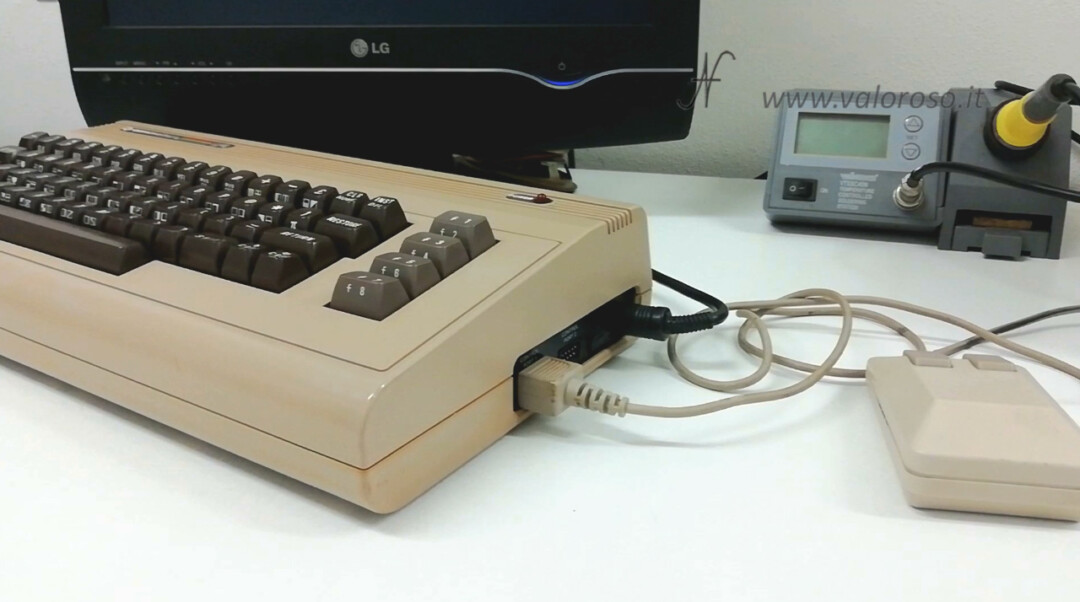
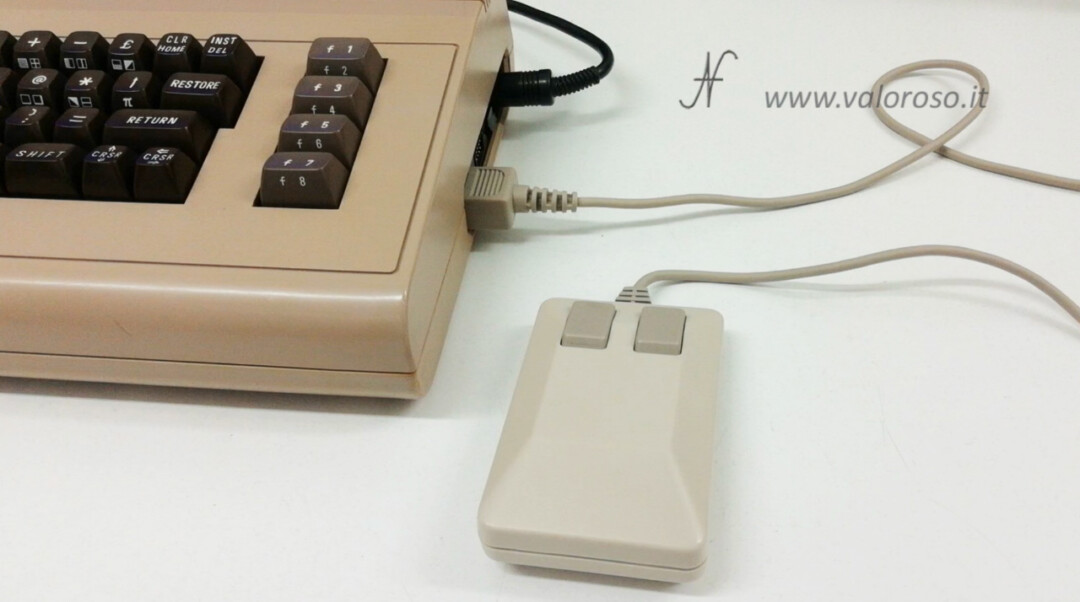
Initially, let's try the mouse with the Commodore 64 and With The Final Cartridge III+! We connect the mouse to joystick port 1 of the computer.

As promised by the seller, the mouse works pretty well.
The Commodore 1350 mouse uses the digital inputs of the joystick port, unlike the Commodore 1351 mouse, which uses analog inputs. We can see this using the joystick tester present in the Final Cartridge III+: let's see how the mouse simulates the movement of the joystick in the various directions.
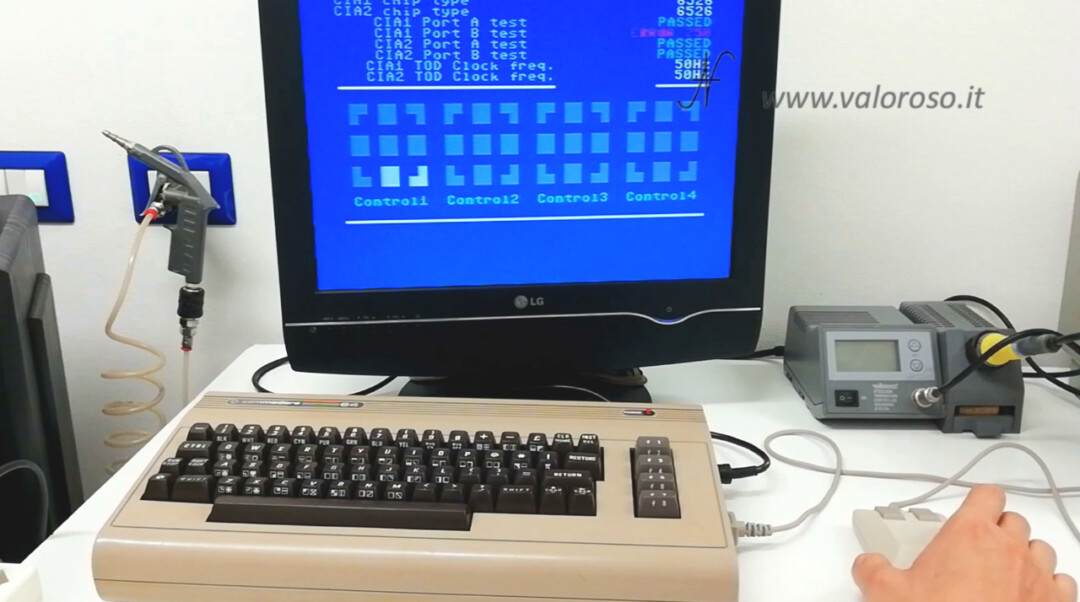
Many say that the Commodore 1350 mouse, simulating the joystick, is not very sensitive. Actually I find myself quite well: the mouse is precise and you can press the buttons easily. The mouse moves the cursor at different speeds, just like a modern mouse would.
Finally, with the mouse, it is much easier to use the applications of the Final Cartridge III+!

How to clean the Commodore 1350 mouse
Are you curious to see how the mouse is made inside and how it is cleaned? Let's disassemble it!
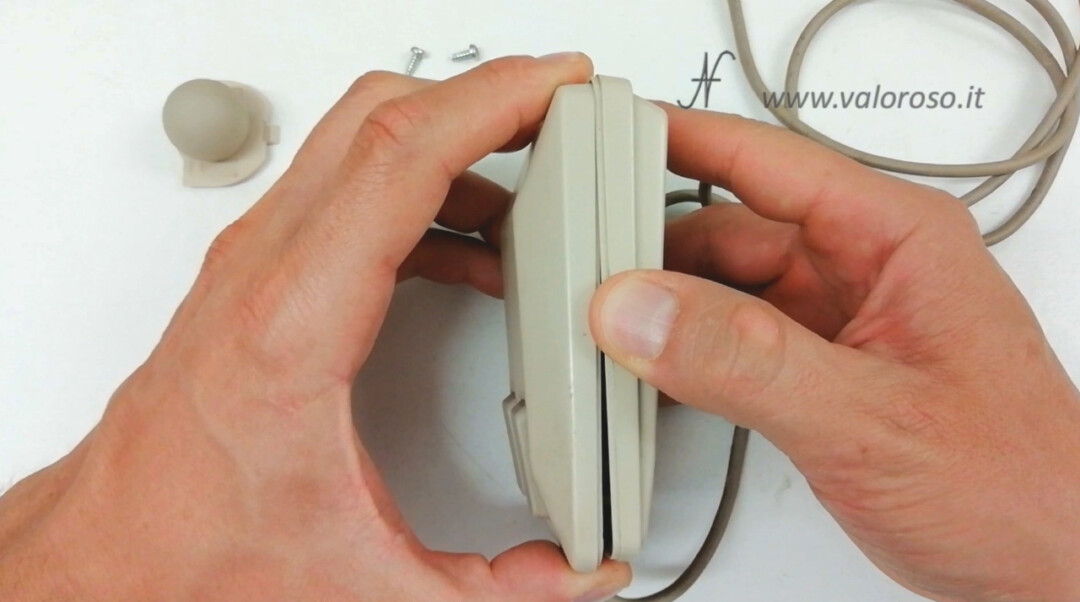
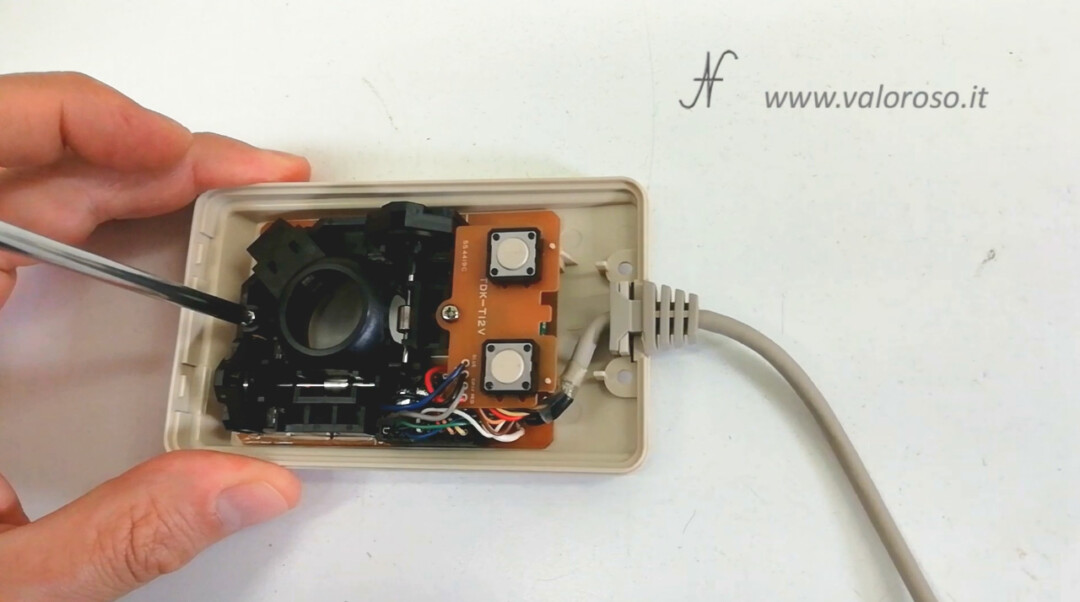
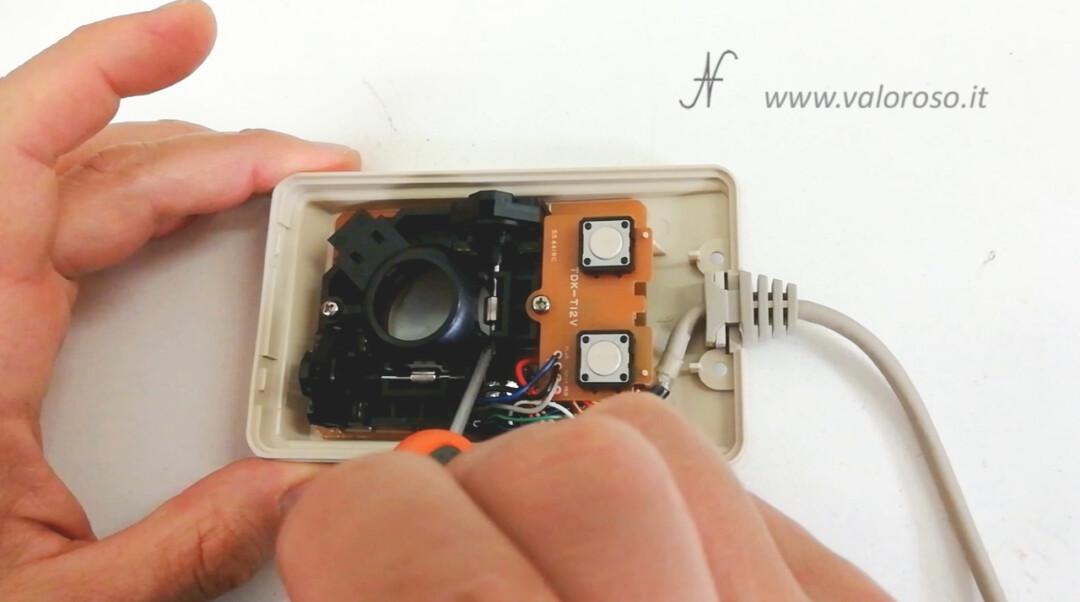
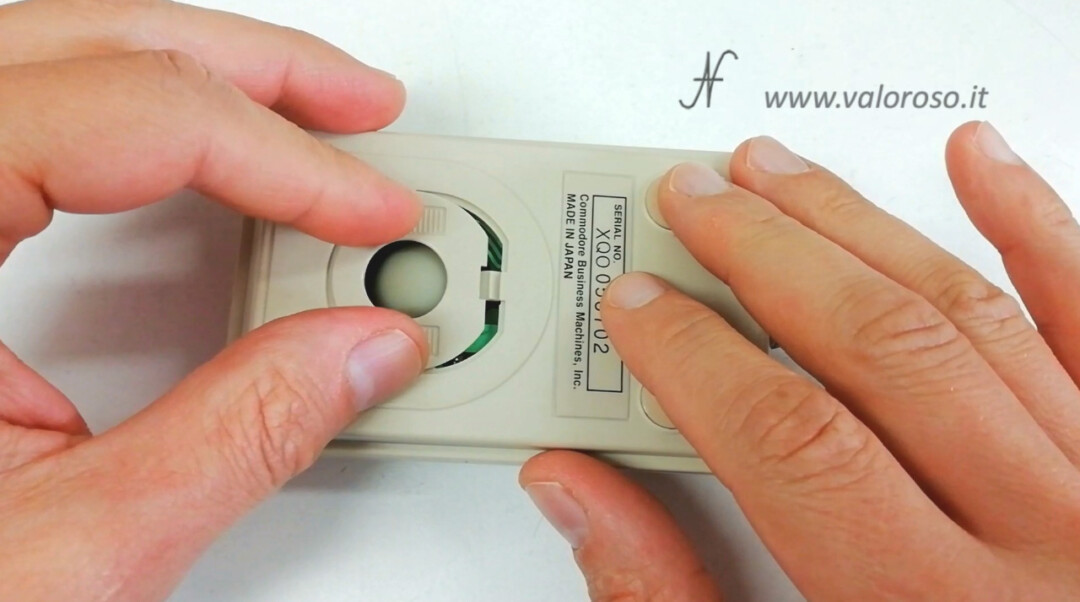
The first step to open the mouse is to free the ball that is inside. We slide the door to open it. Then, we unscrewer the two screws that keep the case closed.
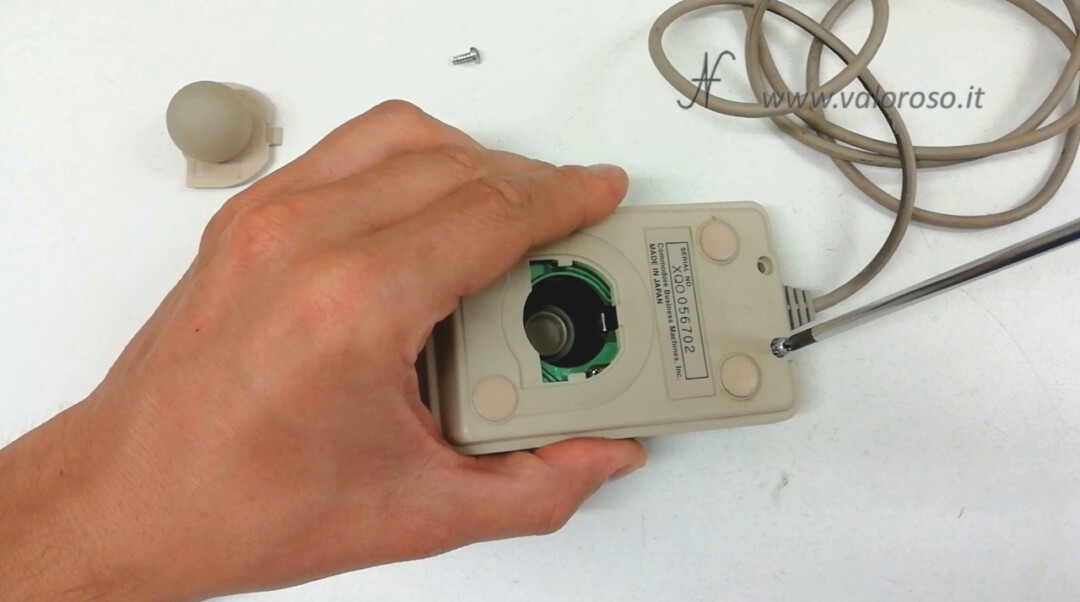
To separate the two shells, after unscrewing the two screws, you have to slide the upper shell backwards, so that the front hooks are unscrewed. Do not try to open the container in any other way, otherwise you risk breaking the closing hooks.
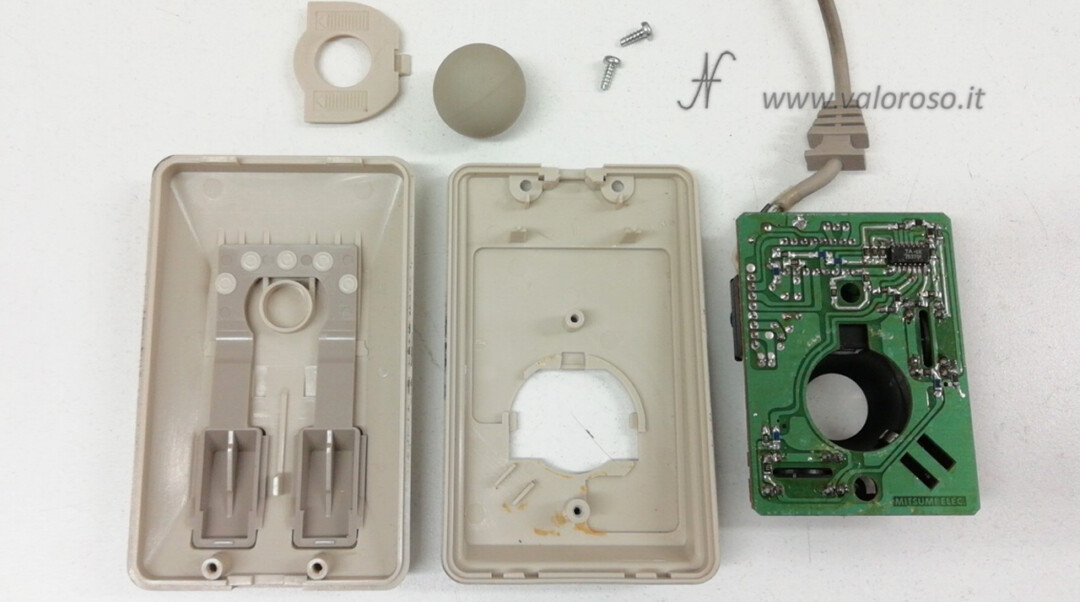
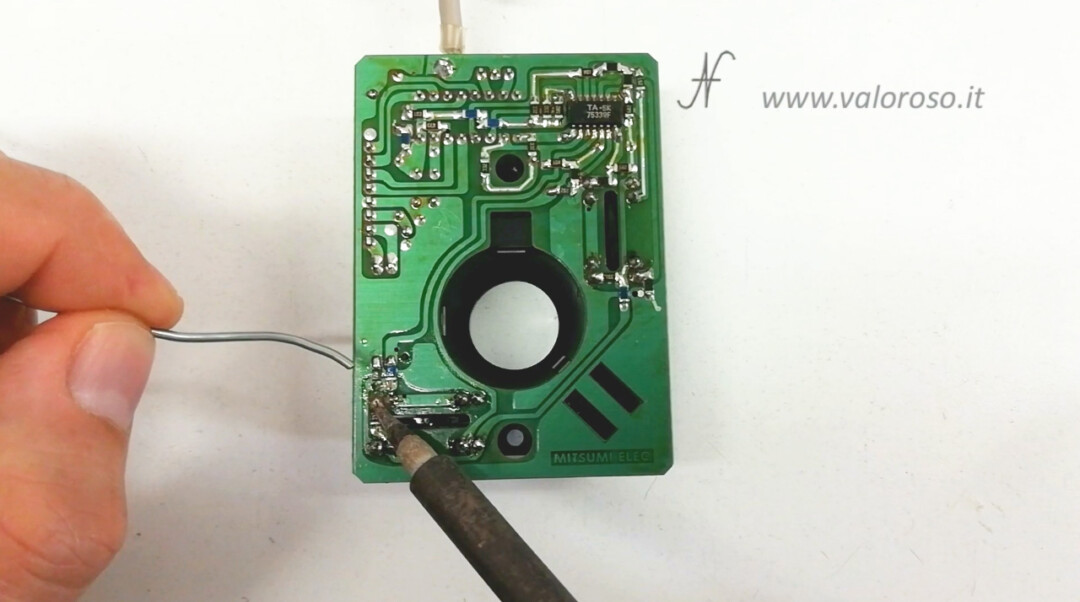
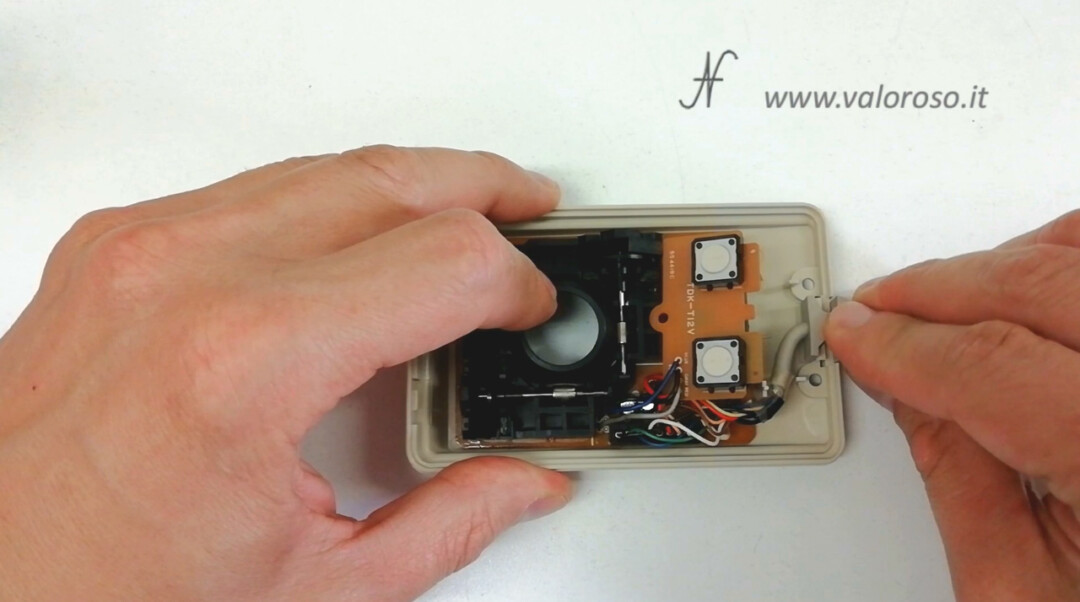
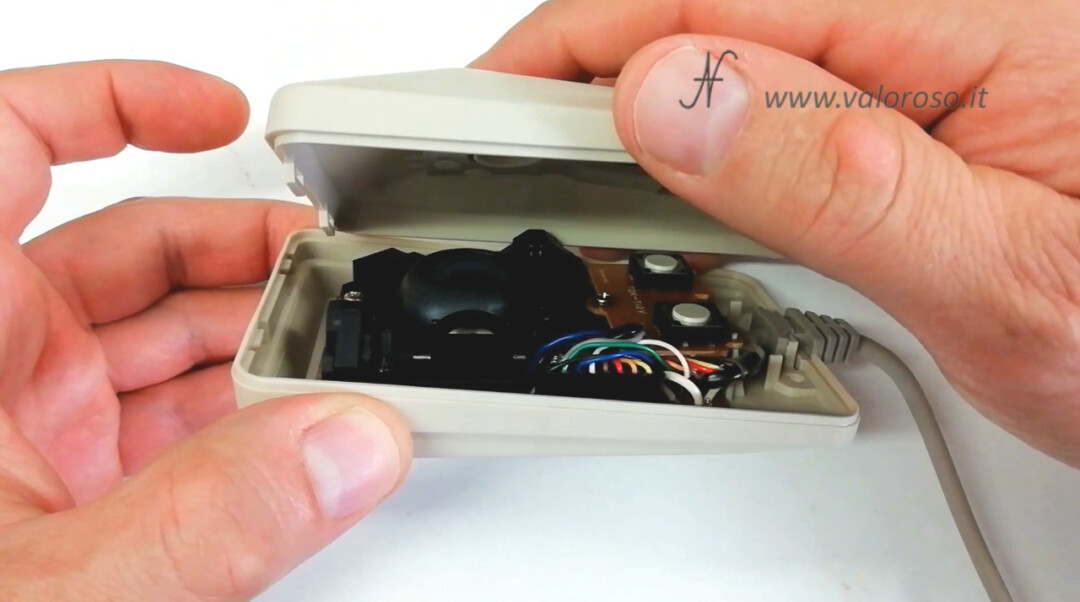
We can then separate the electronic board from the lower shell: it is fixed with only two screws.
And here are the components of the mouse: the shell, the ball and the electronic board!

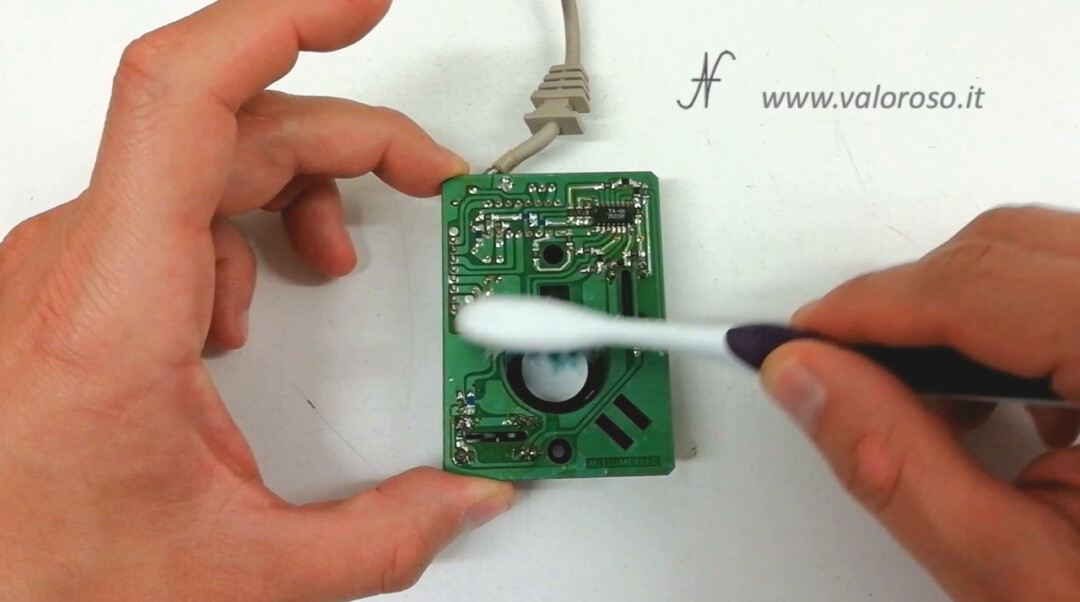
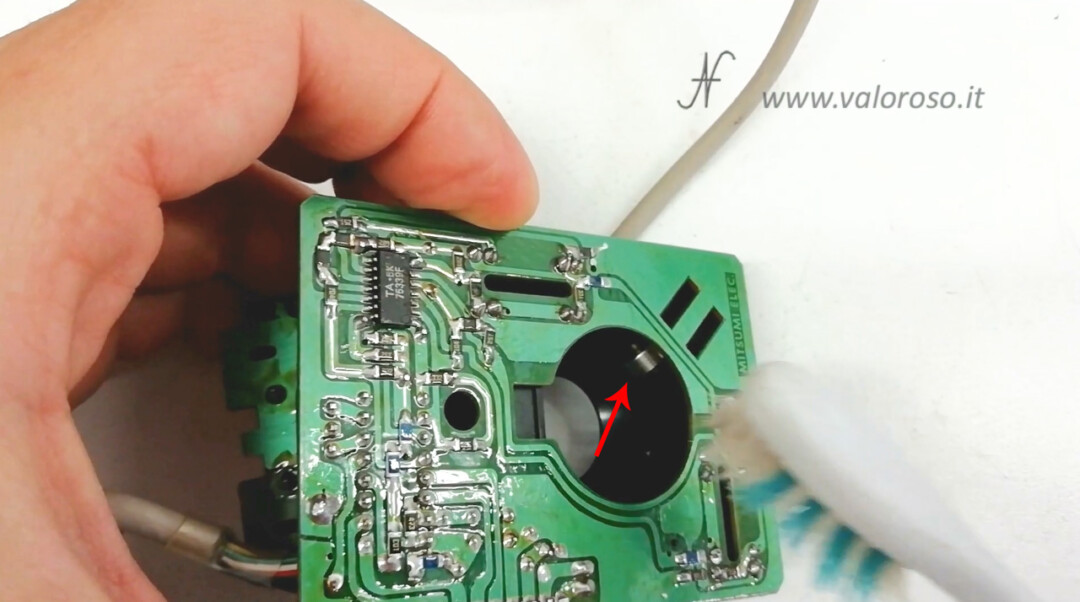
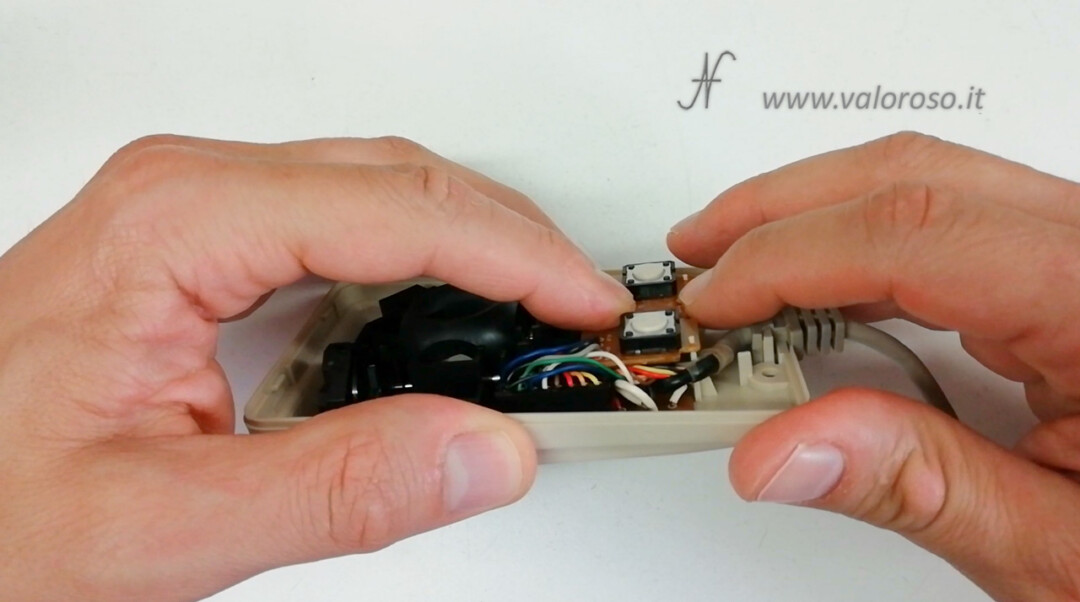
If the board is dusty, we can brush it gently. We brush away the powder from both sides of the PCB.
Although I have removed the two phonic wheels to clean them, I absolutely do not recommend doing this. In fact, the plastics are now hardened by age and could break in an attempt to remove the two pins with wheels.

It is very easy to clean the pins and wheels even if they are in their original position, without removing them.
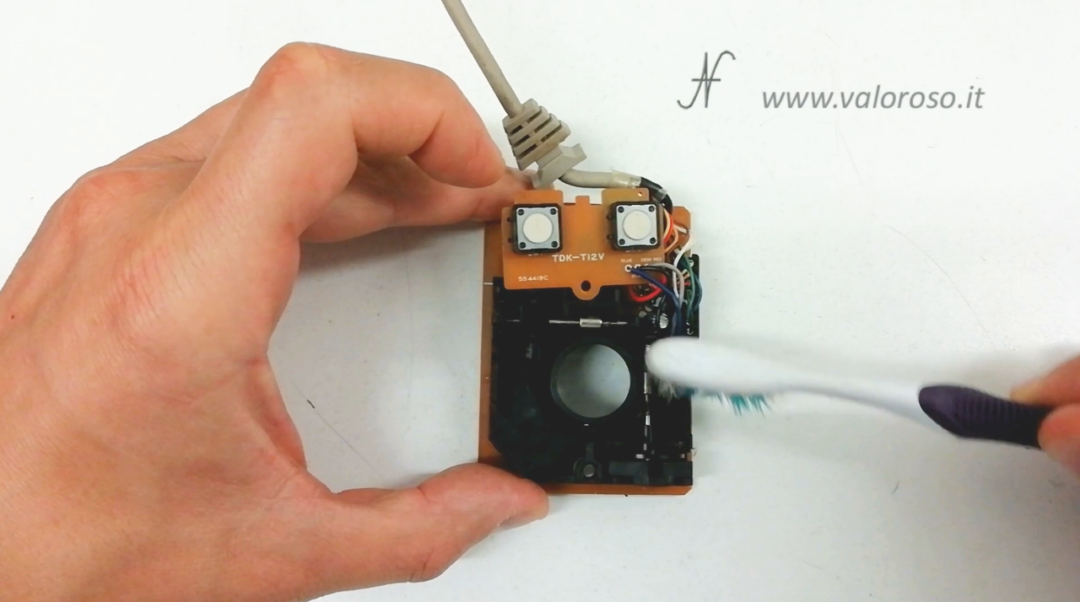
In addition to the two pins of the X and Y directions of the mouse movement, remember to also clean the third wheel, the one that pushes the ball towards the other two wheels.
We can now clean the cable. We use a little water and degreaser. After cleaning the cable, we pass it again with a cloth moistened with only water.
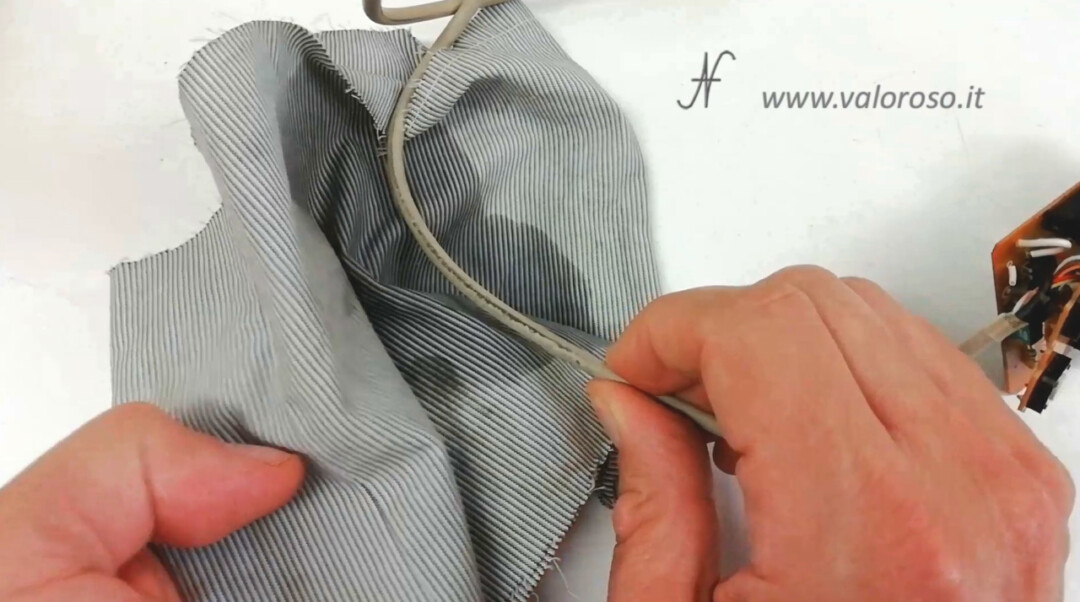
We also clean the connector and cable clip, using a cloth and toothbrush.

Finally we can dry it all!
After cleaning the card, pins, wheels, and cable, I realized that the solder joints of some IR diodes were made a little badly, so I restored them.
Now let's move on to the plastic mouse container. To clean it we immerse it in warm water, in which there is a little degreaser. We clean all parts of the container well with a sponge. For parts that are difficult to reach with the sponge, we can help ourselves with the toothbrush.

After cleaning, it is important to dry the container well, so that it does not retain moisture, which can be harmful to the electronic board. To dry it, in addition to a microfiber cloth, we can use compressed air, taking care not to damage the delicate parts of the container.
Before closing the mouse, I carry out a test by connecting it to the Commodore 64. Although I carry out this operation in peace, I do not recommend that you do it. Your body may be charged with electrostatic energy and you may damage your mouse. I am calm because I do not wear adequate clothes not to charge electrostatically and, in addition, before touching the mouse I "discharged to the ground", touching the metal parts of my workbench.
Everything works properly!
Reassemble the Commodore 1350 mouse
We can proceed to reassemble the electronic board of the Commodore 1350 mouse inside the plastic container. The operation is very simple, it is a matter of putting the PCB back in the same position it had originally, housing the hollow loop and screwing the two screws back on.
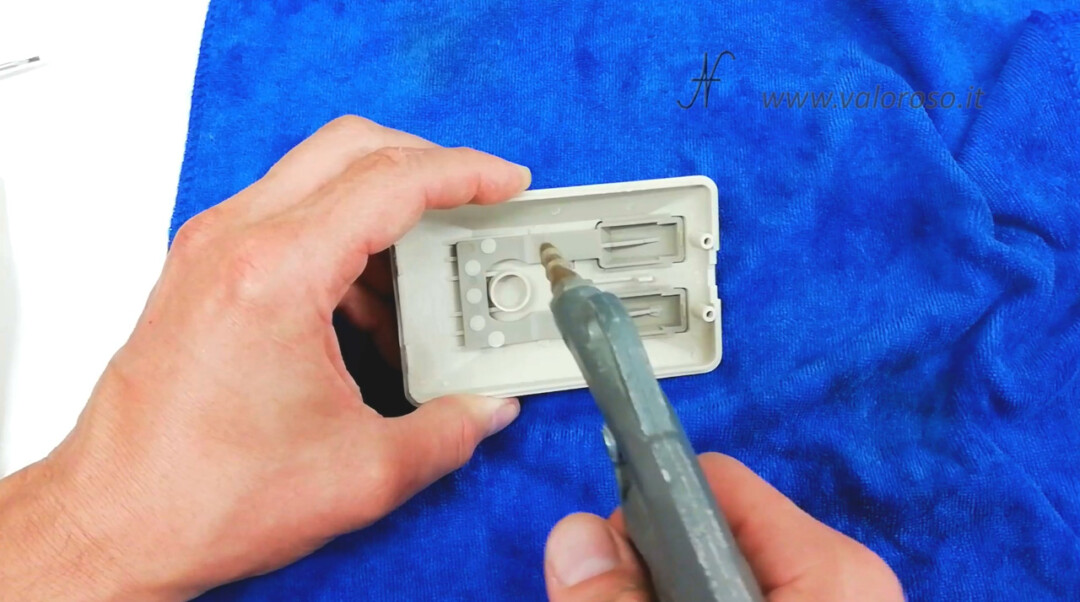
We put a drop of lubricant on the parts of the pins that crawl on the plastic. We must not exaggerate, it only takes a small drop for each part that makes friction. We can moisten the blade of a thin cutting screwdriver with lubricant and place it on the part of the er that crawls on the plastic.
We close the plastic container. We slide the upper part of the shell so as to hang up the front supports.
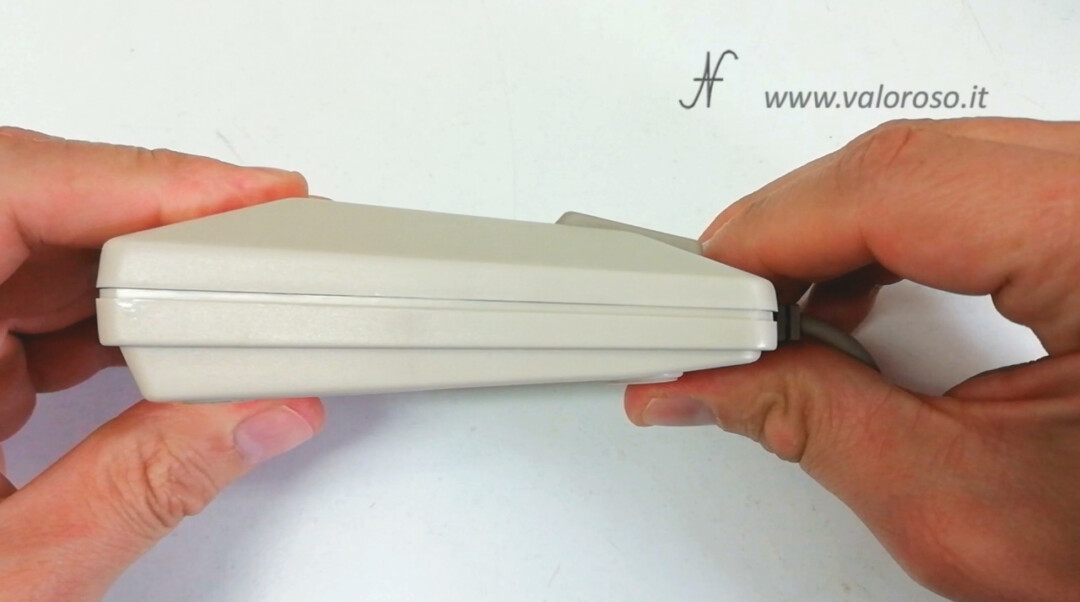
When the two parts of the container are perfectly aligned, we can proceed to screw the two screws, with a star screwdriver.
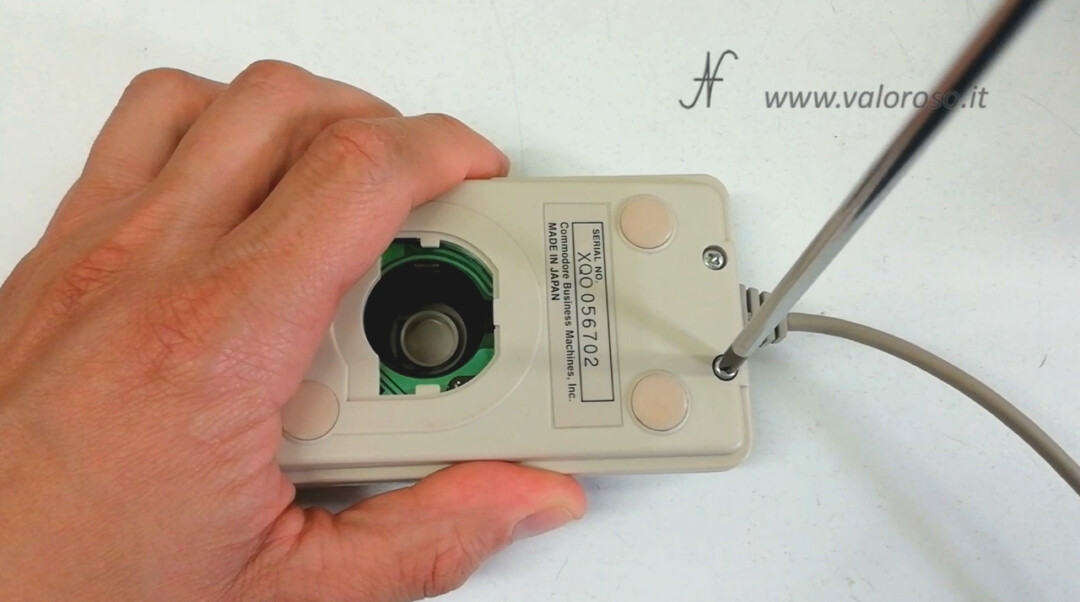
We reposition the ball and close the door, sliding it to lock it.
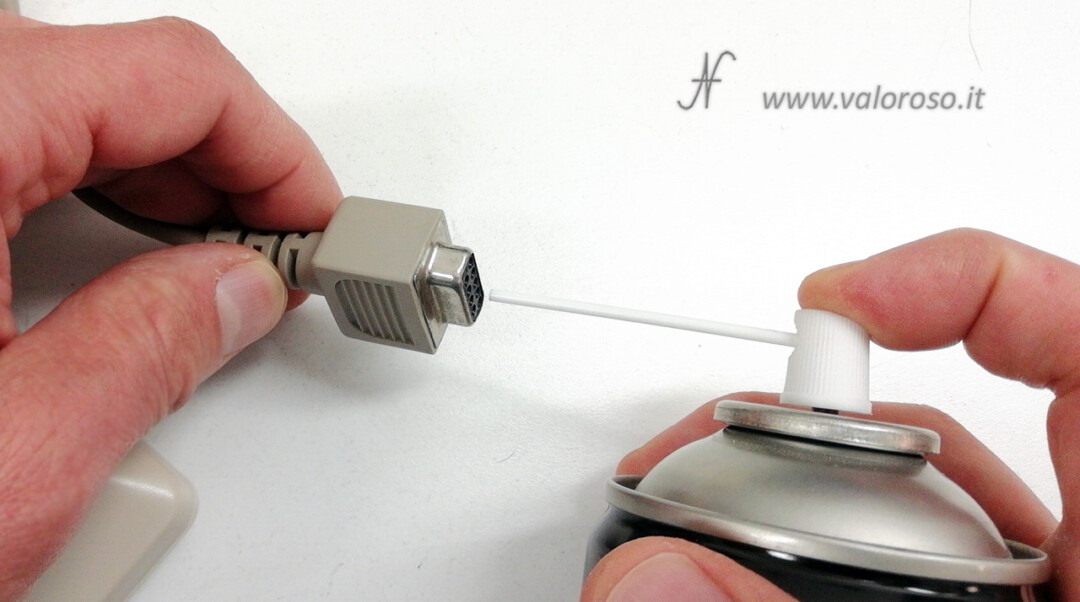
If you want, you can spray some contact deoxidizer inside the connector.
And here is our mouse for the Commodore 64... like new!
In conclusion ...
I hope this tutorial has also been useful to you. We have seen that even the Commodore 64 can have a mouse!
Credits: in the video tutorial, SID music is David Whittaker's Glider Rider.
To be notified when I publish other videos related to retro computers and vintage electronics, I invite you to subscribe to the YouTube channel and activate the notification bell!
Good evening Amedeo, I must say that the video tutorial is interesting. A question in the tutorial you see a program that tests on screen, the speed and movements of the mouse, but there is no mention of the name and where it can be found.
In my opinion, it would be more interesting for me to know this as well.
Regards.
Buonasera di nuovo Amedeo, Anche qui trovo tutto interessante, infatti grazie a te mi è presa "la scimmia" di acquistare lo stesso mouse, spero per me di aggiudicarmene uno. Ma vorrei sapere da chi avete acquistato la Final Cartridge III+ e sè non avvalendosi del kit da saldare, si può acquistare dallo stesso fornitore la cartuccia già finita.
Greetings
Howdy! Thanks for the compliments. The program I used to test the mouse, is actually a joystick tester and is located in the Final Cartridge III+ (obviously the full version with the software).
Good evening. Final Cartridge is also already mounted. Who gave it to me, in reality, is not a seller, but a hobbyist. Therefore it does not resale the kits already mounted. I advise you to look for it on eBay (the full version with the software), taking care to use purchasing protection.