Today we talk about DiagROM and start replacing the keyboard membrane of the Amiga 500. We are at the third video-article of the endless story of this Amiga 500 that I bought last year! Can a repair last so long?

Unfortunately the answer is yes, considering there isn't a single piece inside this Amiga 500 that works as it should!
In the two previous video articles, I told you about thepurchase of this Amiga 500 with several accessories. Then, I bought a second power supply, tested and working, but it was not enough to start the computer. I disassembled, piece by piece, all the Amiga 500 and I reconstructed some corroded tracks on the printed circuit board.
It is still not clear why the corrosion of the printed circuit board: I can imagine a drop of liquid coming from the outside, because the tracks are far from the electrolytic capacitors and there are no batteries nearby!
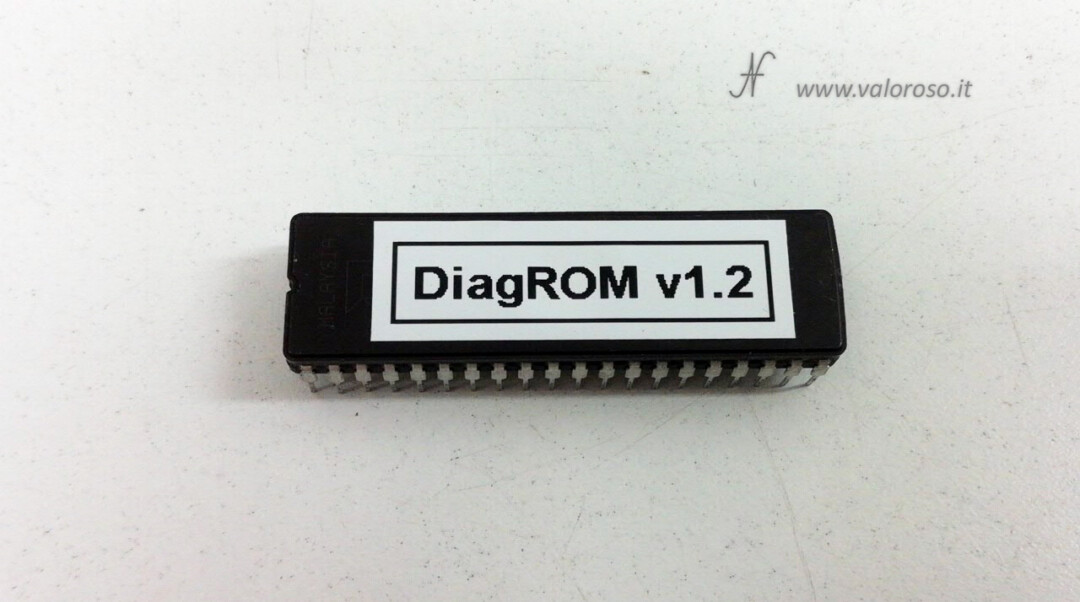
Diagrom
We continue the repair from where we left it. Let's test the Amiga 500 with DiagROM and see how it goes...

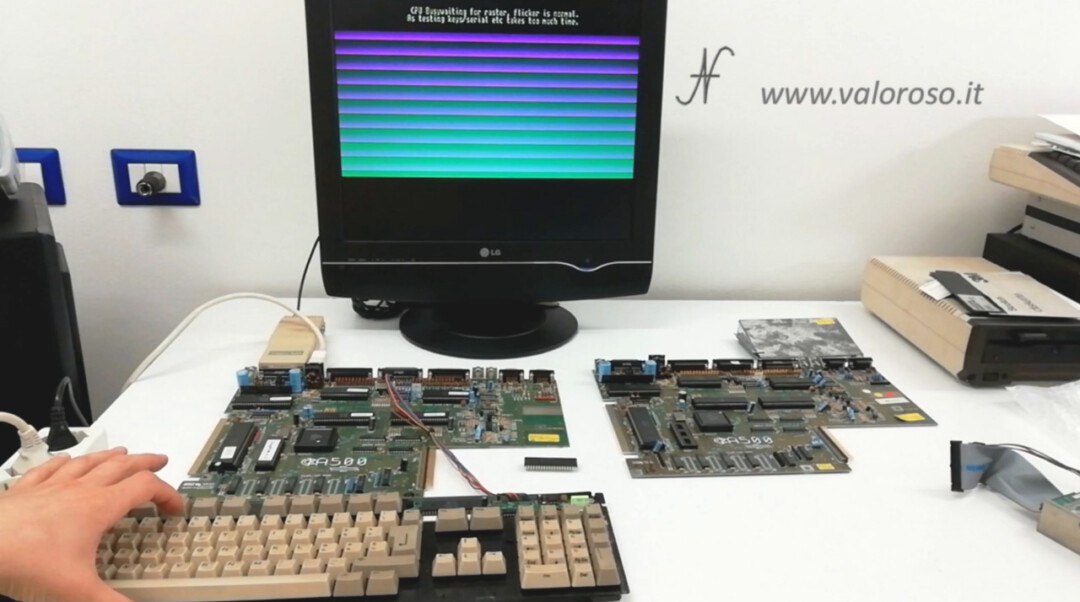
To compare the test results, I didn't just get a DiagROM.
I also bought a second motherboard, tested and working. In this way we can see if the two motherboards behave in the same way, facilitating and speeding up the repair.
We install DiagROM instead of the original Amiga 500 ROM. The original ROM of the Amiga 500 is located immediately to the right of the Motorola 68000 CPU. The ROM is also identified as U6.
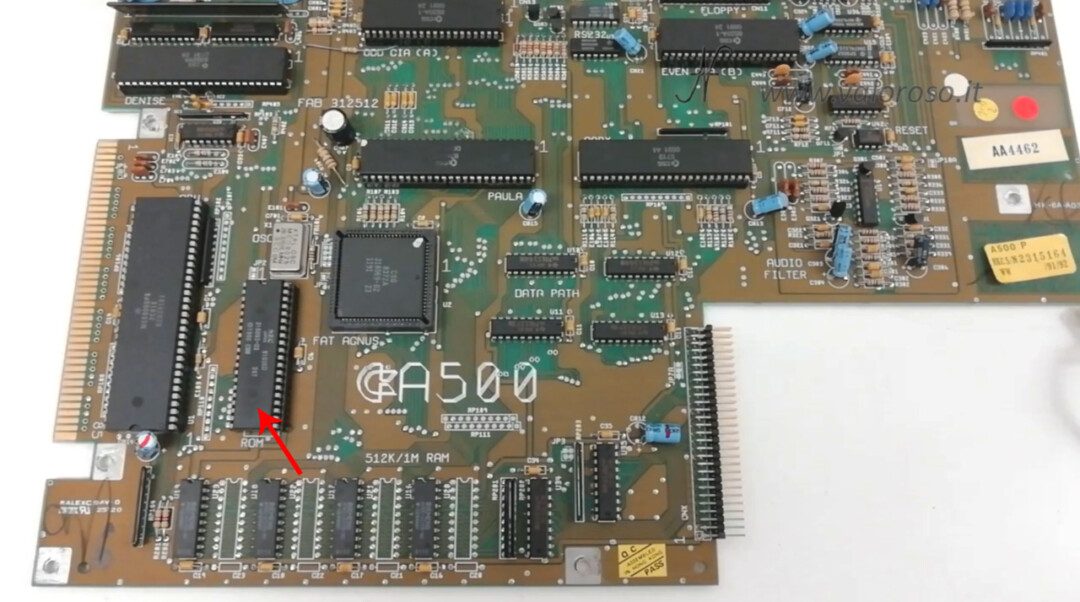
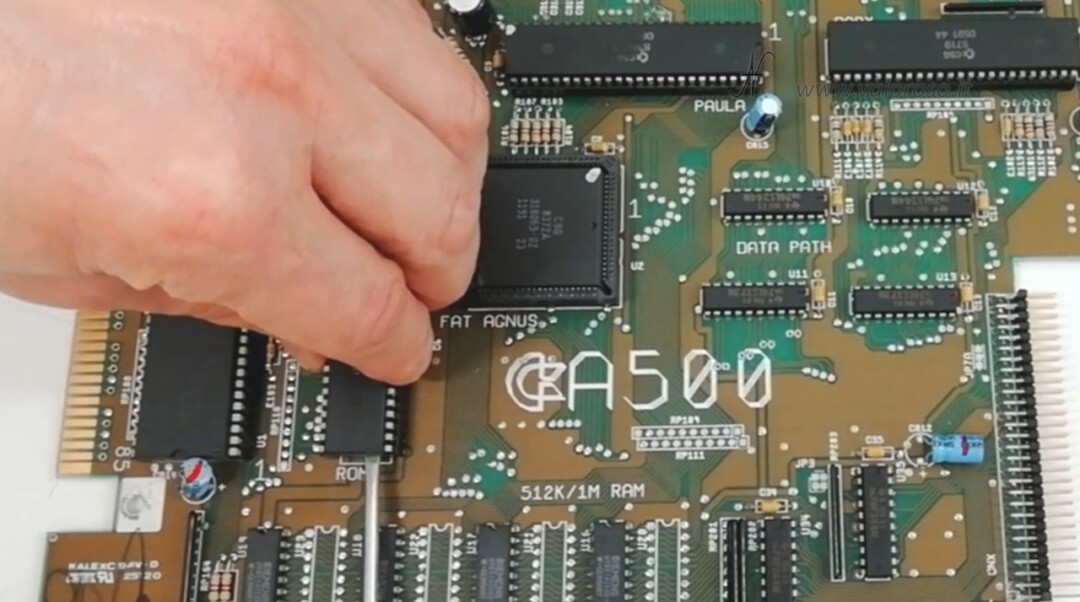
The first operation to be carried out is to remove the original ROM of the Amiga 500 from its socket.

Through a shear screwdriver, thin but with a fairly wide blade, we can leverage between the chip and the socket, gently lifting the two sides of the ROM. Remember! Do not leverage with the screwdriver on the printed circuit board! The lever must be made between the chip and the socket. Also, do not apply excessive force. Millimeter after millimeter, you lift first one side and then the other of the chip, alternating the two sides until the ROM disengages from its socket.
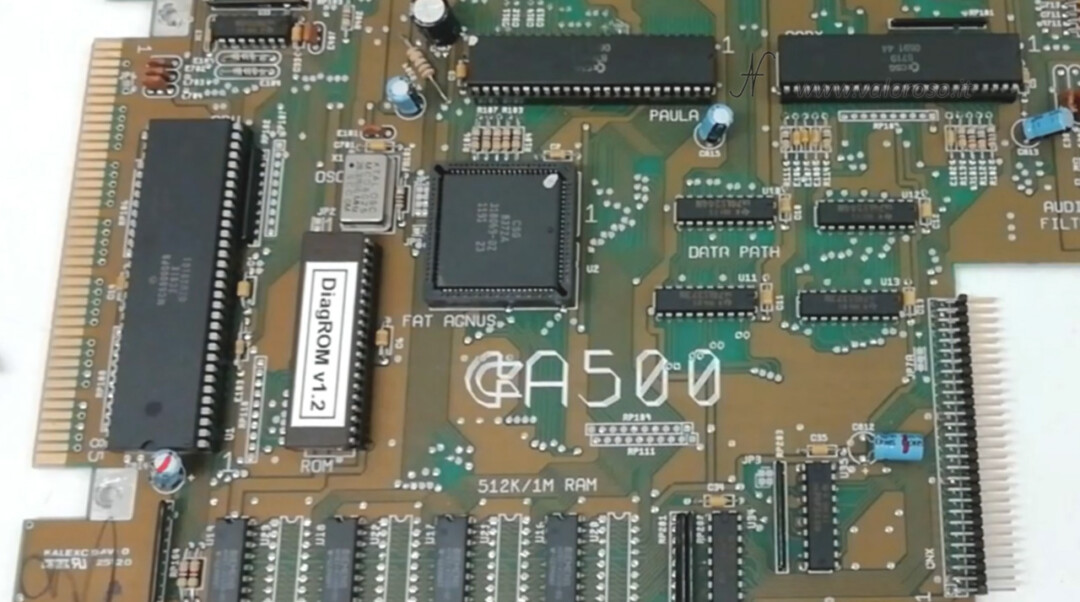
After removing the original ROM of the Amiga 500, we can install, in its place, the DiagROM. Pay attention to the direction of insertion of the chip. All chips must be inserted with attention to orientation.
Press the DiagROM towards the socket only when you are sure that all the pins are inside the socket contacts, otherwise they could bend.
When the Commodore A500 is accepted with the installed diagrrom, the monitor shows rather strange and disturbing screens!
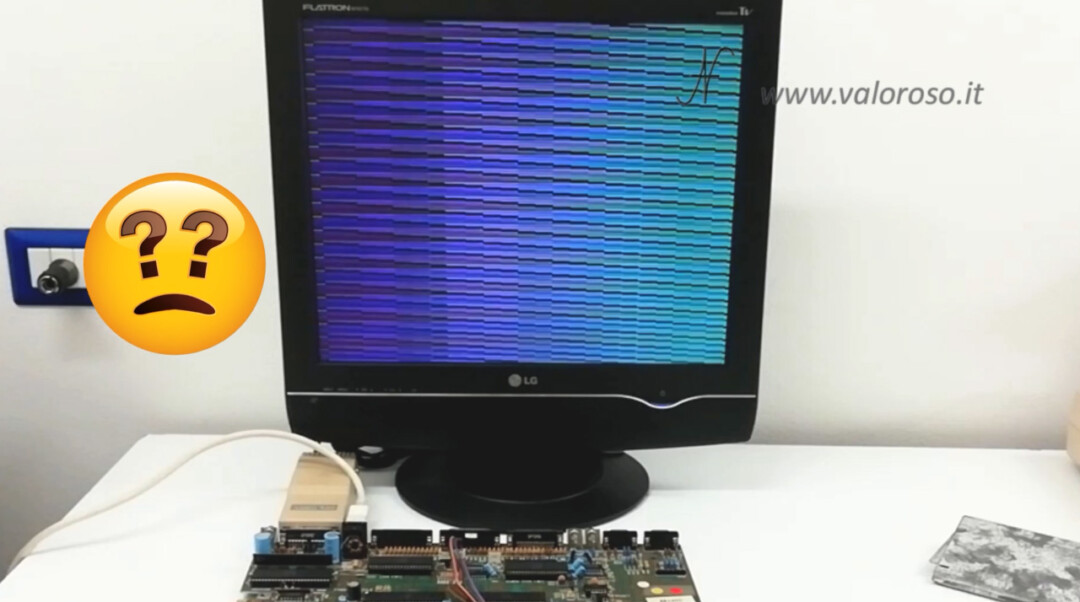
After displaying these multicolor screens, the main menu of the diagnostic ROM (DiagROM) starts.

Unfortunately, by pressing the keys on the keyboard, the menu always remains the same, locked.
To compare the results just obtained, we take the other motherboard and redo the same tests. We insert the DiagROM in place of the original ROM, using the same procedure seen above.
The second motherboard is recognizable by the stickers glued on the various chips. We remove the original ROM of the second motherboard and mount the DiagROM.
After putting the DiagROM on the second motherboard, we reconnect everything: monitor, power supply and keyboard.
Since everything is so open, be careful not to touch the metal parts of the keyboard against the printed circuit board. Also, insert the connectors gently, so as not to break the PCB.

Even the screens of the second motherboard of the Amiga 500, the functioning one, are strange. They are equivalent to those seen before, with the repaired motherboard. This makes me think that the test has started correctly on both mainboard.
Even on the second motherboard, nothing happens when you press the keys on the keyboard.
Replacement of the Amiga 500 keyboard membrane
At this point I think that the keyboard is broken, since it behaves in the same way with two different motherboards.
In fact, I realized that the 5 key works, if you press it with a certain force.
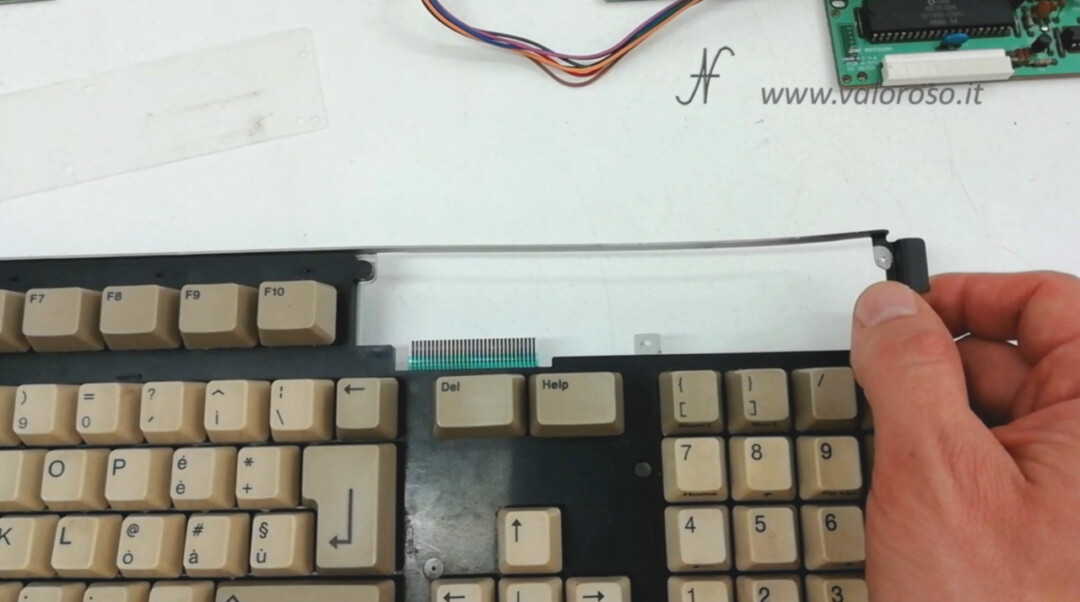
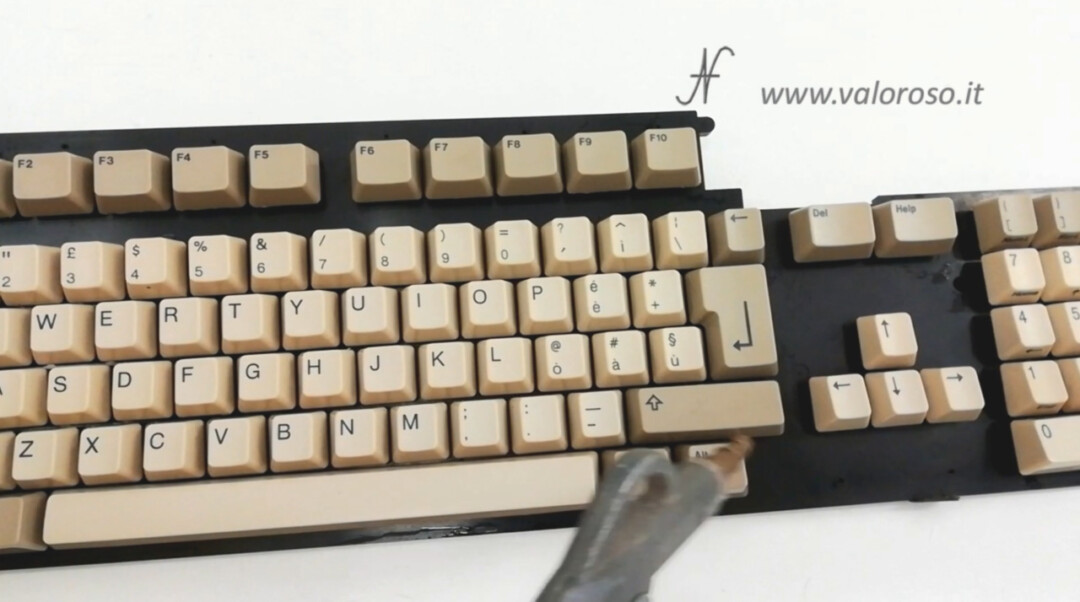
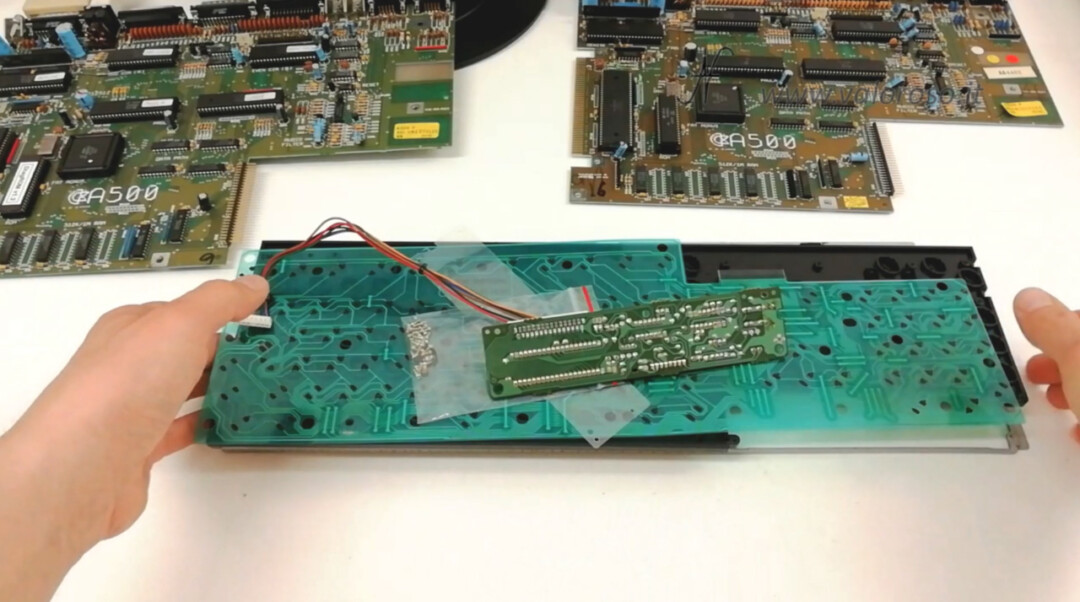
We open the keyboard to see how it is made. We begin to open the connector of the flexible printed keyboard of the Amiga 500, otherwise called "membrane".
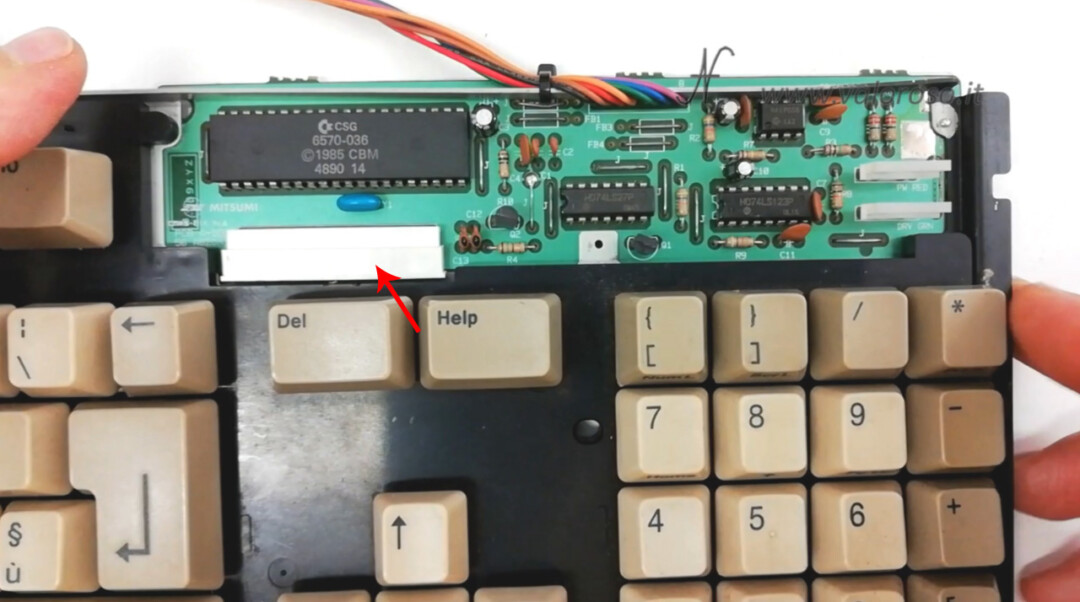
The small printed circuit board, behind the keyboard, is protected by a transparent plastic sheet. We unscreact the screws and also remove the cable tie.
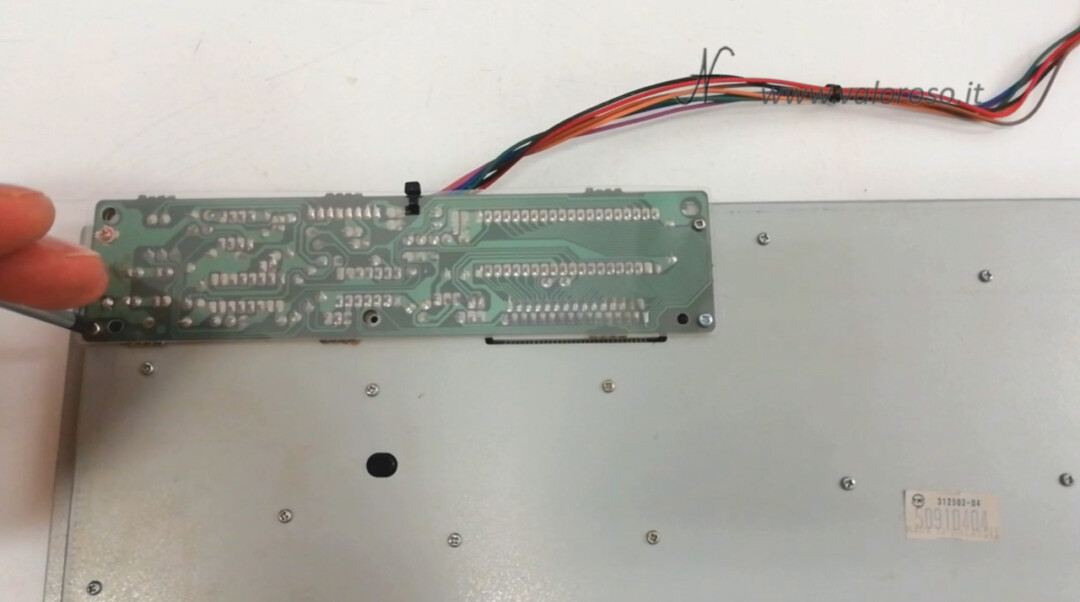
The circuit simply detaches. Be careful to remove the membrane of the Amiga 500 keyboard only if the connector is open.
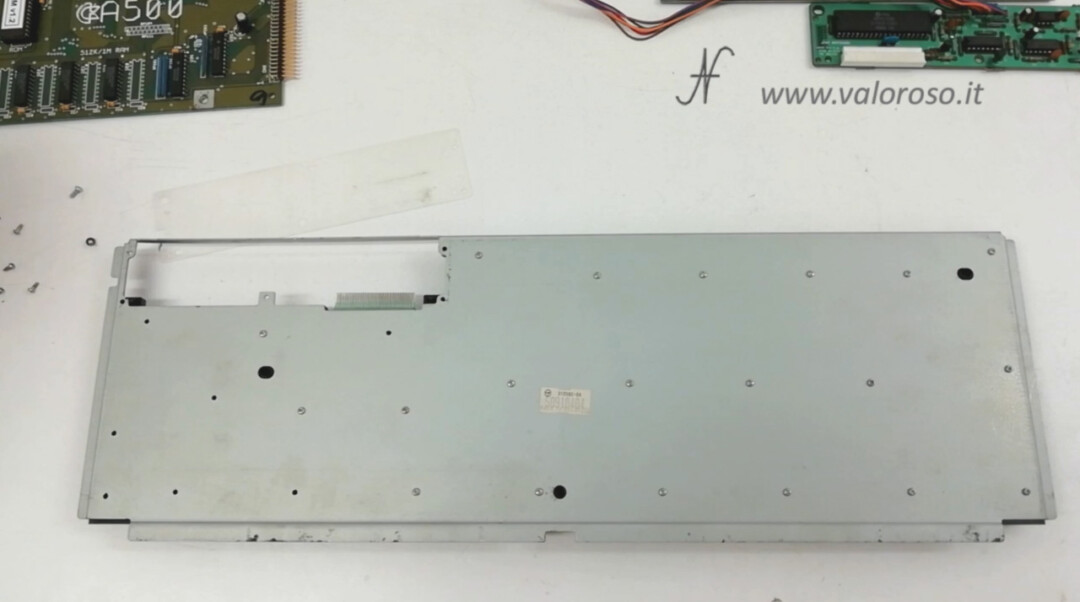
On the back of the Amiga 500, there are a series of screws to unscrew... there are so many!
Let's arm ourselves with patience and unscreath them all!
When there are so many components, I recommend that you put them in a sachet, so as not to lose them. In addition... take lots of pictures! Only in this way will you be able to reassemble everything as it was previously!
We remove the metal bottom of the keyboard. There is some rust on the sides, but the conditions are good. Inside the keyboard of the Amiga 500, there is the flexible printed circuit board, also called "membrane".
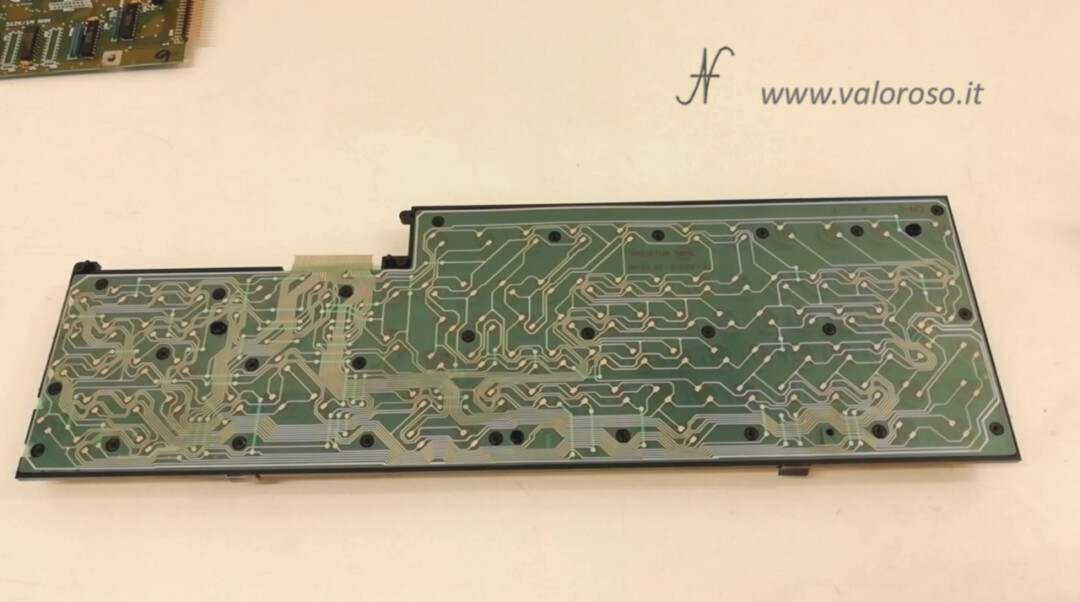
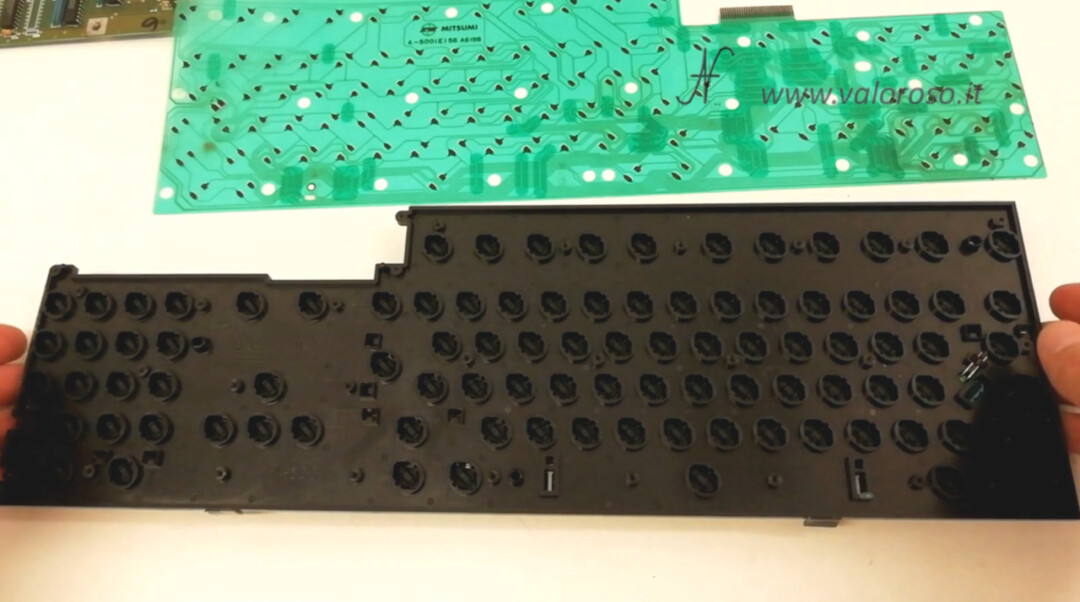
You can remove it by simply lifting it. We see that it is brand Mitsumi, code A-500(E)56 A619B.

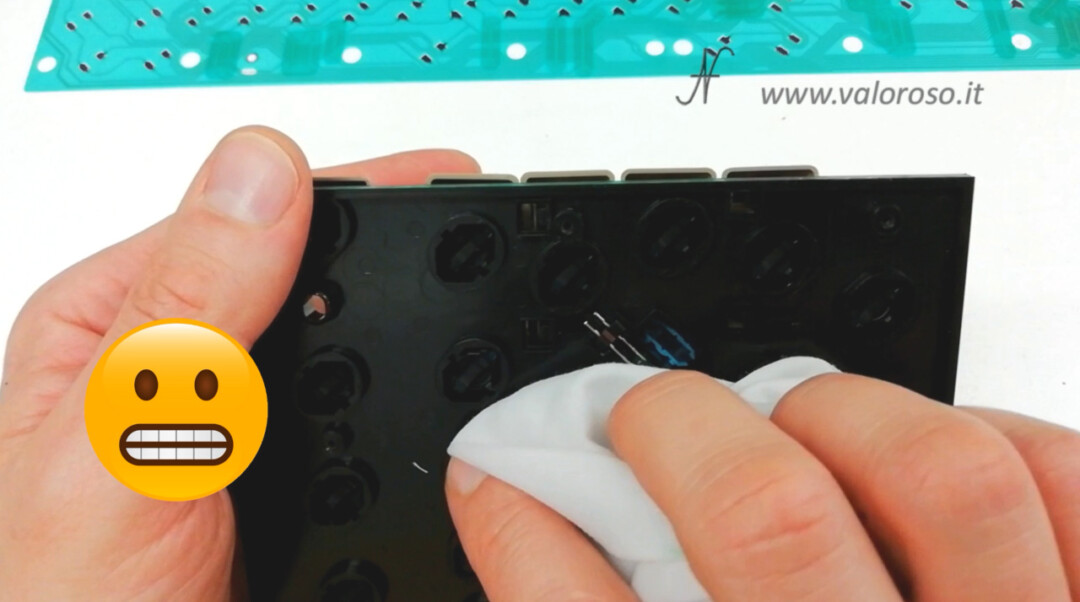
Behind the keys, there is a conductive rubber. When you press a button, the conductive rubber rests on the membrane, straddling two adjacent pitches.
On the keyboard, there is also the LED of the CAPS LOCK key.
In the hope of not having to replace the membrane of the keyboard, I started to clean it with a cloth and alcohol.
Unfortunately, the cleanliness highlighted several corroded tracks. Electrical continuity is interrupted, as the tester demonstrates. Although some look good, lots of tracks are broken!
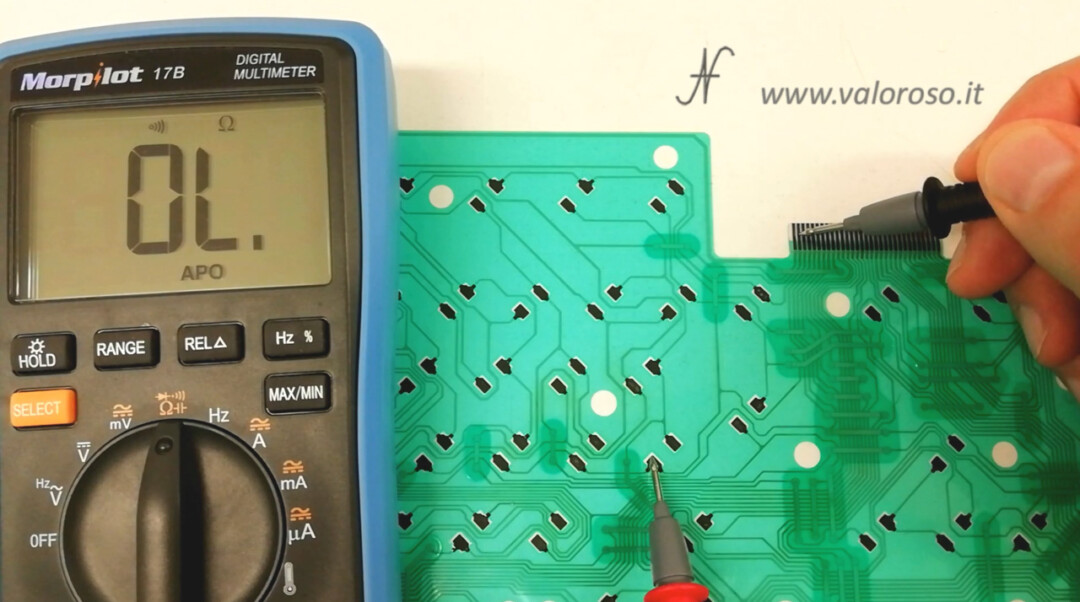
I know that there are some who repair the slopes with special markers with conductive paint, but here the interrupted tracks are really many. Surely, let's first replace the keyboard membrane.
If you need to replace the keyboard membrane of your Amiga 500, pay attention: there are different models of membrane, you have to order the correct one. The code we had read before about the original membrane of my Amiga 500 is: A-500(E)56 A619B.
In my case, you have to find a membrane that can replace the original Mitsumi, with the code ending with A619B, which is then related to the European keyboard, with the short ENTER key.
There is also the A619A version, with the long ENTER button. This is wrong for my Amiga 500.
While waiting for the membrane I ordered to arrive, we proceed with the cleaning of the remaining parts of the keyboard. We try to clean the conductive rubber that is behind the buttons well, so that there is no dust or other type of dirt. It is a thankless job, but it must be done!
Clean the keyboard of the Amiga 500
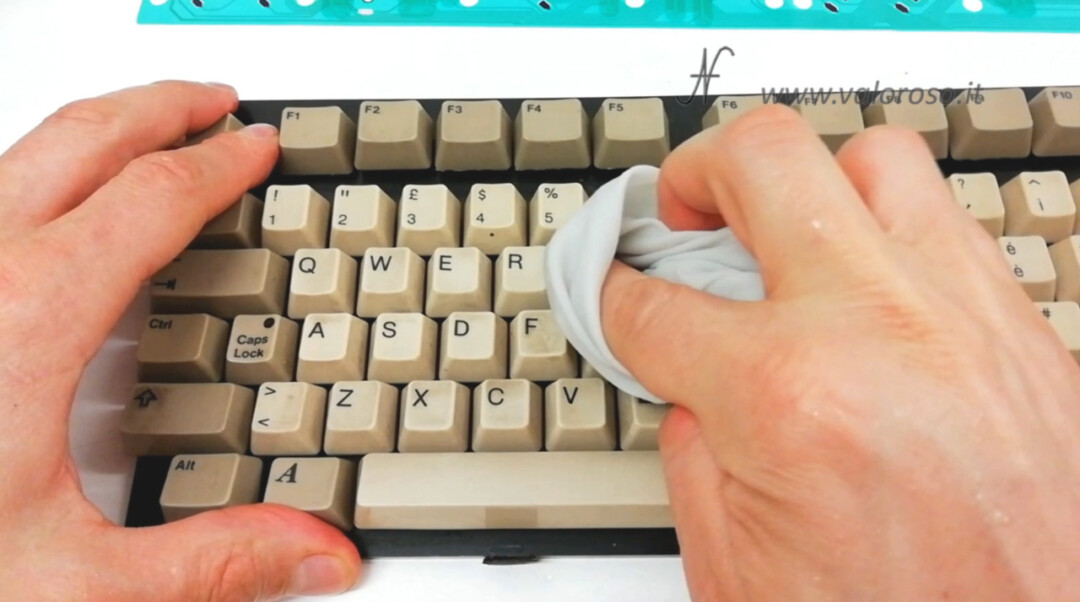
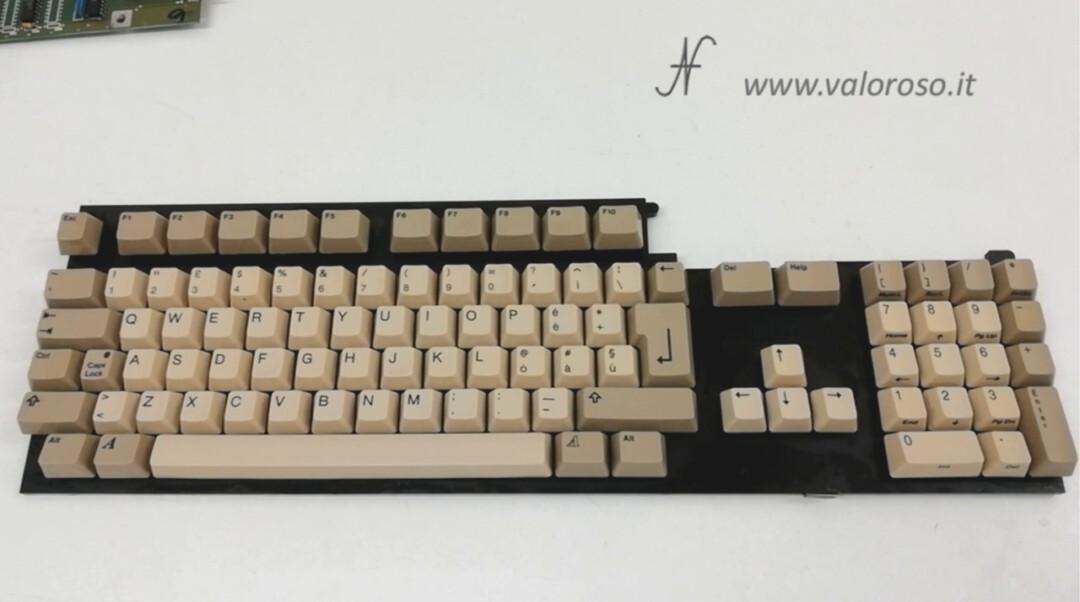
We also clean the front of the keyboard, as it is in pitiful condition!
We use a damp rag, with very little degreaser. Be careful not to overdo it with solvents or chemicals in general, because you could delete the writings from the buttons. Better to use a cloth with water and a very light amount of degreaser.
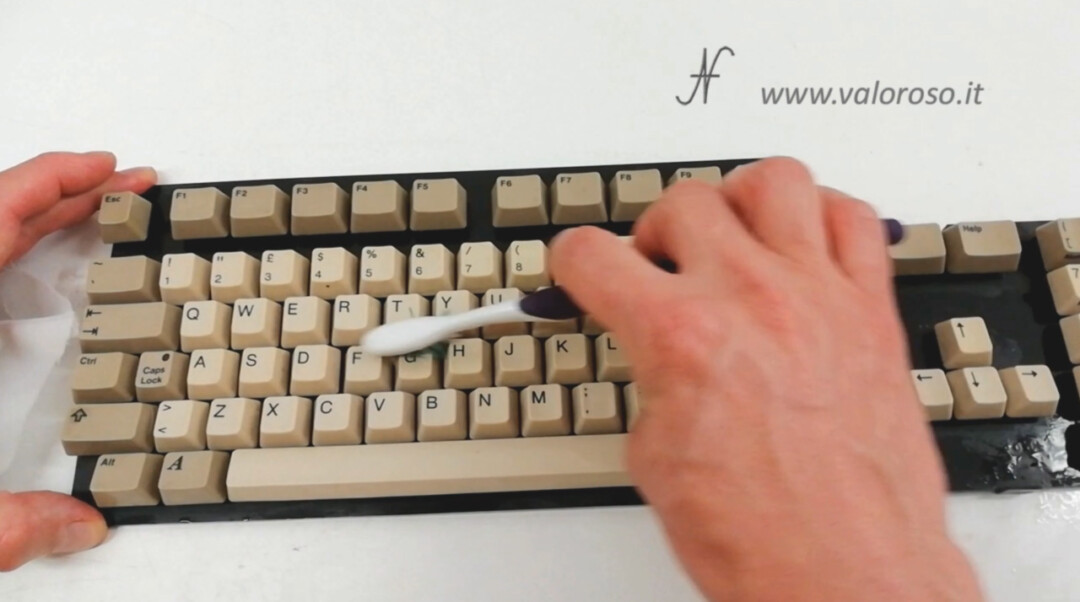
For the innermost parts, we can use a toothbrush, also moistened with water and a very light amount of degreaser.
I had already blown the keyboard with the compressor in the Video 1 of the series dedicated to the repair of this Amiga 500. In the same video, you can also see how to disassemble the Amiga 500.
The keyboard cleaning of the Commodore A500 came very well. Now we can dry it with a cloth and also with compressed air.
Looks like a new keyboard! And I didn't even have to remove all the keys one by one!
Let's also take care of the back sheet. We clean it well. There are rusty parts: we try to remove rust. We grate it off with a screwdriver and then also with thin sandpaper.
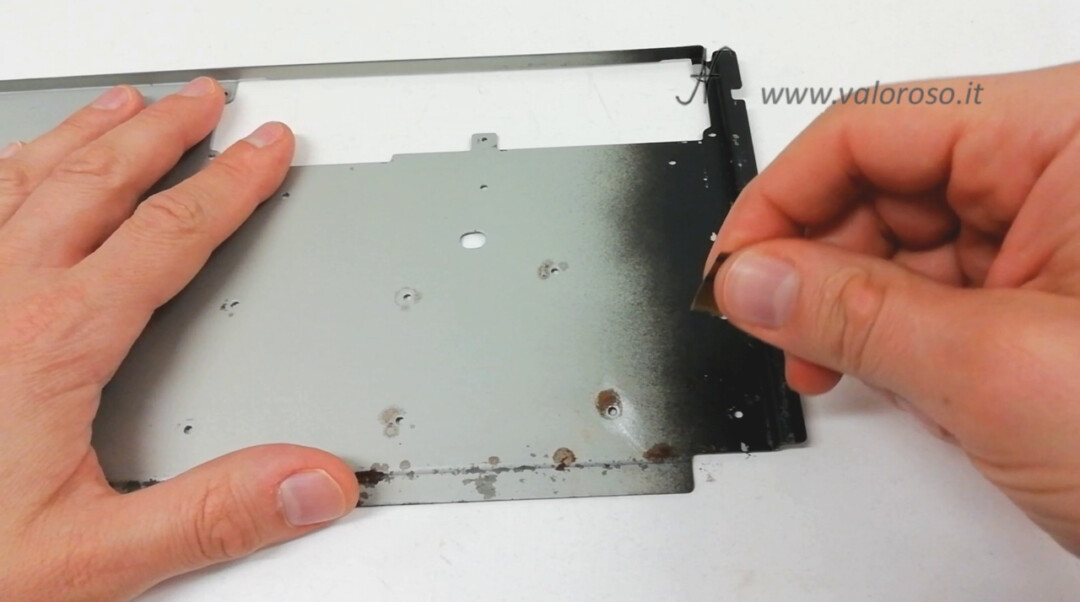
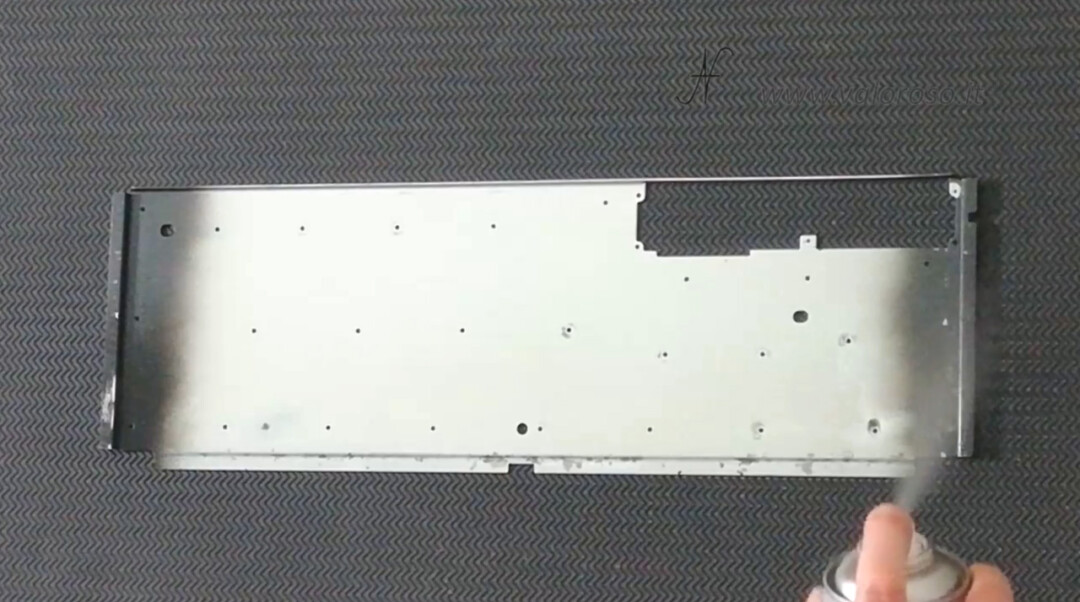
After removing the rust, we pass a little alcohol to degrease the metal. The rear metal plate of the Amiga 500 is ready for a coat of transparent varnish! In this way, we try to prevent the keyboard from rusting again!
We also clean the small printed circuit board of the keyboard and put some deoxidizer in the connector of the flexible printed circuit board, the membrane, of the keyboard.
I would say that for today we can not do anything else with the keyboard of the Amiga 500, waiting for the membrane.
Can a mouse break the Amiga 500?
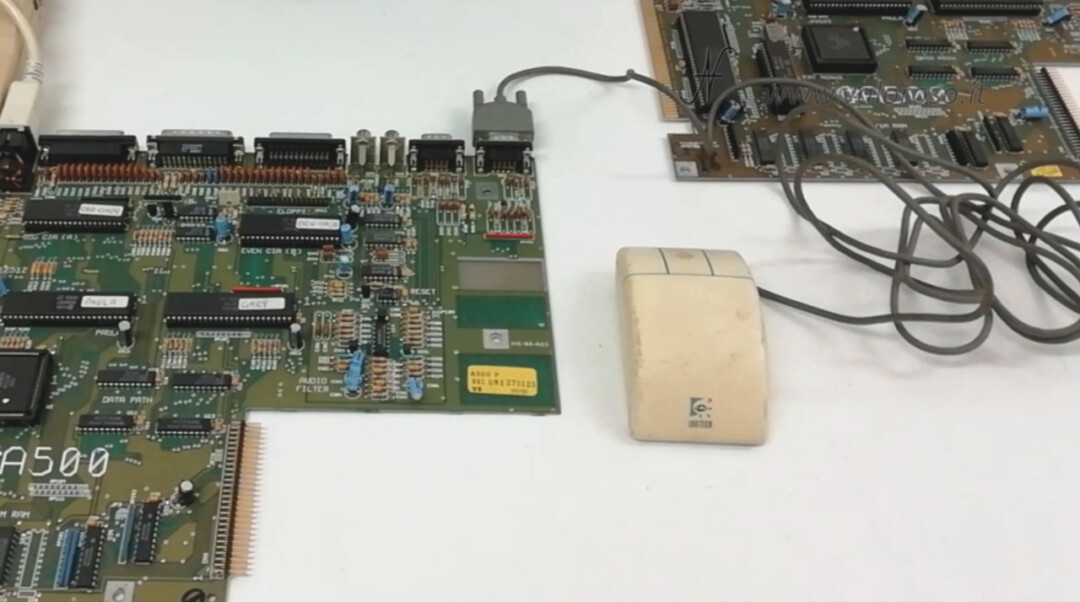
We can test the Amiga 500 with the mouse that they sold me along with the lot, when I bought it.
Since the second motherboard of the Amiga 500, the tested and working one, is connected, I start to try the mouse with that. Then we will also try it with the repaired board, to see if it works.
With the mouse, I hope to be able to start the other menus of the DiagROM and proceed with further tests.
Unfortunately, as soon as I gave tension, a resistance was smoked! There may be two causes: either the mouse does not work, or the seller gave me a mouse that is not compatible with the Amiga 500!
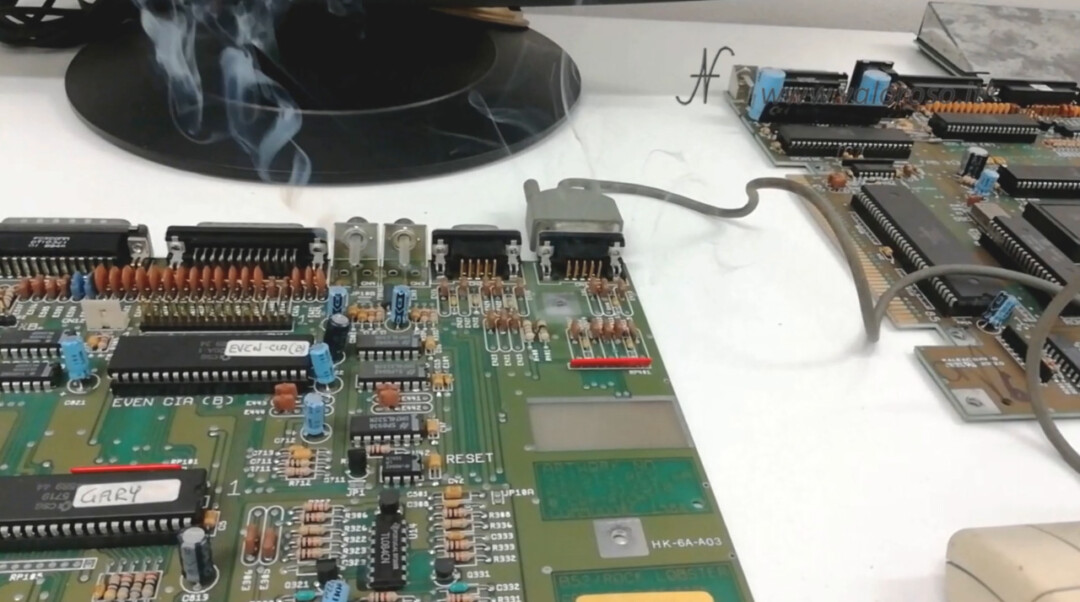
From a search on the internet it seems that this Logitech mouse is a serial mouse for PC and not a mouse for Amiga... What was a PC mouse doing in the Amiga batch?
It is true that replacing the resistance that burns due to the mouse is not complicated, however...
For today, we cannot do anything else.
Continues...
I anticipate that I ordered an original mouse for Amiga 500 and a Gotek, to load files from pendrive instead of floppy disk. This, of course, in addition to the keyboard membrane.
In addition, we will see the replacement of the battery to the Amiga A501 expansion card.
For now, I put away this Amiga 500, quite unlucky.
To be notified when I publish the other videos of the repair of this Amiga 500, and also the other videos related to the back computers and vintage electronics, I invite you to subscribe to the YouTube channel and activate the notification bell!