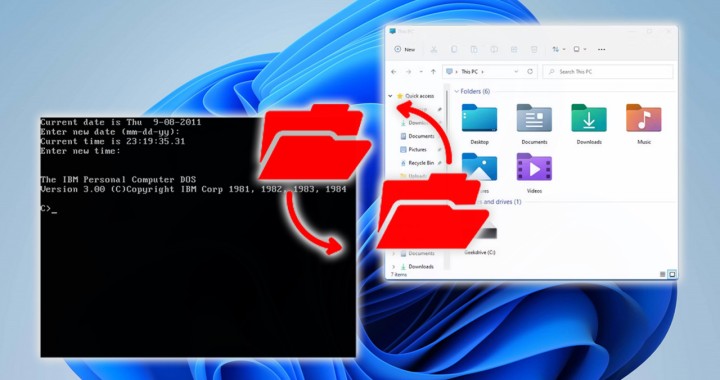
If you're passionate about vintage computers and have ever wondered how to transfer files between old and new PCs, between MS DOS and Windows 10 or 11, then FastLynx might be the solution you're looking for! In this article, we explore how to use FastLynx to copy files from old PCs (MS DOS) to new ones (Windows), and vice versa, automatically and seamlessly.

Transferring Files Between Old and New PCs: Traditional vs. Traditional Methods FastLynx
Usually, file transfer between vintage MSDOS and modern Windows computers can be done through disks or, if network support is available on the old PC, via the network connection. However, both these approaches can present some difficulties. The use of disks requires physical movements of the memory support between the devices, while the network configuration could be complex on dated operating systems.
Fastlynx, on the other hand, offers an automatic solution and without problems for file transfer. It supports different connection modes, including USB cable, parallel and serial, making the process flexible and easily adaptable.
In this article, I describe the serial cable connection, because it is easier. The data transfer speed depends on the serial connection speed: at best 115200 baud, which corresponds to about 10Kbytes per second. The parallel cable could be 2-3 times faster, but I haven't tried it myself.
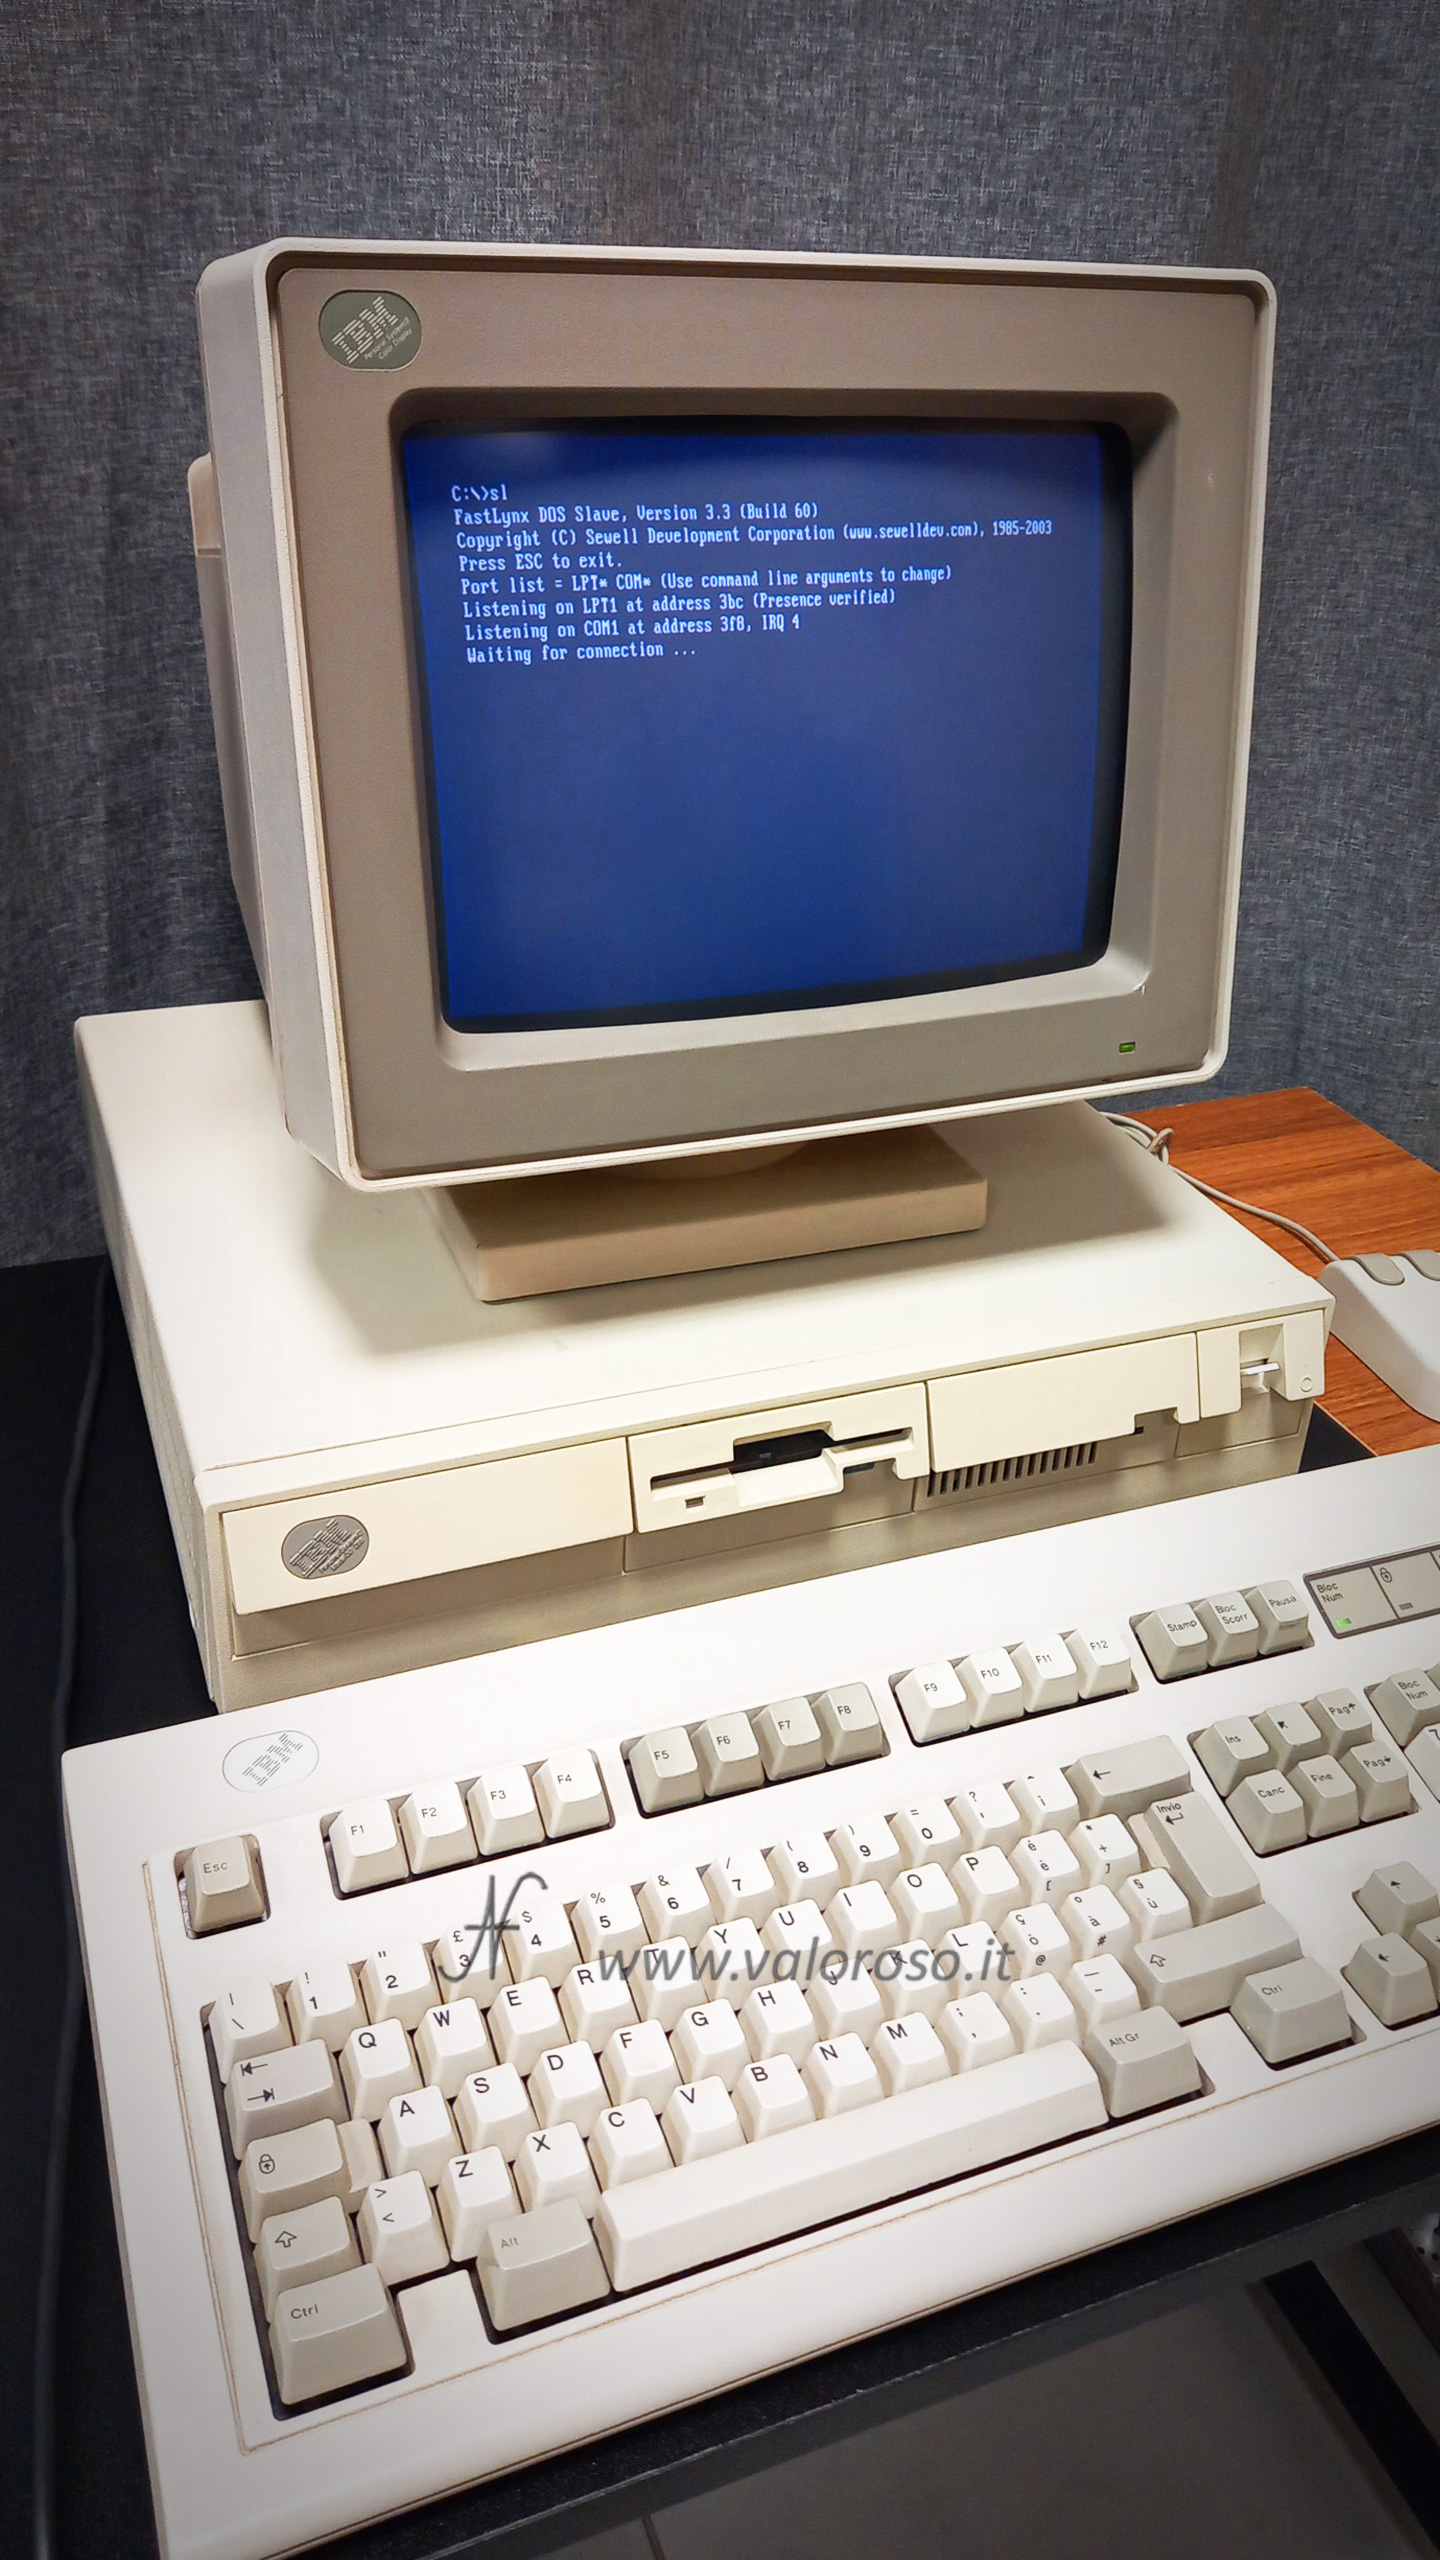
I tried to transfer files from my computers IBM PS/2 Model 30 (with Intel 8088 processor) and IBM PS/2 model 30 286 (with Intel 286 processor) to modern PCs running Windows XP and Windows 10.

To carry out this experiment, I used FastLynx version 3.3. It is easily found on the Internet in both a free limited version and a full version.
Serial Cable for FastLynx: Construction and Connection
To use FastLynx via serial connection, you need to build a suitable cable. A shielded cable of at least 6 poles will suffice, with the additional shield that also acts as a ground. The serial cable connections must follow a specific pattern, as the serial cable is actually a null-modem cable, i.e., an inverted serial cable.
Connection diagram: DB 9-pin or 25-pin to DB 9-pin
| 9 poles (PC1) | 25 poles (PC1) | 9 poles (PC2) | |
| 6 | 6 | <---> | 4 |
| 2 | 3 | <---> | 3 |
| 3 | 2 | <---> | 2 |
| 4 | 20 | <---> | 6 |
| 5 | 7 | <-GND-> | 5 |
| 7 | 4 | <---> | 8 |
| 8 | 5 | <---> | 7 |
If you already have a serial cable, I recommend testing the various connections with a tester before using it to see if it is compatible with the above diagram.
Components Needed for Serial Cable Construction for FastLynx
- two DB 9-pin socket connectors, or one DB 25 female and one DB 9 female connector;
- two enclosures for enclosures;
- 6 or 7 pin shielded cable + shield. I used the 7-pole, connecting the metal braid of the cable to the black wire. However, it is possible to use only the metal braid as a GND.
I don't recommend using a cable that's too long. Although serial communication could also work with cables of 20 meters and more, the cable I built is about 4 meters long.

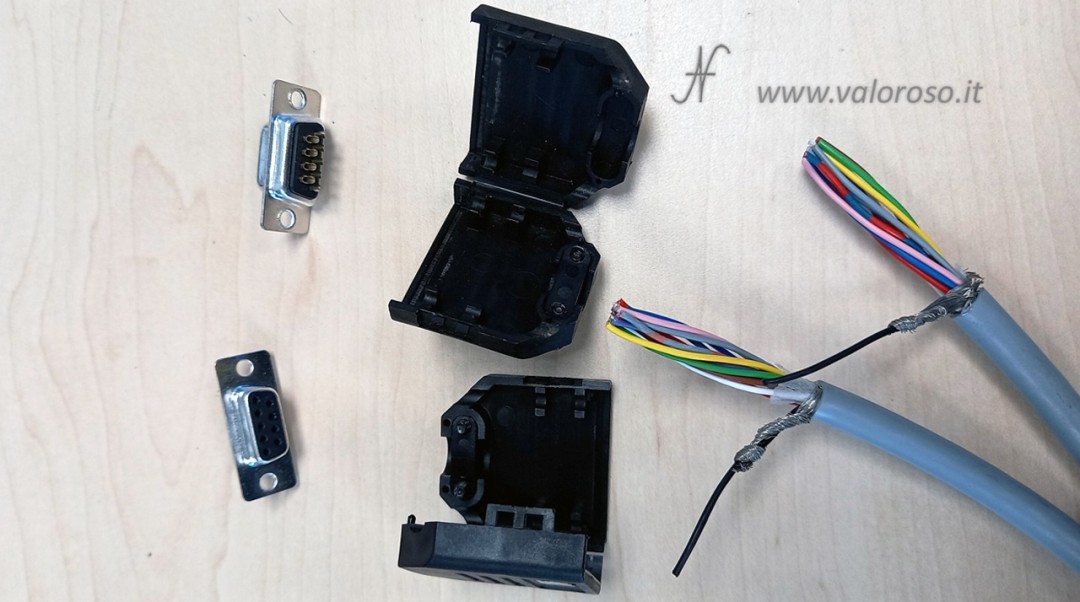
When it comes to the construction of the cable, the process is very simple.
Let's strip the wires
With the help of a special pliers or scissors, we push the sheath of the shielded cable to reveal the internal threads and the metal screen. Once exposed, we separate the threads and push the ends.
We lend the wires and contacts of the connectors - this process will help in the next stage of soldering, making it easier to connect the wires to the connectors.
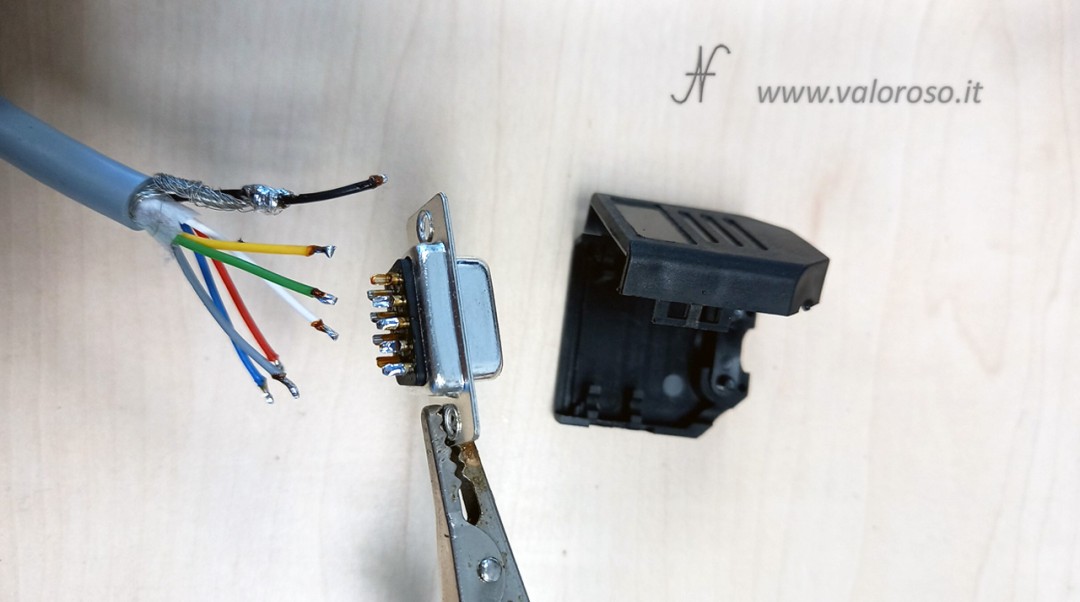
We solder the wires onto the connectors
We solder each wire onto the corresponding pin of the DB 9-pin female socket connector. Let's make sure to follow the connection diagram given above.
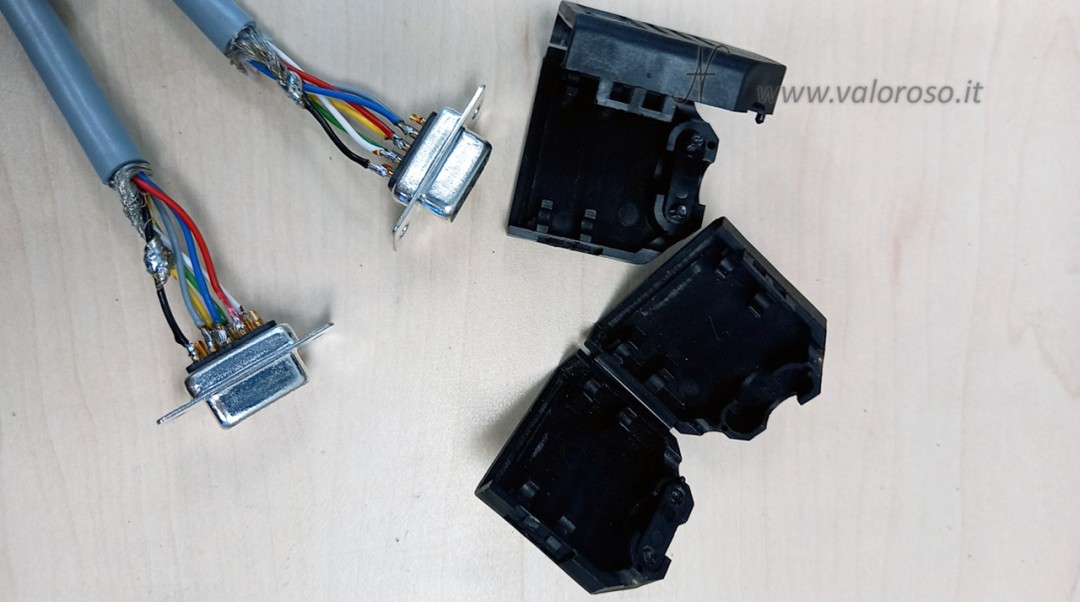
Caution: try to avoid that the wires touch each other or the ground (they must not touch the cable braid or the metal of the connector).
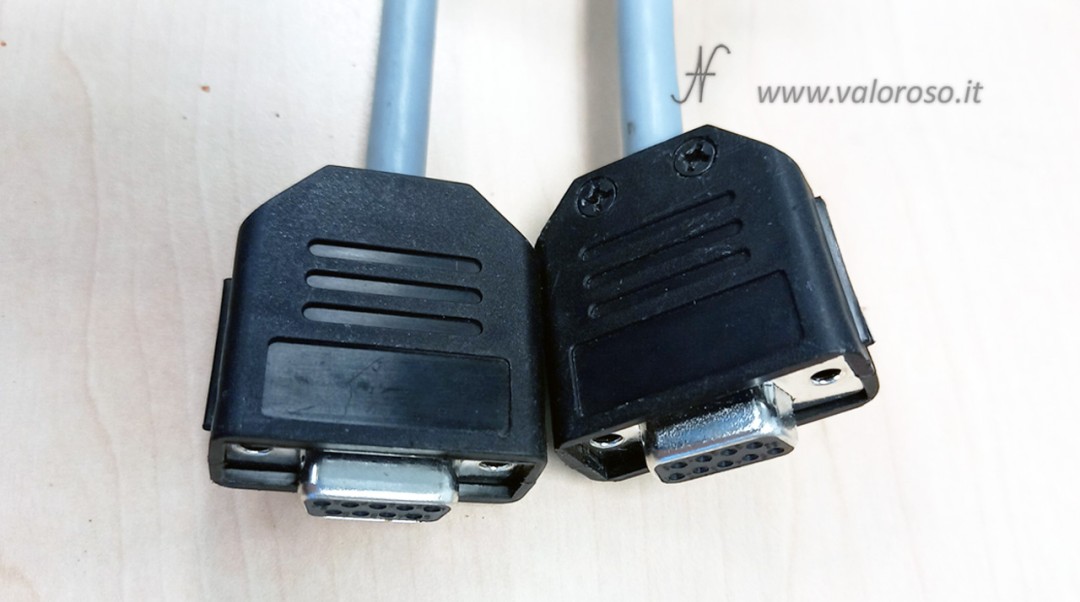
Let's close the connectors
After soldering the wires, we can close the connectors, using the appropriate plastic shells. This passage not only offers mechanical and electrical protection, but also makes the cable more manageable and durable.
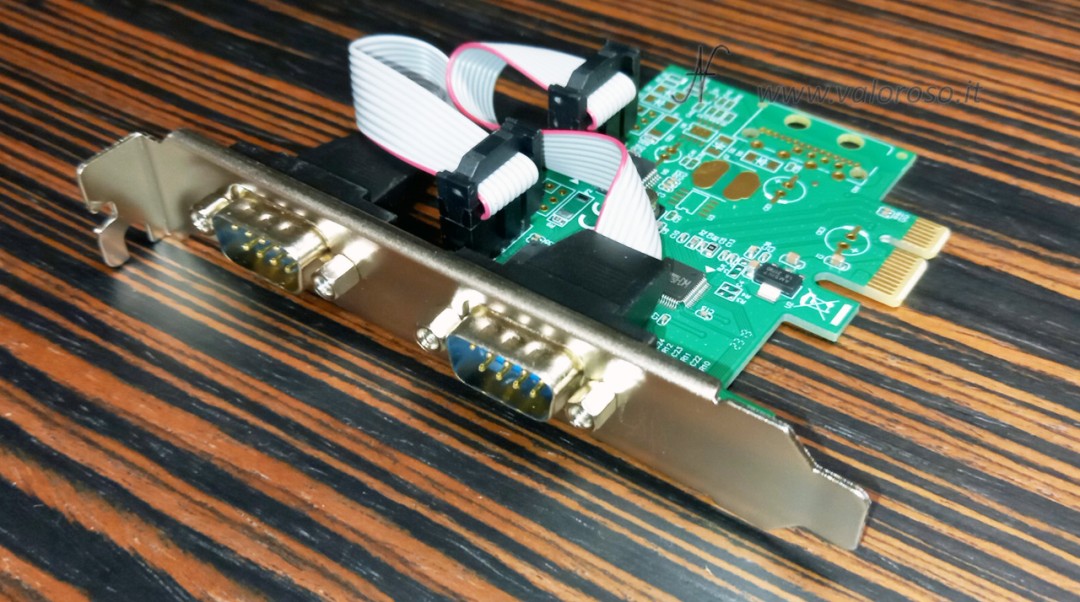
Transfer files between old and new PCs: COM ports on modern PCs
If your modern PC is not equipped with a serial port, a serial-USB adapter can be used. To choose the adapter, please have the correct drivers for Windows 10 or Windows 11. There are also PCI-E expansion cards with serial doors for modern computers. Also for this second option, please buy cards that have drivers for the version of the operating system installed on the modern PC.
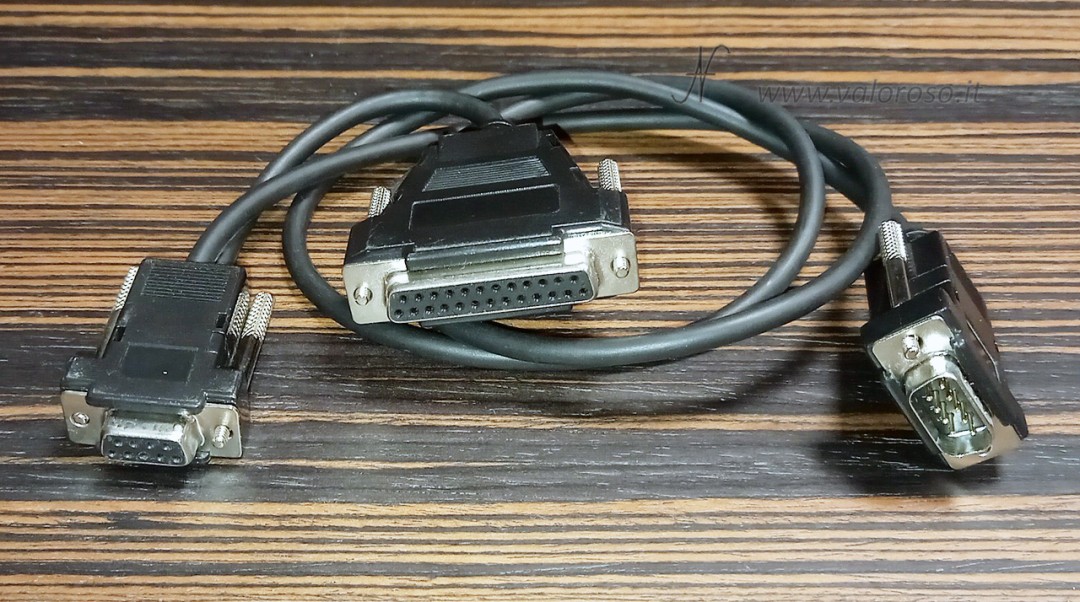
25-pole COM ports
If your vintage PC has a 25 -pole COM port in place that 9 poles, you can use the special 9 -pole (male) to 25 poles (female) adapters. There are compact adapters, or are found in the form of cables, sold together with old modem. The important thing is that the Null modem serial cable, when connected to the adapter to transform it to 25 poles, maintains the configuration of the PINs as indicated above on the diagram.
Using FastLynx to transfer files between old and new PCs
We first connect, with the computer off, the serial cable. On the one hand, to the serial door of the Vintage MS DOS computer, on the other hand, to the serial door of the modern computer.
The use of Fastlynx is quite simple. We install the Fastlynx client on the modern PC with Windows and start the SLVE SL.EXE program on the Vintage MS DOS computer. Fastlynx provides separate slave versions for vintage computers with MS Dos and Linux operating systems.
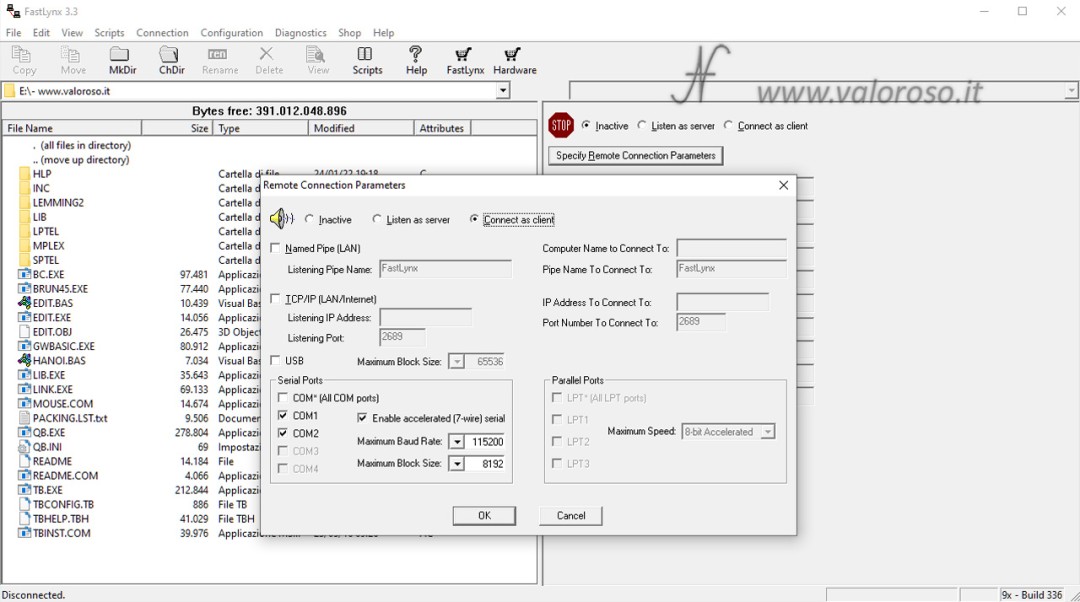
After launching both software, we are ready to set up the connection. From your modern computer, continue as shown in the following images.
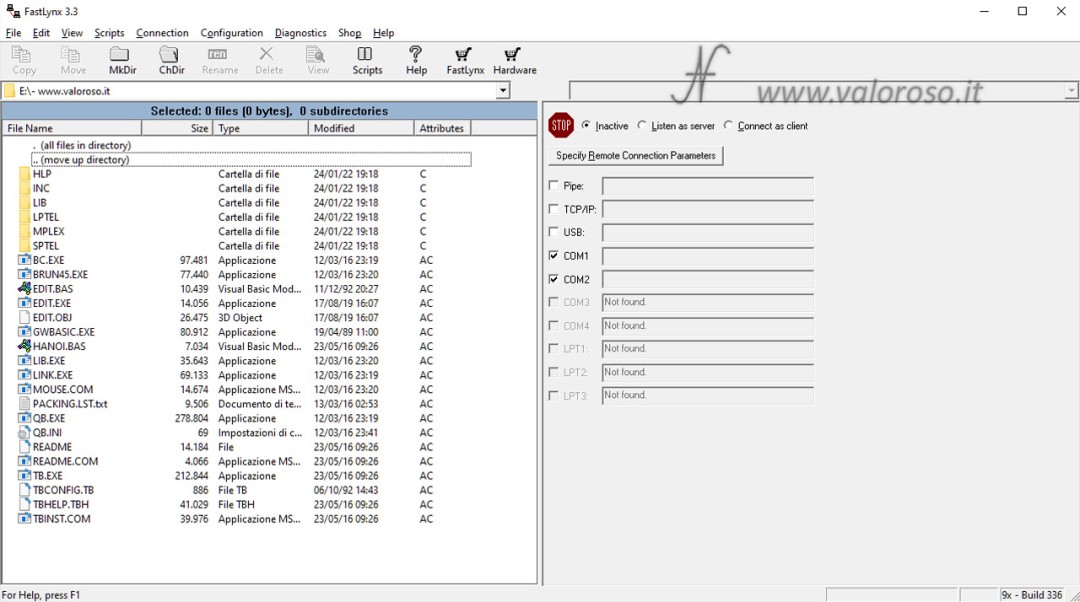
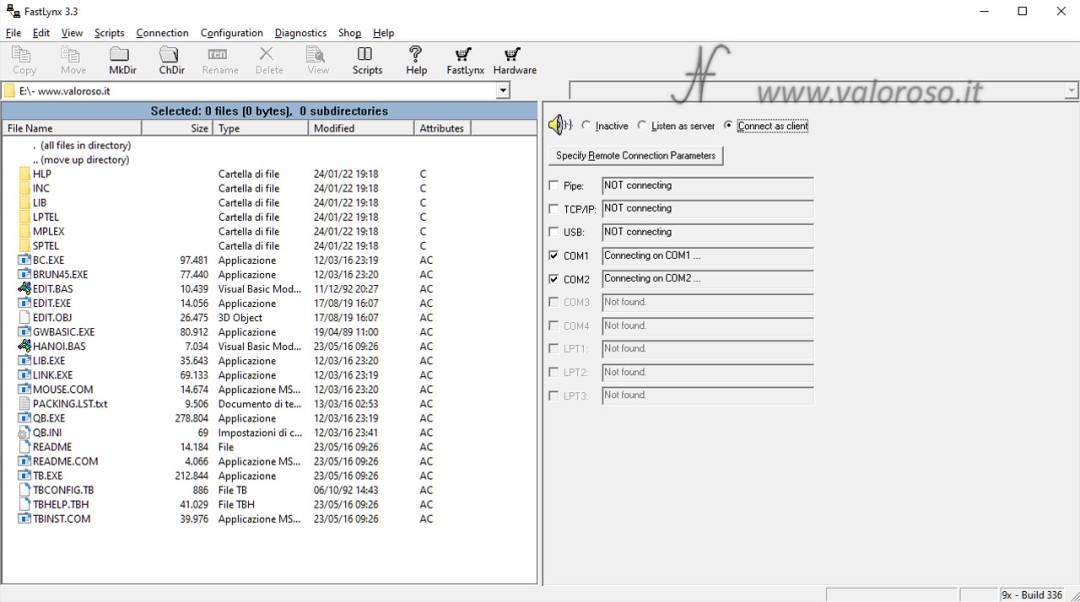
Select the option Connect as client at the top right, the computer should already detect the COM port where the serial cable is connected and start communication.
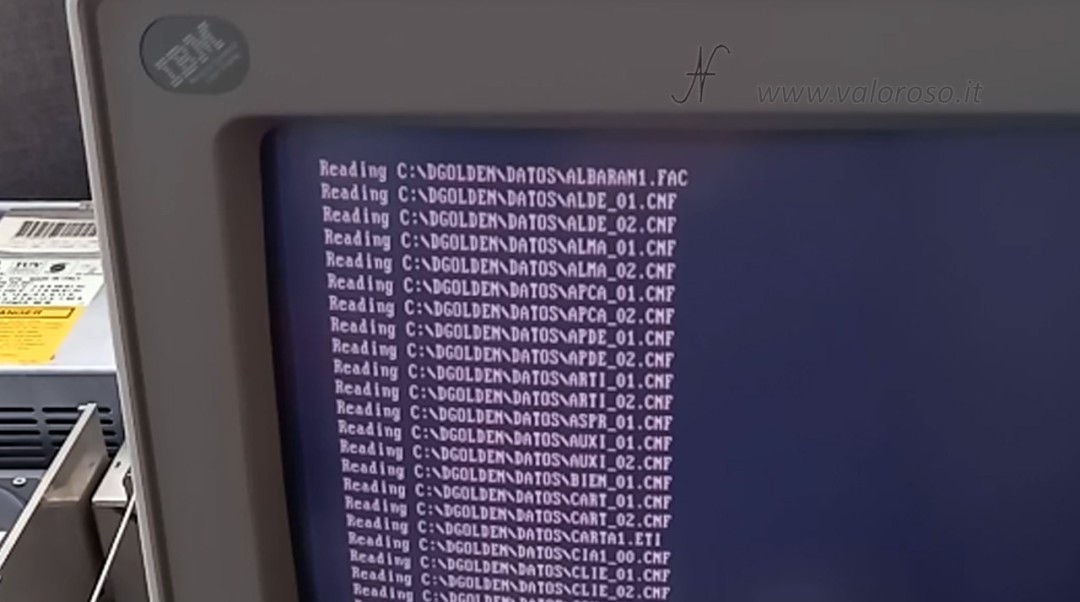
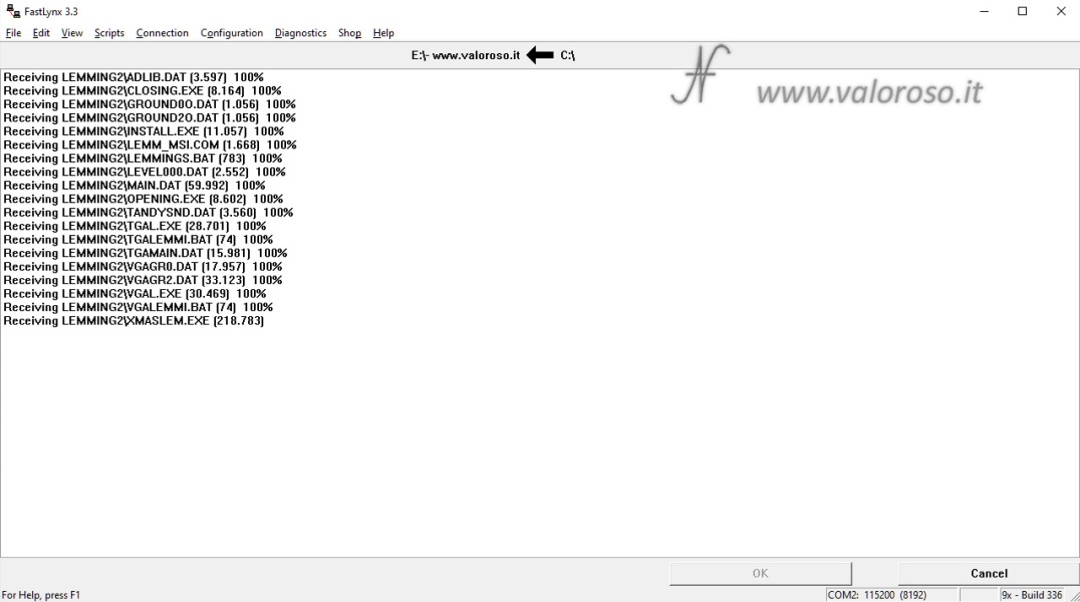
At this point, you can copy or transfer the files between old and new PCs, create folders ... In short, we can indulge ourselves!
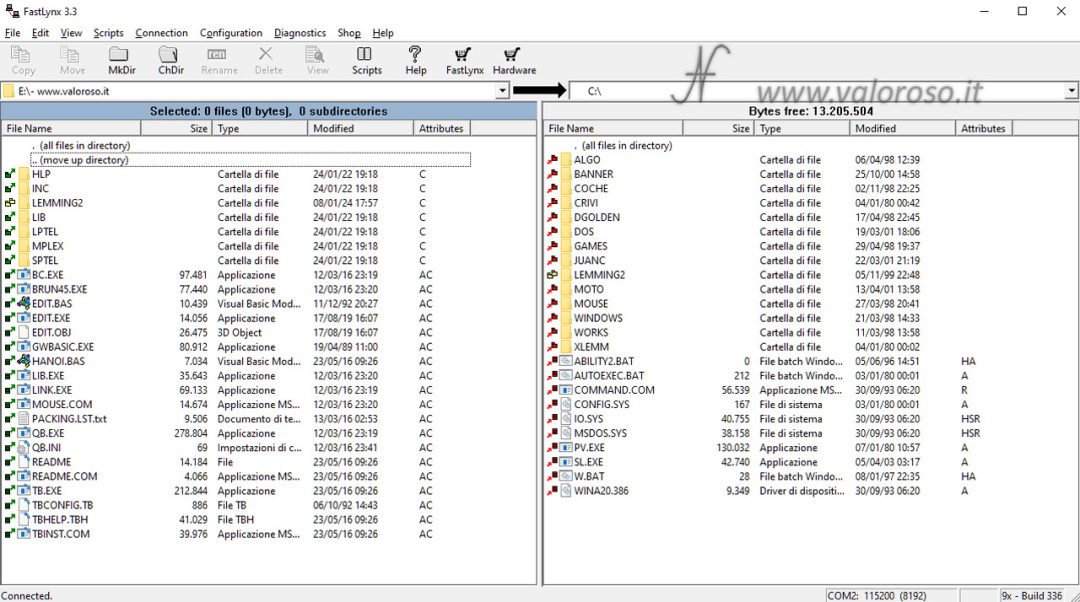
Select a file or folder in the list on the left and press the icon Copy To copy it from the modern to the vintage computer. Select a file or folder in the list on the right and press the icon Copy to copy it from the vintage computer to the modern one.
Troubleshooting Common Issues
If you have difficulty getting the client program on Windows to detect the slave program on your vintage computer, check your serial settings. You can try to change the COM port number (from Windows devices), reduce the serial communication speed Maximum Baud Rate or deactivate the option Enable accelerated (7-wire) serial in the FastLynx settings menu.
Documentation
Here is the manual of FastLynx 3.3. Inside there are other interesting ideas for Fastlynx to transfer the files between old and new PCs and to solve the most common problems.
Continue to follow @ValorosoIT for further insights in the world of retro computing and vintage electronics! 💾 I'm on YouTube, Facebook, Instagram, Tiktok, ...