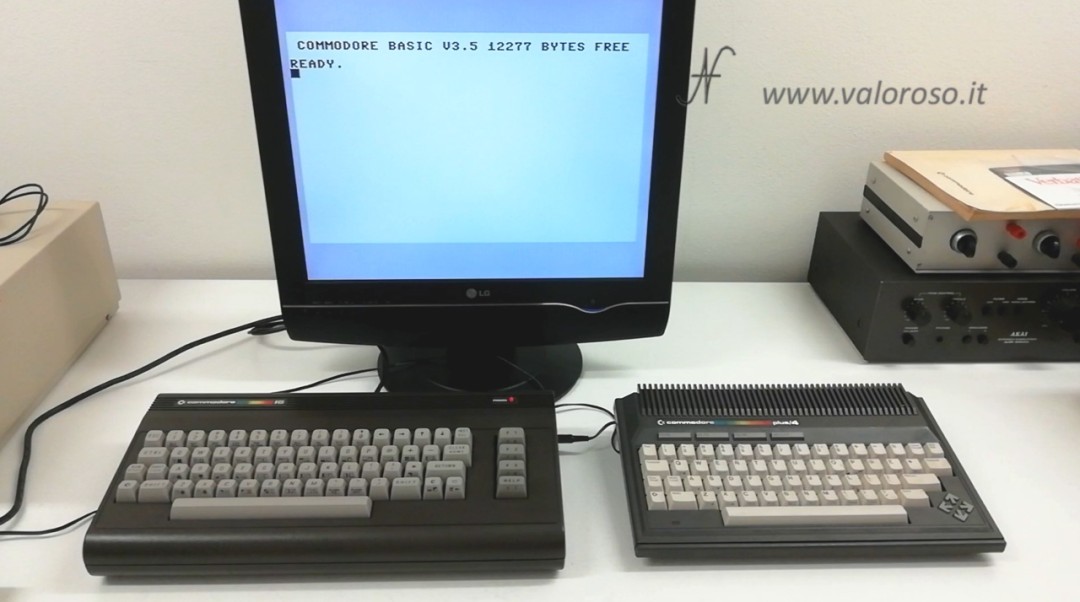
Today we talk about the repair of the Commodore Plus/4, which I had ordered on eBay. Do you remember? I had arrived with an inadequate packaging and, above all, not working ...

Read the full video transcript →
Repair of the Commodore Plus/4, fault diagnosis
In this first article of the repair of the Commodore Plus/4, we are not going to make a definitive intervention. Actually, I'm content to see what the damaged components are.
To do this, I support a Commodore 16, which I already have in my collection, with which we exchange the various components.
The concept behind this quick repair is to take one supplement at a time, among those that we assume are broken. From the Commodore Plus/4 we put them on the C16 and see if it turns on. Conversely, we will take those of the Commodore 16 and put them on the Plus4.

The first operation to be carried out is to verify that the Commodore 16, present in my collection, functions correctly. Luckily ... it works!
Why this repair approach?
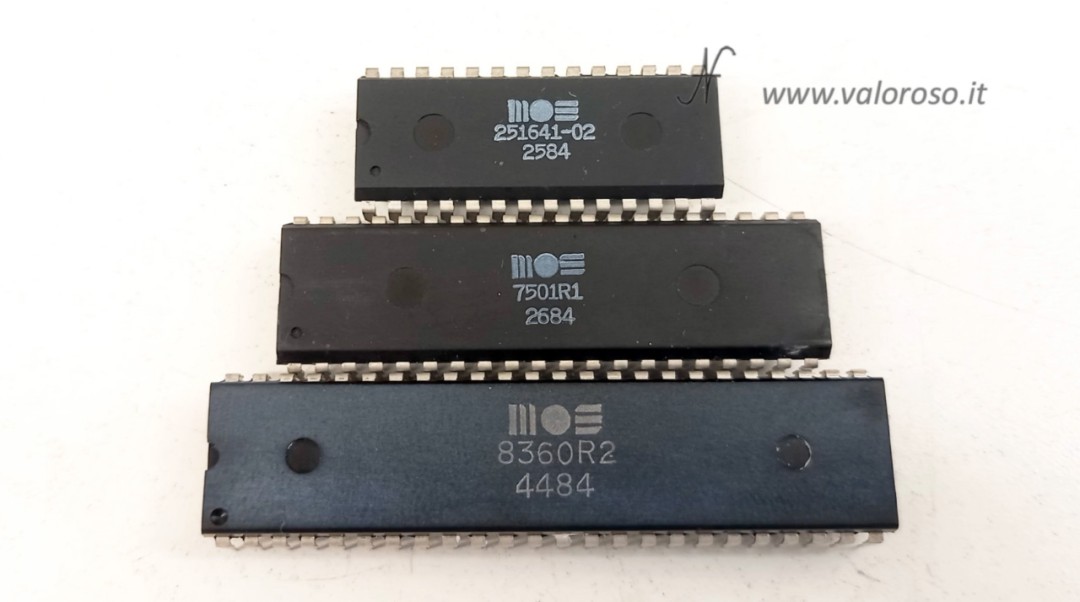
It is known that some components internal to Commodore 16, 116, Plus/4 (in short, the whole Commodore 264 series), are very delicate:
- TED (MOS 8360 audio/video processor);
- the CPU (MOS 8501 or MOS 7501 microprocessor);
- PLA (programmable logic array MOS 251641-02).
These components can damage age and oxidation, as well as for overheating. For this, it may happen to store the functioning computers, leave them off for a few years, and find them damaged to the lighting.

Open the Commodore Plus/4 and Commodore 16
Once we have established that the Commodore 16 works, we can turn both computers (both the Plus4 and the C16 that will act as a temporary donor of components) and open them.
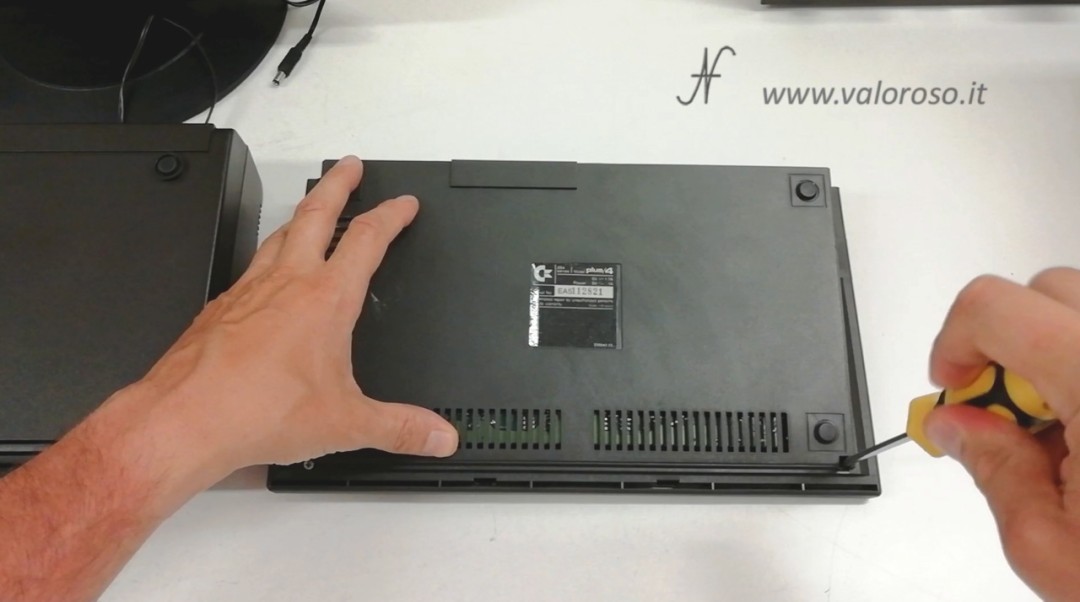
To open the Commodore Plus/4 there are 5 screws to unscrew: two at the bottom/front and three at the bottom/back.
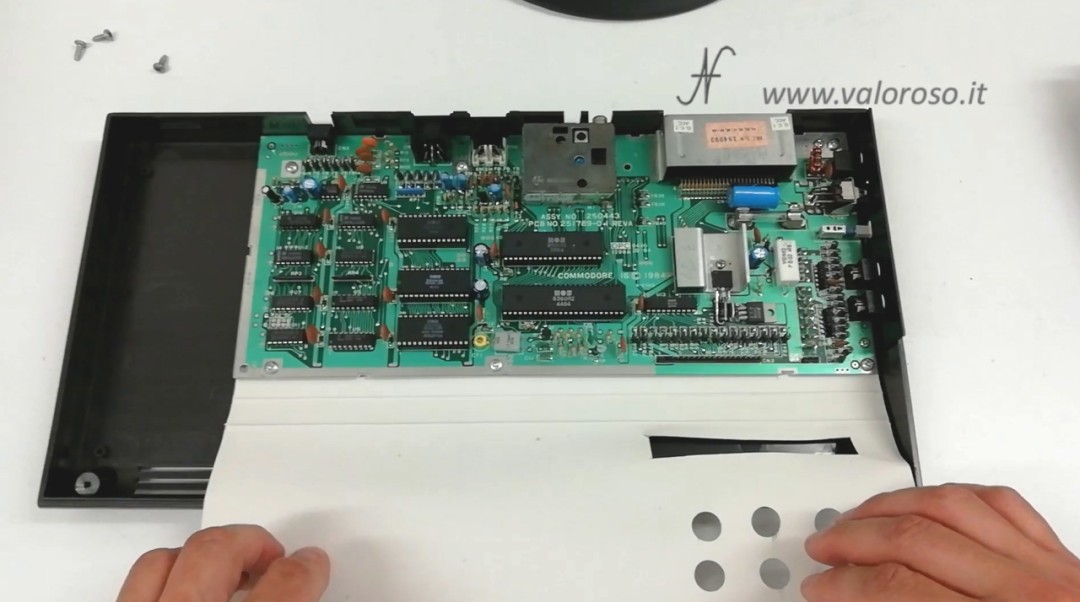
At this point you have to rotate the upper body, to the left, taking care that you do not break the cable that connects the keyboard to the motherboard, which is very delicate.

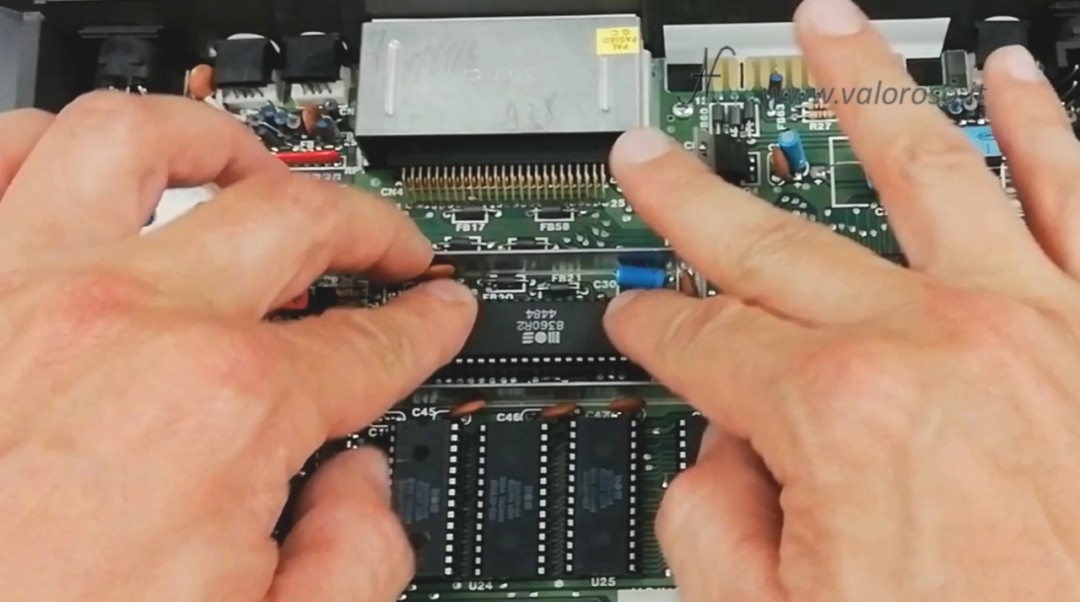
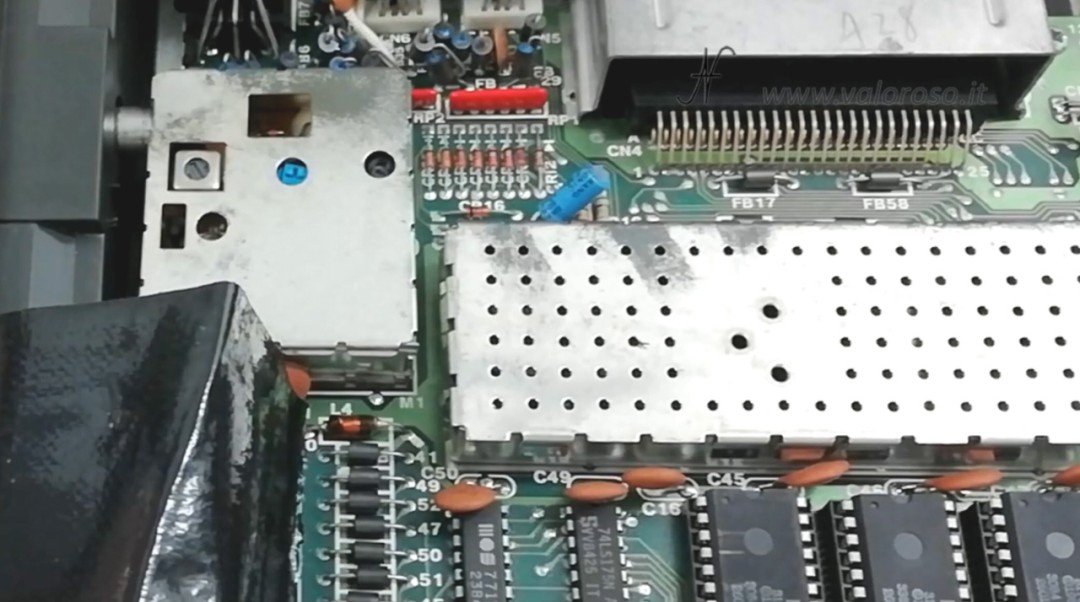
We also open the metal cover that protects the TED (MOS 8360R2), which would then be the video audio processor of the Commodore Plus4 (3 plus 1).
We continue the repair of the Commodore Plus/4 ... opening the commodore 16, which acts as a temporary donor of electronic components! In the lower/front part there are three screws to unscrew.
Then, then, you have to rotate the upper body backwards, paying attention not to break the hooks that are located posteriorly on the computer itself. In the video, at the top of this page, you can see all the steps well. You must never force. You have to do everything in a very delicate way, waiting for the parts to come off, without making any force.
We free the two parts of the body of the Commodore 16, detaching the LED connector and the keyboard connector. We also release the screen, which would then be a part of protection against electromagnetic waves that computer can emit.
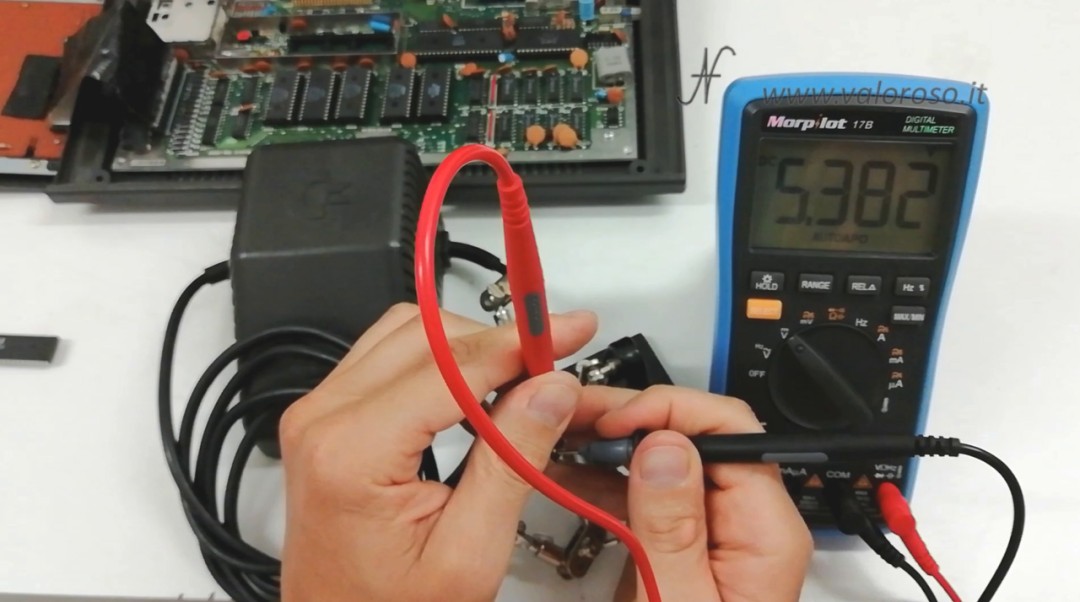
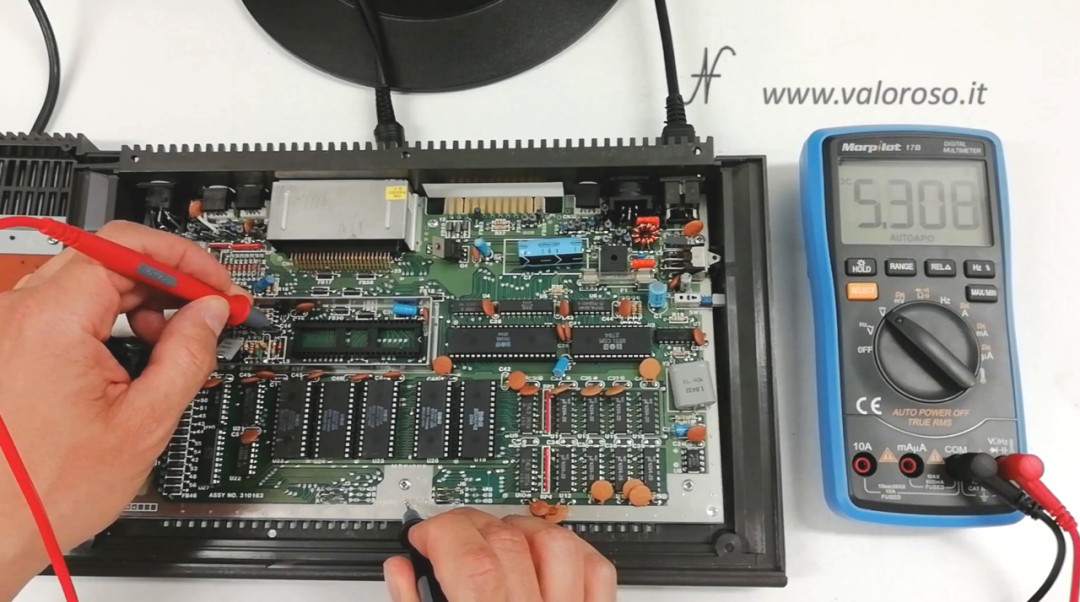
First test: supply voltages!
Never, never, never turn on a vintage computer without having tried the supply voltages. I had talked about it in this article.
First of all, I had to put an Italian plug on the power supply of the Commodore Plus/4, which came from England.
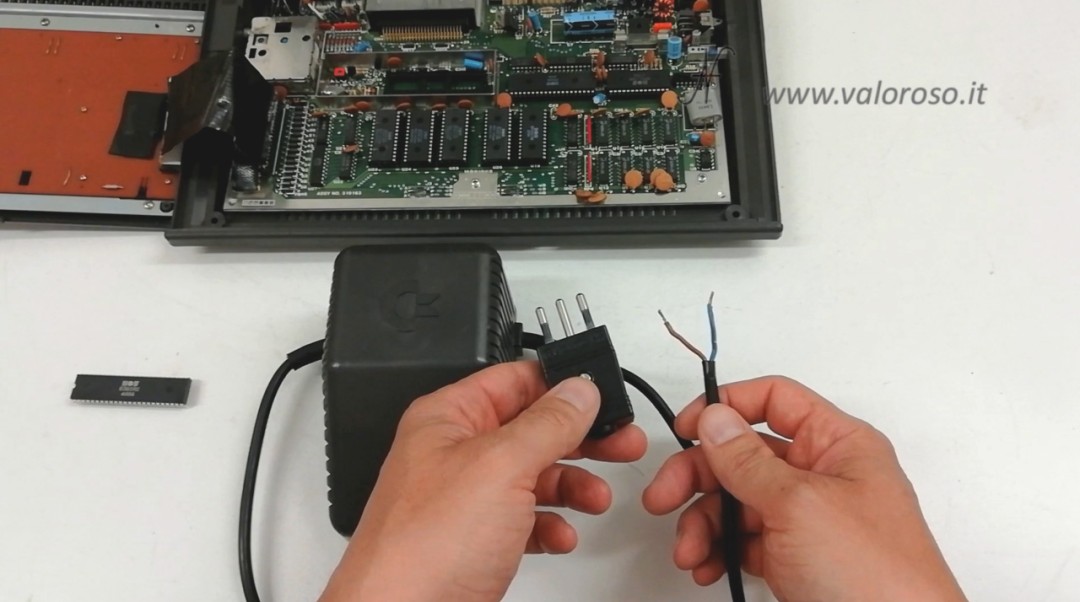
Subsequently, we must try the power voltages out to the power supply: 5V in continuous and 9V as an alternation. Obviously, there may be a certain tolerance, but they must be as close as possible to 5V as regards the continuous voltage, and 9V as regards the alternating voltage. The alternating voltage can be found quietly even 10 volts.
Let's test the TED, MOS 8360R2
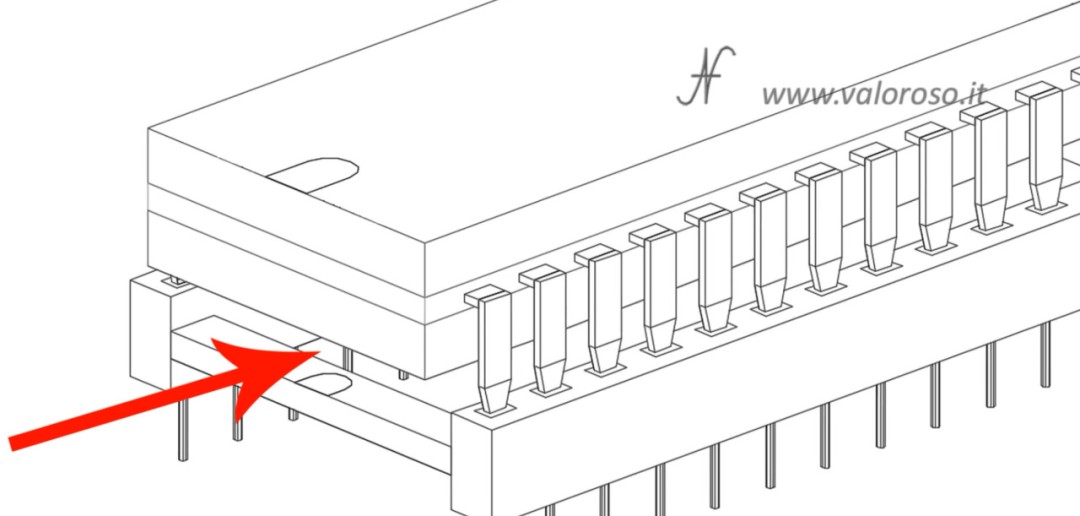
To remove such big chips, you have to leverage, with a screwdriver, between the clover and the integrated circuit. You have to make a little leverage from one part of the chip and a little on the other side, gently, in order to remove all the feet vertically, without bending them. For all the details, watch the video.
We have already seen it in several videos, including that of the repair of theAmiga 500: When removing chips from the sockets, you must leverage NOT on the printed circuit board, but between the integrated circuit board and the socket.
Let's take the TED (MOS 8360R2) of the Commodore Plus/4 and try it on the Commodore 16, obviously after removing the TED of the Commodore 16 from its socket. When they put the integrated circuits, the correct orientation must be taken into account.
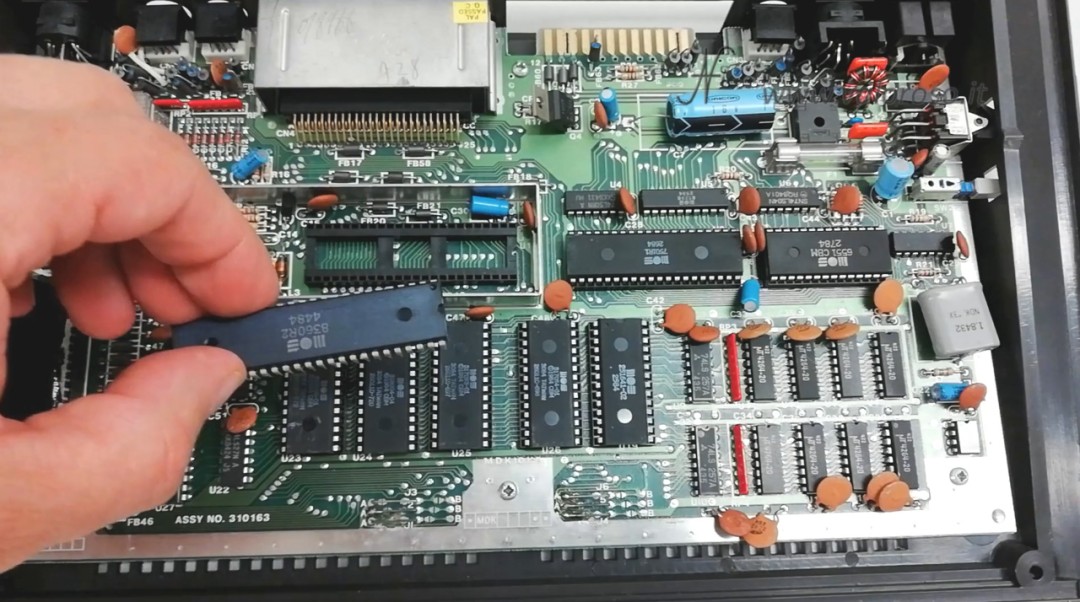
The ignition test of the Commodore 16, with the TED of the Commodore Plus/4, gave a negative result. The Commodore 16 has not started and remains with black screen.
This proves that the TED of the Commodore Plus4 is damaged.
Before putting the working TED, that of the Commodore 16, inside the Commodore Plus/4, we check if the 5V supply voltage is propagated correctly on the computer motherboard.
We insert the TED, certainly working, within the Commodore Plus/4, paying attention to the correct orientation.
Then, let's try to turn on the Commodore Plus/4, hoping it will start.
No, it doesn't work yet! So, in addition to Ted there is another integrated circuit that is broken!
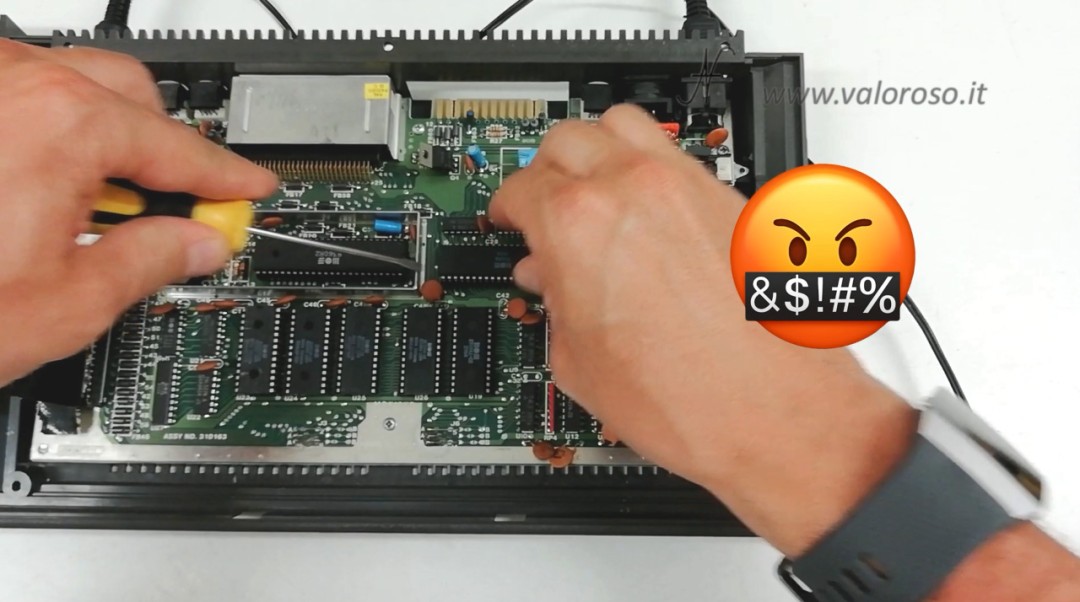
Let's test the CPU, MOS 7501R1
The repair of the Commodore Plus/4 continues ... with the list of delicate chips seen before. It's time to try the CPU.
The CPU from the Commodore Plus/4 is removed and I go to insert, in its place, the certainly functioning of the C16, paying attention to the correct orientation.
Actually, the CPU I removed from the C16 is a MOS 8501R1, which is compatible with the MOS 7501R1.
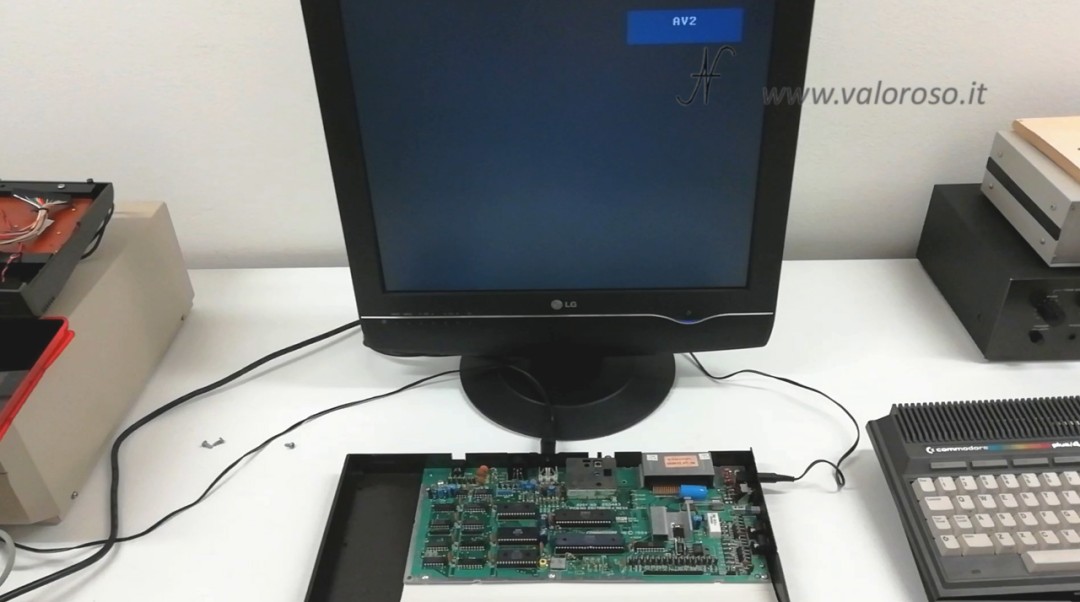
With the new CPU ... the computer has turned on!
For those who do not want to use the original CPU of the Commodore 16, since it is expensive and delicate, there is the possibility of using a Mos 6510 CPU (that of the Commodore 64), with appropriate adapter that is also on PCBWay.
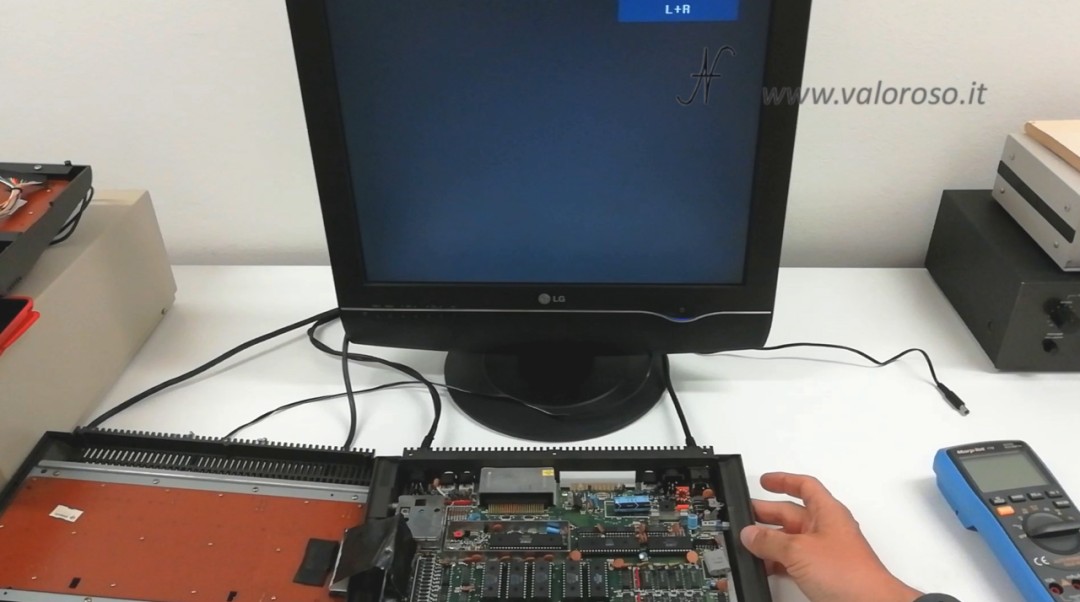
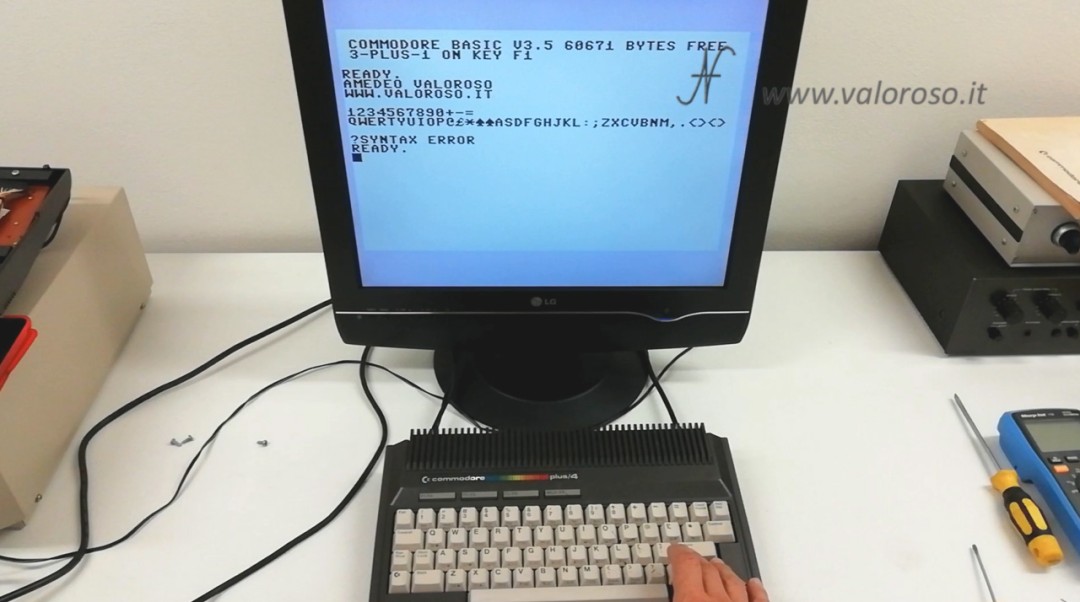
Paying attention, the writing at the top, of the home screen, is a little different from the correct one of the Plus/4.
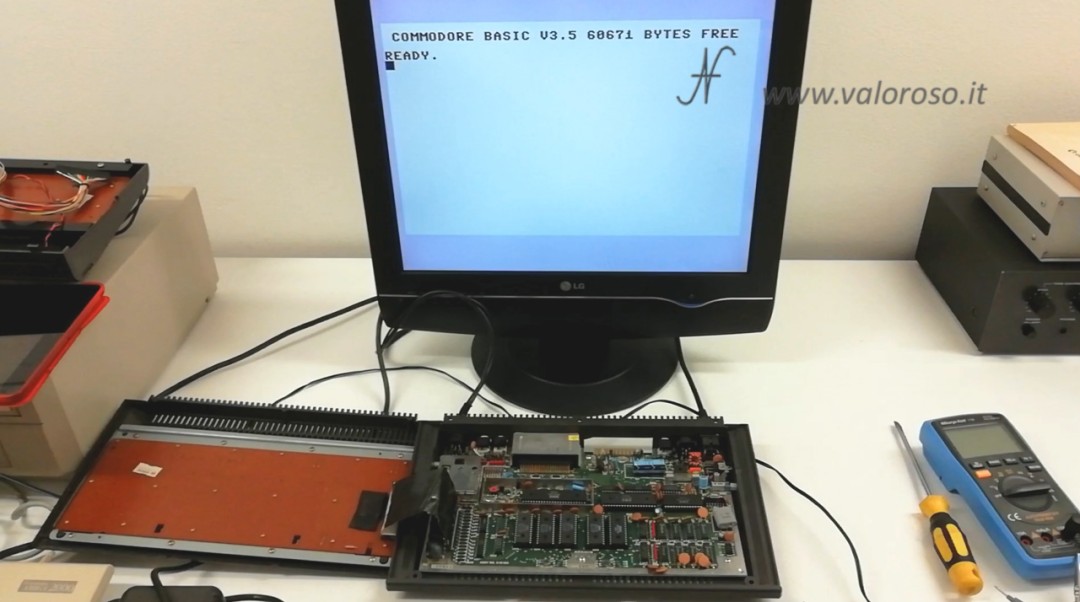
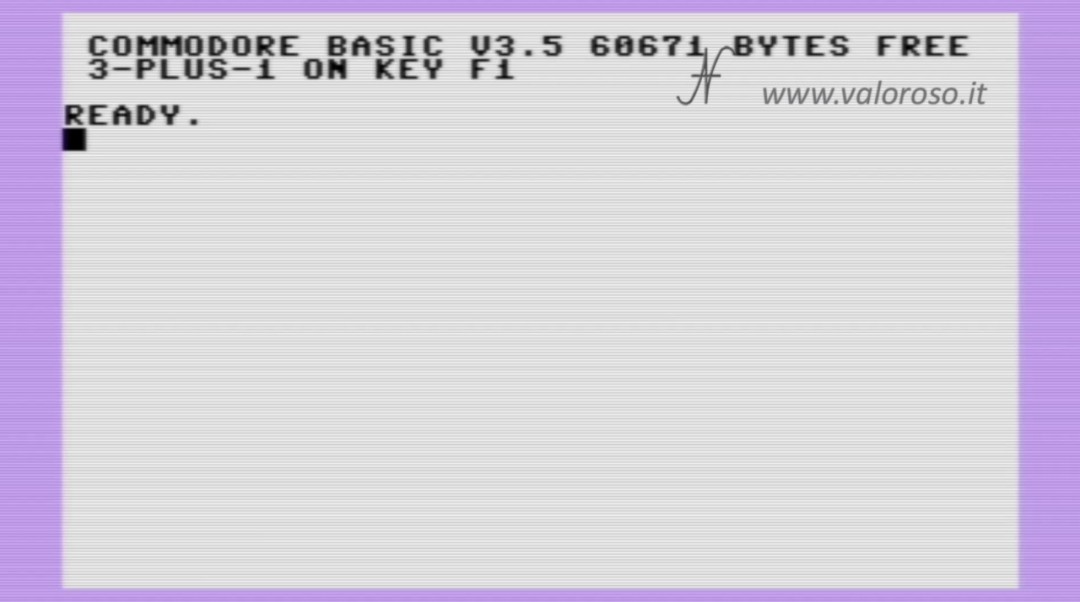
If you notice, a row is missing from that of the Commodore Plus/4 working. We see it, comparing the initial screen with this screenshot, taken by the emulator VICE for Windows PC.
Furthermore, unfortunately it is not seen from the video, it happened a little a mess: the computer showed random breakwriters and ... went out after a few seconds!
So: not only the TED, not only the CPU are faulty, but there must also be another faulty integrated circuit.
Replace PLA MOS 251641-02
Let's go in order ... with the third most delicate chip of the Commodore Plus/4. La Pla (Programmable Logic Array Mos 251641-02).
We can also recover this chip from the Commodore 16, certainly working.

With this latter replacement, the computer turns on and the screen is the right one of the Commodore Plus4!
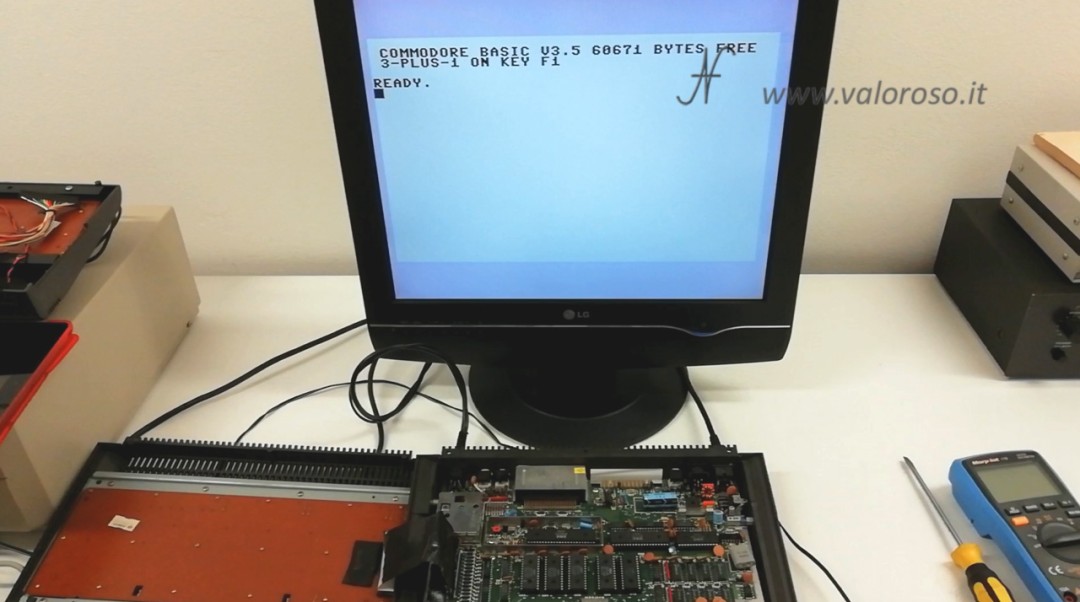
We found three damaged chips!
Commodore Plus/4 test
At this point, we can close the lid that shields the TED. I don't want to put the thermal paste back right now, because the TED is that of the Commodore 16.
We can close the keyboard, at the moment temporarily, without screwing the screws, just to do some tests. For example, let's try the keyboard: let's see if all the keys work.
We can also try to start the first of the programs pre-loaded on the machine. If you remember, the Commodore Plus/4 (3 Plus 1) has three other programs, in addition to the Basic, which are preloaded on the machine.
This is software from International Tri Micro Inc., david W Johnson.
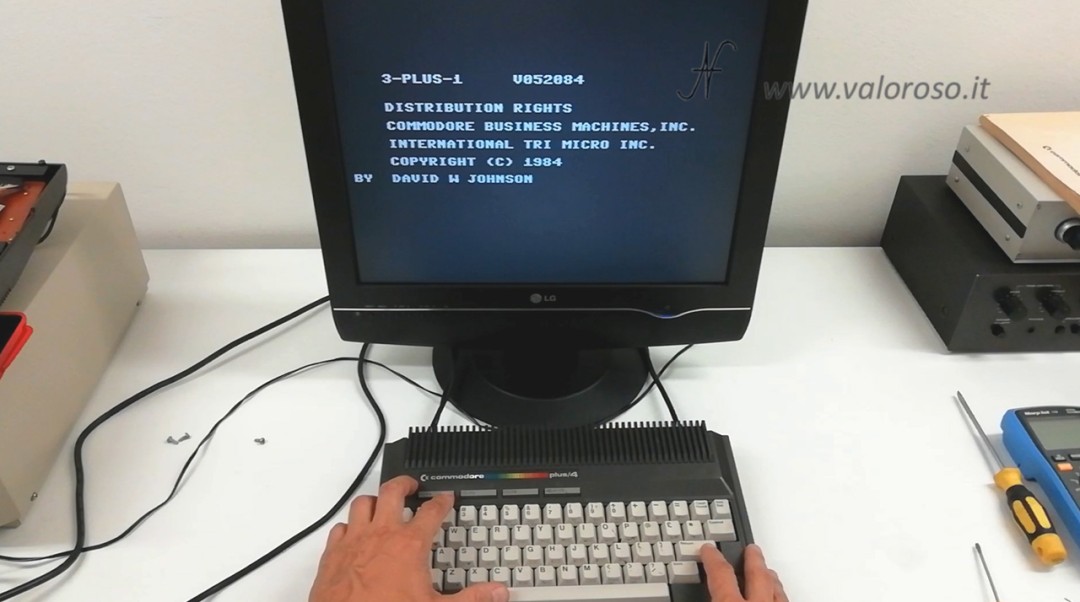
The software includes a text program, similar to Windows Notepad or Easy Script of the Commodore 64. There is also a sheet of calculation, similar to Excel, and there is also a database.
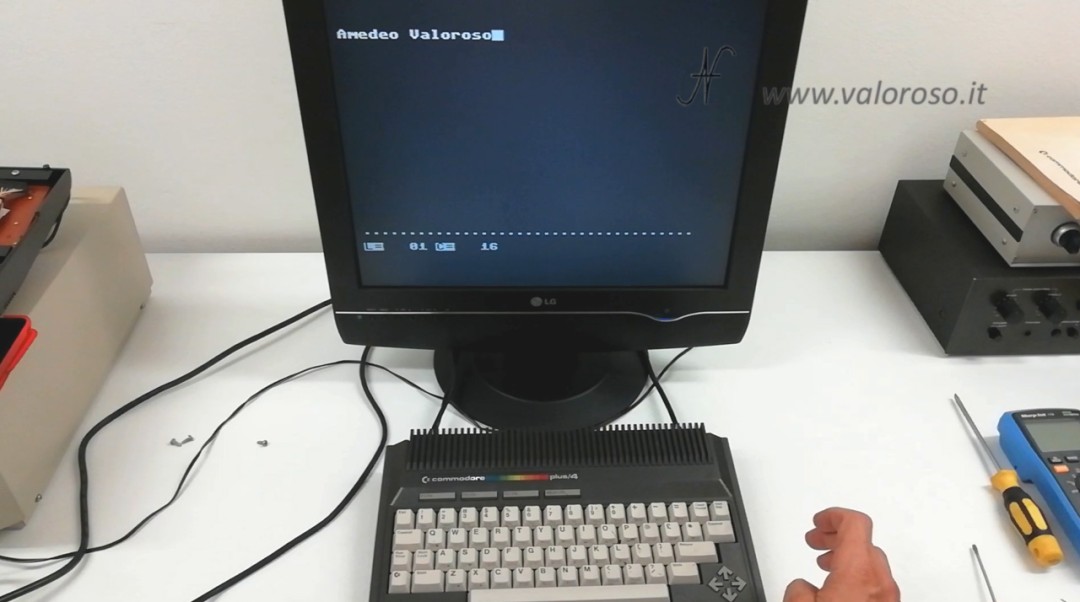
Well, the first tests gave a positive result!
We have figured out what the damaged components are and I will have to do some research to buy them at a good price.
If you are curious to know how much they will cost me, and above all how I will find them, stay tuned on the ValorosoIT channel, subscribe, activate the notification bell, so you will know immediately when I publish another video and you will not miss any update.
Good morning! Thank you for the very interesting and very useful videos in terms of any repairs.
In this regard, I also received a non-working Commodore Plus/4 with the same vicissitudes and its partial refund!
Ora, avendo constatato che uno dei componenti guasti è il famigerato MOS7501, mi chiedevo se il sostituirlo con il MOS8501 possa essere una soluzione migliore ovvero, sostituendo il 7501 con l'8501, si potrebbe andare incontro ad eventuali "incompatibilità" con altri componenti?
Thanks for the possible reply.
Good morning! Unfortunately, it happens to receive non-compliant objects. You can replace the MOS7501 with the MOS8501, try to see what you can find at a better price. In addition, there are kits to use the MOS6510 as well, but in this case there will be incompatibilities.