Welcome to the second installment of the tutorial on how to program in Basic, the language of the Commodore. If you missed the first episode, you can find it here.

Today we write a nice program, which can be useful, after the holidays, to decide whether to go on a diet!
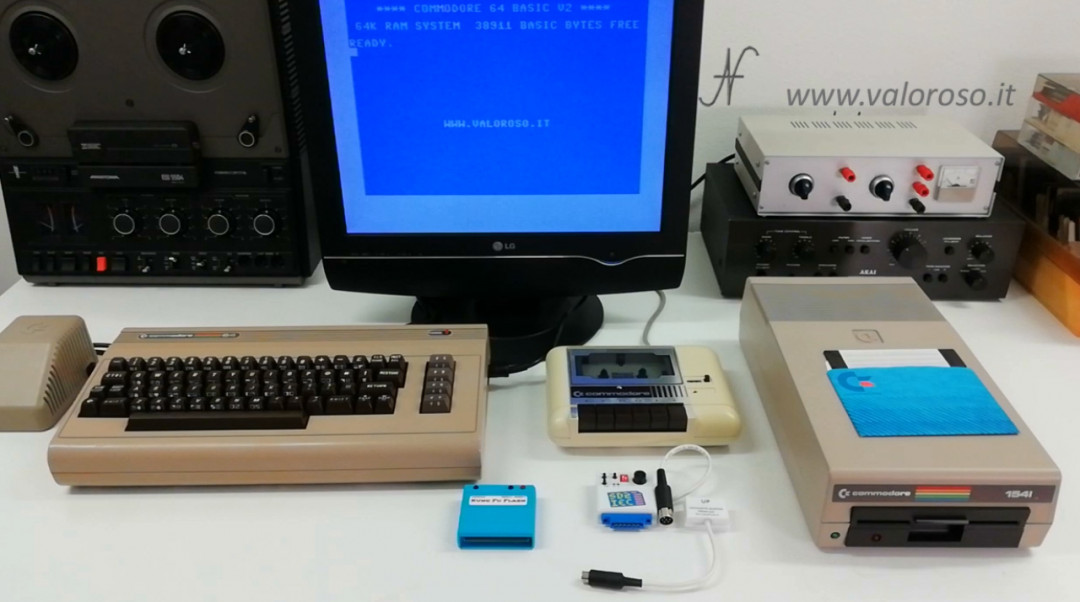
In addition to typing and testing the program, we also see how to save and load a file, on tape, disk, Sd2iec and Kung Fu Flash.
The conditional education that we analyze today is: IF THEN.
We also see the function STR $ (n).
We use special keys: COMMODORE + RUN/STOP.
The commands we analyze are: LOAD, SAVE and NEW.

In the next installments we will see other commands in Basic and we will also see how to write programs on a Windows PC, using the notepad, and then transfer them to the Commodore and execute them.

In order not to miss the other episodes of the course, I suggest you subscribe to the YouTube channel, whose link is below, and activate the notification bell!
Listing of the program to type
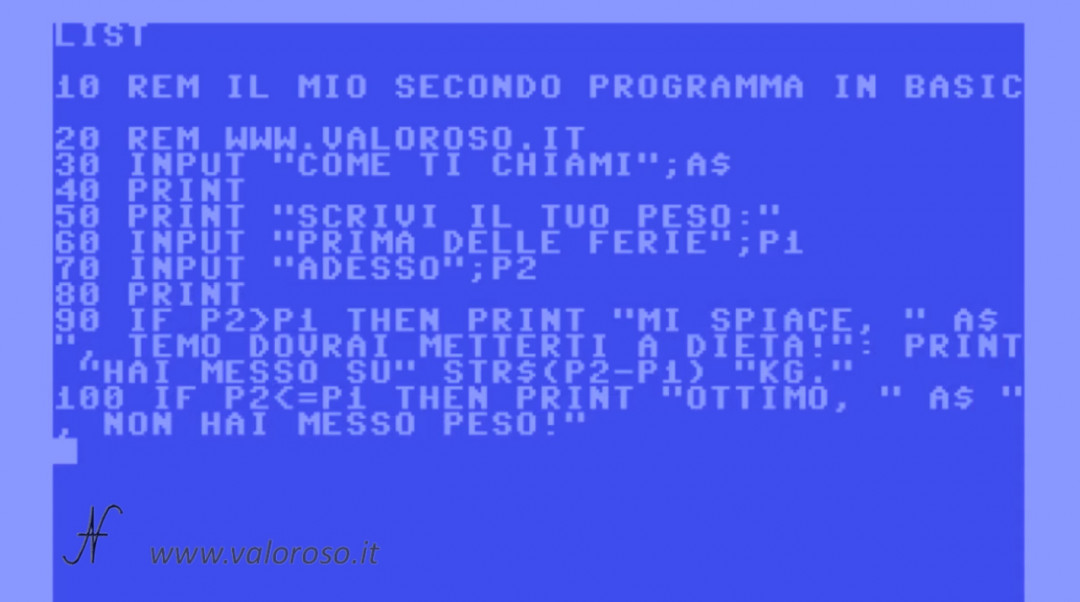
Here is the example program of the second lesson of the tutorial to learn programming in Basic. At the bottom of this page, you can already find it in TXT format (to view it on screen), and also in PRG format, to start it on the Commodore 64. You will also find an empty virtual disk D64.
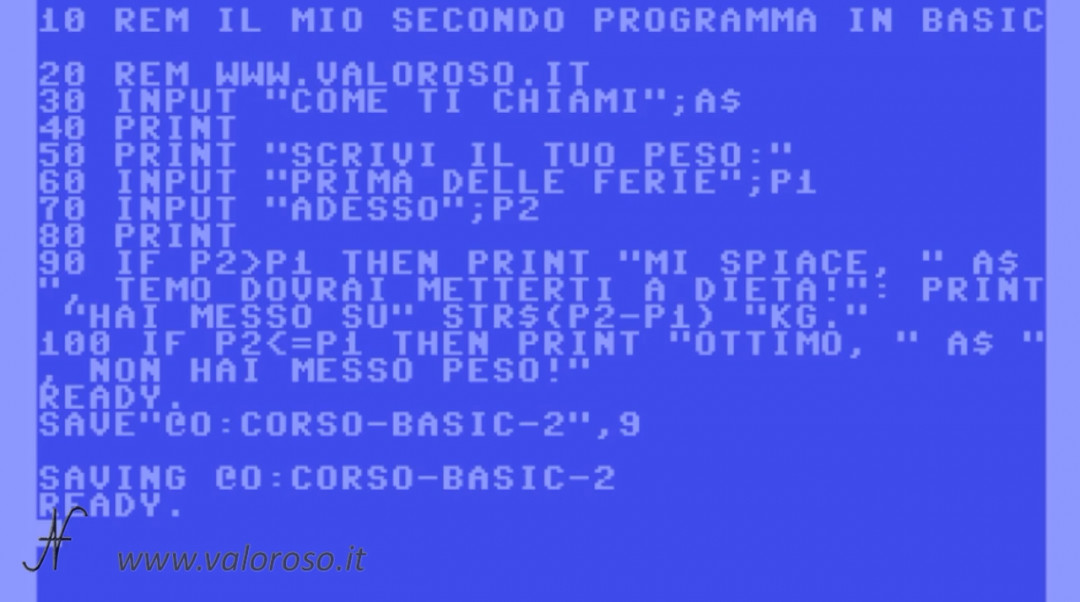
10 REM IL MIO SECONDO PROGRAMMA IN BASIC
20 REM WWW.VALOROSO.IT
30 INPUT "COME TI CHIAMI";A$
40 PRINT
50 PRINT "SCRIVI IL TUO PESO:"
60 INPUT "PRIMA DELLE FERIE";P1
70 INPUT "ADESSO";P2
80 PRINT
90 IF P2>P1 THEN PRINT "MI SPIACE, " A$ ", TEMO DOVRAI METTERTI A DIETA!": PRINT "HAI MESSO SU" STR$(P2-P1) "KG."
100 IF P2<=P1 THEN PRINT "OTTIMO, " A$ ", NON HAI MESSO PESO!"
Programming in Basic, on which computers?
The simple program that we make today can be run on many different Commodore: on the Commodore 16, Commodore Vic-20, on the Commodore 64, C128, but also on PET, on emulators, those for PC (therefore the VICE and the CCS64) and you can also run it on the old GWBASIC that was in the PC DOS.
If you are using the Commodore Pet, remember to type the all -tiny program.

Analysis of the example listing
We had already seen, in first episode of the course, how to type the program on the Commodore, and also how to run it.
The first lines of the program (10, 20 and 30) contain the instructions REM and INPUT, which we had already seen.
In line 30, with education INPUT, the user name is saved in the variable A$. The variable is a data container and the dollar ($), after the variable name, indicates that it is a string: a sequence of characters. We talked about variables in the previous installment of the tutorial.
Line 40 (PRINT) is used only to add an empty line to the monitor, between the request for the name and the following ones. The next line, line 50, starts writing part of the request to the monitor. It is useful not to make subsequent requests too long on the monitor.
Lines 60 and 70 contain the instruction INPUT. Each question must remain within a row of monitors. I obviously considered the monitor with the fewest columns, which is that of the Commodore Vic20.
The value typed on the keyboard, in this case, is a number. The user's weight is first requested before the holidays, and it is saved in the variable P1.
Subsequently, the computer asks for the weight after the holidays, and saves it in the variable P2.
The variables P1 and P2 they are floating point, which can contain integers and also with commas. Remember that to separate units from decimals, you do not need to type the comma, but the point!
Line 80 (PRINT), as seen before, is only used to add a blank line to the monitor, between the questions and the response provided by our Basic program.
Tutorial to program in Basic, the IF ... then education
In line 90 we see a new statement: IF… THEN
It is a conditional education: the computer performs everything there is after the then if the condition is between IF and THEN, it's true.
In this case: if the weight after vacation (P2) is greater than the weight before holidays (P1), the Commodore also carries out the two instructions PRINT, already described in the first episode of the course.
STR$ is a function, which converts a numeric value to a string. On some versions of the Basic it is possible to omit it, but I preferred to insert it for compatibility with all Commodore and also with the DOS GWBASIC.
In this case, the numerical value written on the monitor is the difference between the weight after the holidays and the one before.
Also in line 100 we find a condition, which is the opposite of the previous one. On some versions of Basic there is the inverse condition, ELSE, to be performed when the condition is not verified. Unfortunately, in the Commodore 64 it does not exist, so I had to include another line of the program, with the inverse condition, that is, when the weight after the holidays (P2) is equal to or less than the previous one (P1).
Save a file with the Commodore
Let's continue the tutorial, on how to program in Basic, and see how to save and load the program.
It is advisable to save the program often, when typing it, to avoid losing important data. Generally, it is preferable to keep some intermediate saves of a program as well. In this way, if, while working on a program, it no longer works, we could check for any differences with previous saves.
It is also advisable to keep all versions of the program, in order to keep track of the historical functionality implemented.
Save a Basic program on tape
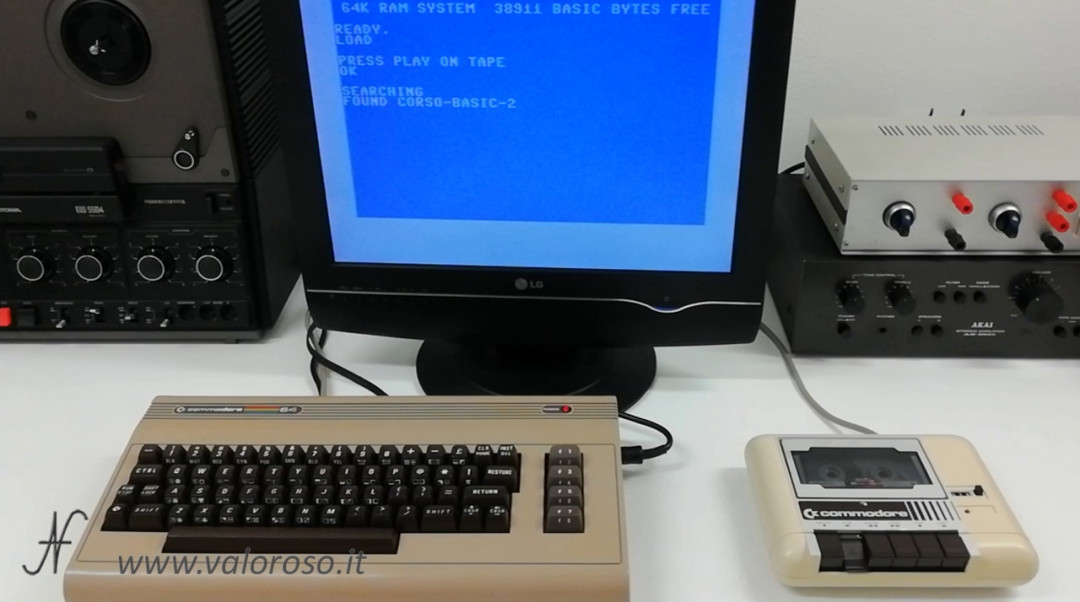
When our program is in memory, to save the program on tape, just type SAVE, with the program name in quotes.
SAVE "CORSO-BASIC-2"
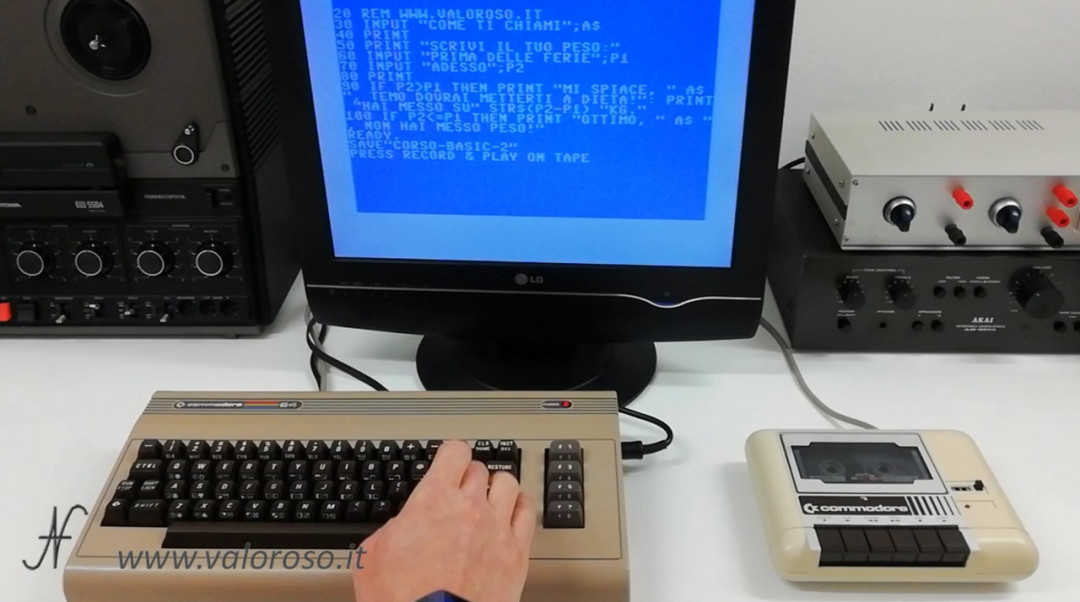
The program name can contain up to 16 characters.
It is a good idea to write down the number of the tape revolutions counter, indicated on the datassette, in order to position yourself in that position when we have to load the program.
Save a Basic program to a Commodore 1541 floppy disk drive
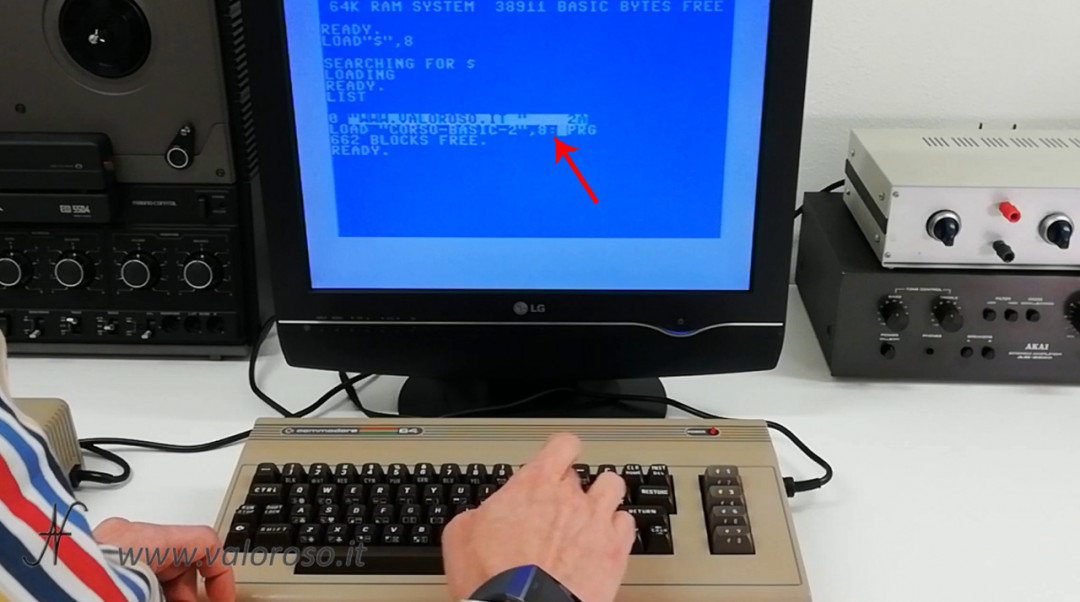
To save the program to disk, if you have a floppy disk drive, such as the Commodore 1541, type SAVE, with the name of the program in quotation marks, also indicating the address of the drive, which in my case is 8.
SAVE "CORSO-BASIC-2",8
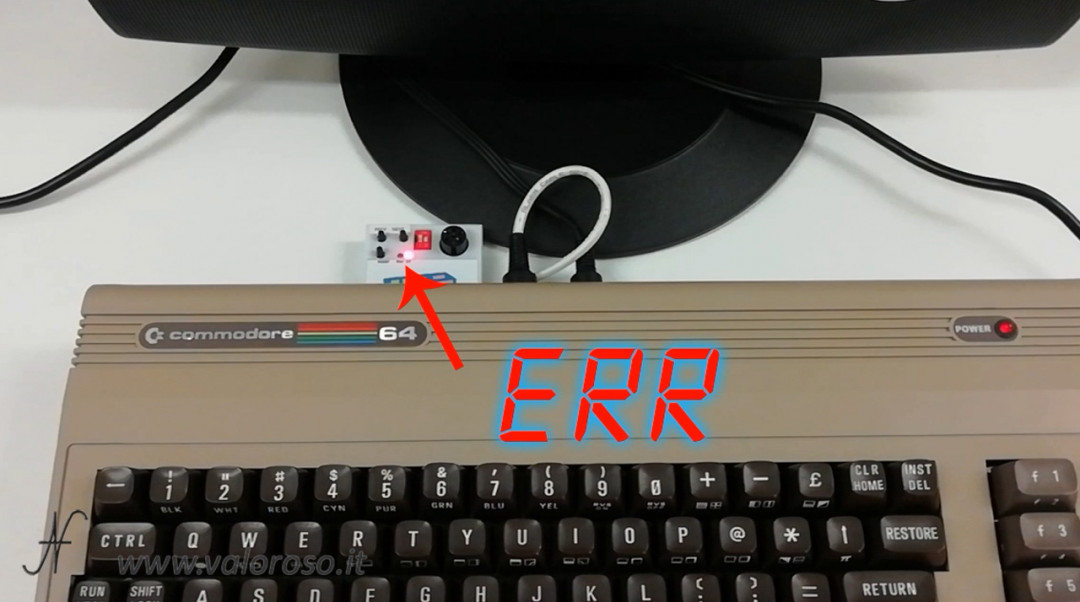
Warning! If the file name already exists on the floppy, it will not be overwritten and no errors will be shown on the monitor! The same goes for other errors. For this, it is good to look at the red led of the floppy disk drive 1541 and check that it does not blink after saving the file.
To save by overwriting the file, you need to add @THE: (snail, capital letter O, two points) before the file name:
SAVE "@O:CORSO-BASIC-2",8
If the program already existed on the disk, the old version would be deleted and overwritten with the new one.
Also on disk, as for all save games, the file name can contain a maximum of 16 characters.
Program in Basic, save a program on MicroSD with SD2IEC
Let's continue the tutorial on how to program in Basic and see how to save to SD card, via Sd2iec. The procedure is the same as for the diskette, taking care to indicate the correct address of the emulator, in my case 9.
The program can also be saved on SD2IEC with the option @THE: to overwrite the file.
If we have not opened any virtual disks, the program is saved in the root folder of the SD memory card. In this case it is better to add the PRG extension to the file name, so that it can be used on a PC with emulators.
If, on the other hand, we had opened an image of a D64 virtual disk, before typing the program, the file would be saved within the same virtual disk.
With regard to possible errors, even with SD2IEC it is good to look at the red LED (present on the SD2IEC itself) and check that it does not flash after saving the file.
Save the program in Basic on Kung Fu Flash
To save on Kung Fu Flash (this only applies to the Commodore 64 and 128), we must have connected an image of a D64 disk before typing the program.
First of all, using a PC, we prepare a MicroSD memory card with a blank virtual disk inside. For convenience, at the bottom of this page, I have attached a blank virtual disk in D64 format.
Remember to upgrade the Kung Fu Flash to the latest version on GitHub. In fact, versions prior to 1.16 do not have write support.
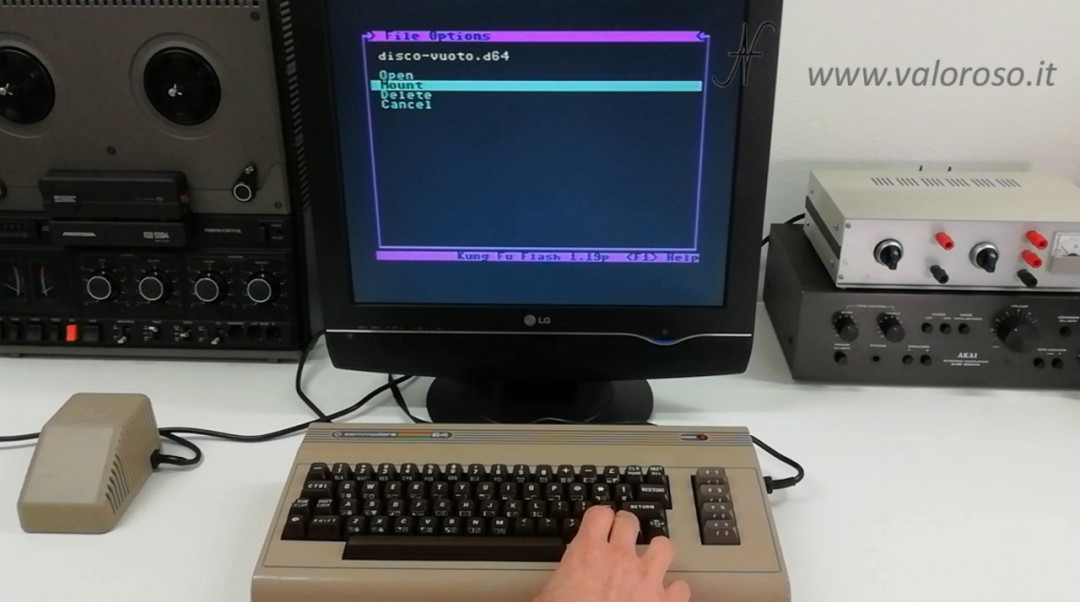
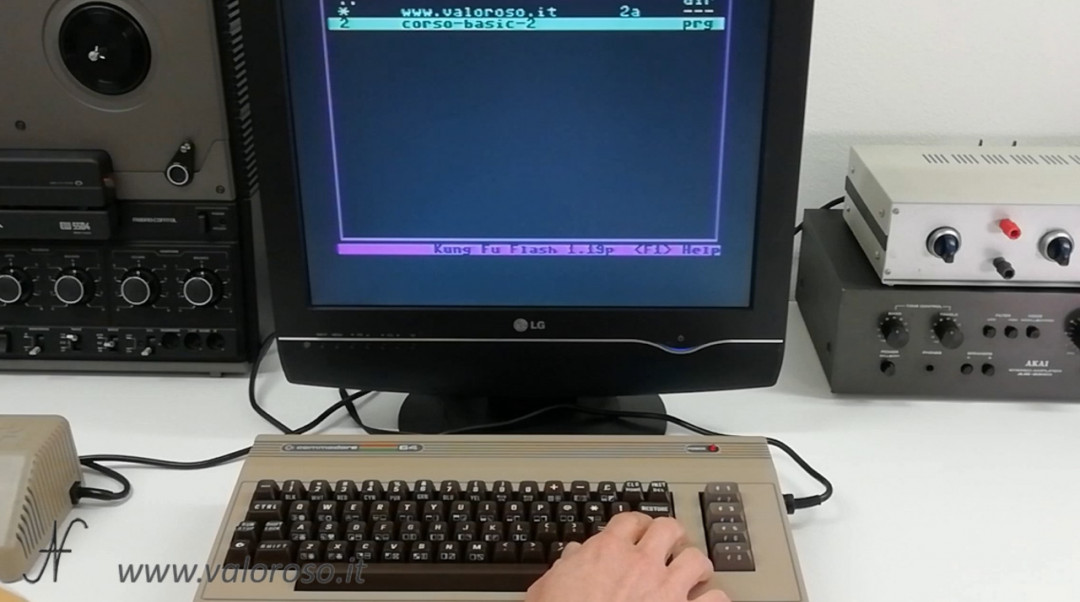
At this point, we can insert the MicroSD into the Kung Fu Flash and start the Commodore 64. Then press the button MENU on the Kung Fu Flash.
With the cursor keys, select the virtual disk you copied to the MicroSD, but do not press RETURN. You have to press SHIFT + RETURN to open the options menu. To choose MOUNT.
At this point the Commodore 64 starts up normally.
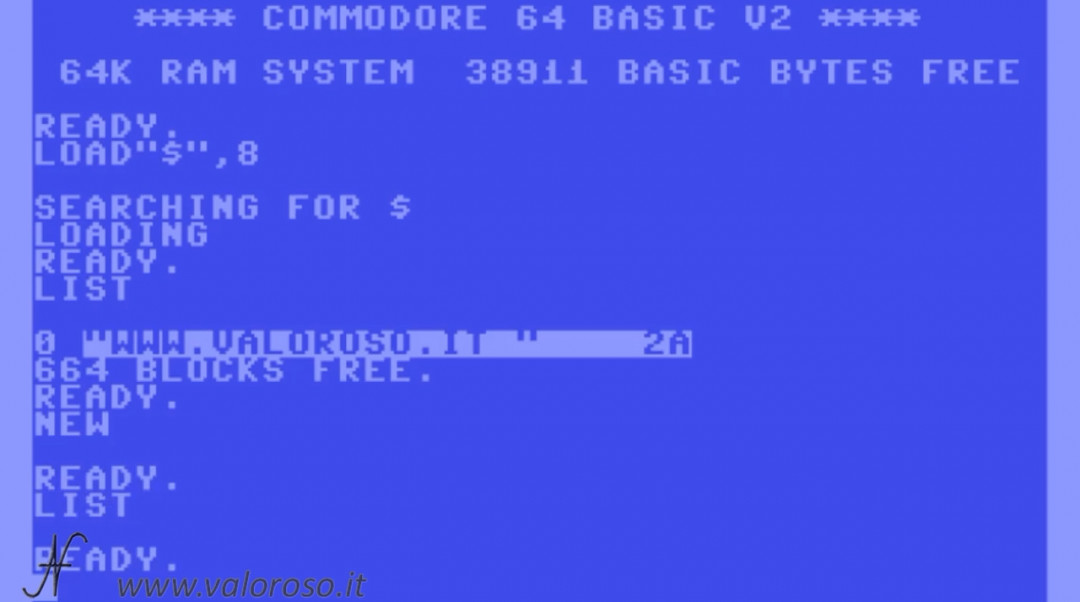
You can verify that the virtual disk is mounted correctly with the commands:
LOAD"$",8
LIST
An empty list opens and no errors are displayed.
After typing the command NEW, which we analyze in the next paragraph, you can start typing the program. Later, you can save it with the same command SAVE used with the floppy disk drive and with the SD2IEC, also with the option "@O:".
Also in this case, in the event of an error, no message is displayed on the monitor. It is therefore a good idea to save the program on multiple files, for safety.
New education to delete memory
Before typing the program, write the command NEW. You can verify that the computer memory is now empty by typing again LIST.
Remember to type the command NEW after loading the file list from any device, before typing the program! In fact, in memory there is a list of disk files, which must not be mixed with our program!
Program in Basic, load a program from tape
Our Basic programming tutorial continues! Let's see how to upload a file. To load it from tape, we type:
LOAD "nome del programma"
Or, if we don't remember the program name, we can type LOAD and start the tape. The first available program is loaded. If we position ourselves at the number of laps we scored when we saved the program, everything is much simpler.
There is also a combination of keys COMMODORE + RUN/STOP to load from tape, without typing LOAD.
Load a program from the Commodore 1541 floppy disk drive
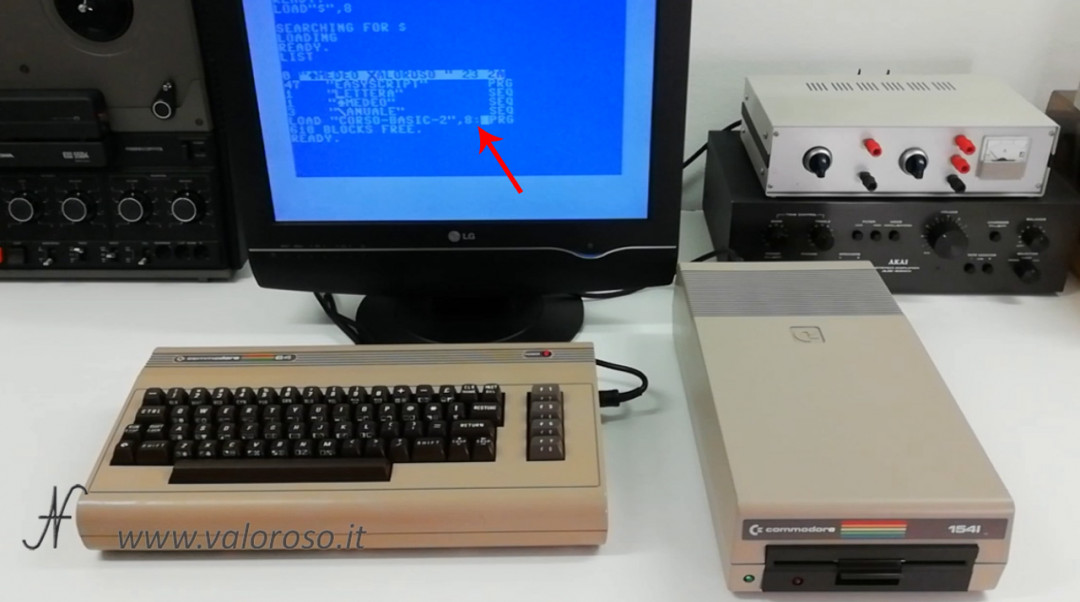
To load from the disk drive, we can first view the list of files on the disk.
The command used is the following:
LOAD "$",8
LIST
Then we can upload the file by typing
LOAD "nome del file",8
Alternatively, it is possible to position the cursor on the line of the list and type LOAD, then move with the cursor to the right, we add ",8" and colon ":" to leave out what is written later.
Upload a file from Kung Fu Flash
For uploading files from Kung Fu Flash, you can mount the virtual disk as we have seen before (using MOUNT). Then we can load the file as if it were a diskette.
Alternatively, we can also use the Kung Fu Flash file browser by pressing MENU.
Upload a file from SD to the Commodore with SD2IEC
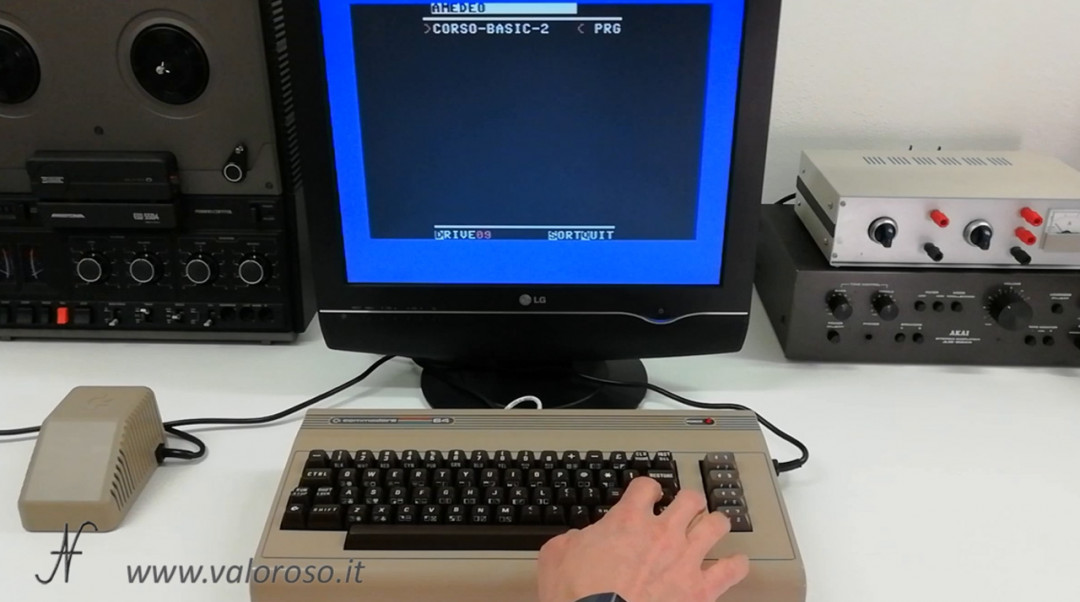
Finally, to load the program from the SD2IEC emulator, we can use the same procedure seen for the diskette. Or, alternatively, we can use the file browser.
We load the file browser and see the list of files on the SD card.
Then we choose the file we prefer and start it.
After finishing the execution of our program, we can consult the list of instructions by typing LIST.
List of the Basic program of course # 2
And here is the listing of the Basic program of the second installment of the tutorial on how to program in Basic with the Commodore.
The program is available in two formats:
- CORSO-BASIC-2. TXT, in text format, to analyze it on a PC or to transcribe it on the various Commodore or on the DOS GwBasic;
- CORSO-BASIC-2. ZIP, ZIP compressed folder to unpack. Includes the program in PRG format, loadable and bootable from Commodore 64 and a virtual disk D64 containing the program loadable from C16, Vic20, C64 and C128, as well as emulators (CCS64, VICE or others). Also includes a blank D64 image for Kung Fu Flash experiments.
The topics of the course are still many!
Credits: In the video tutorial, SID music is Delta by Rob Hubbard.