Have you ever thought about building a starter unit for your car with the Commodore 64? In this experiment, I built a ECU for the Fiat X1/9 with the Commodore 64!

The Fiat Bertone X1/9 of the experiment is a 1973 specimen, displacement 1300, with a 4 -speed manual transmission.

I intend to improve, in the future, the control unit for the Fiat X1/9 with the Commodore 64: for now the Commodore is connected to the power supply via an extension, but I would like to power it from the car battery. In that way, it will be possible to test the car on the road!
ECU hardware for Fiat X1/9 with Commodore 64
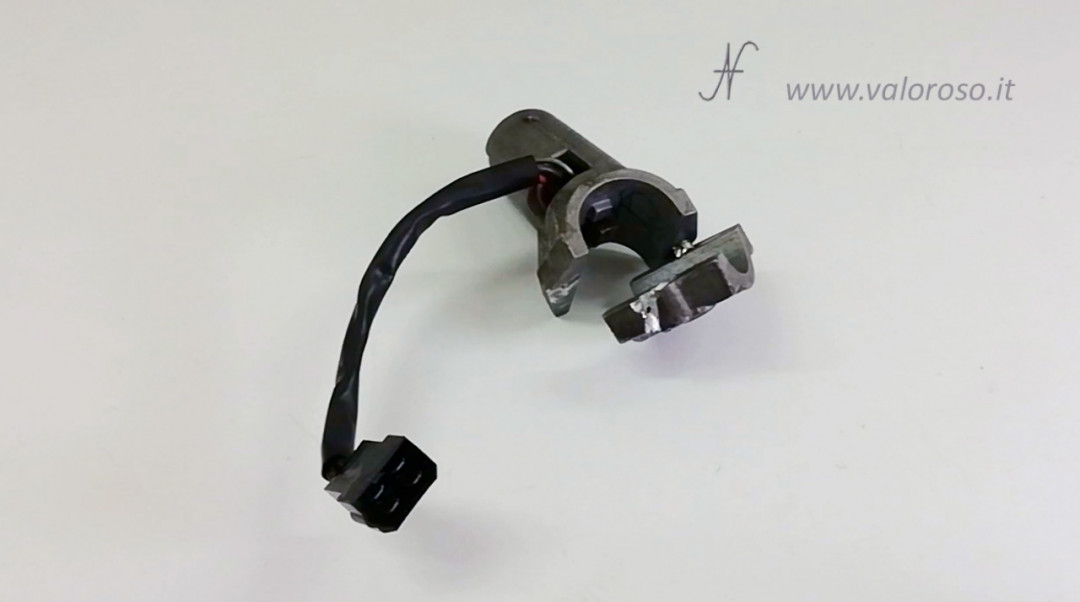
To make the car ignition control unit with the Commodore 64, I recovered the ignition lock connector from an old non-working lock. In this way, the plant of Fiat X1/9 does not modify absolutely, which can preserve its originality.
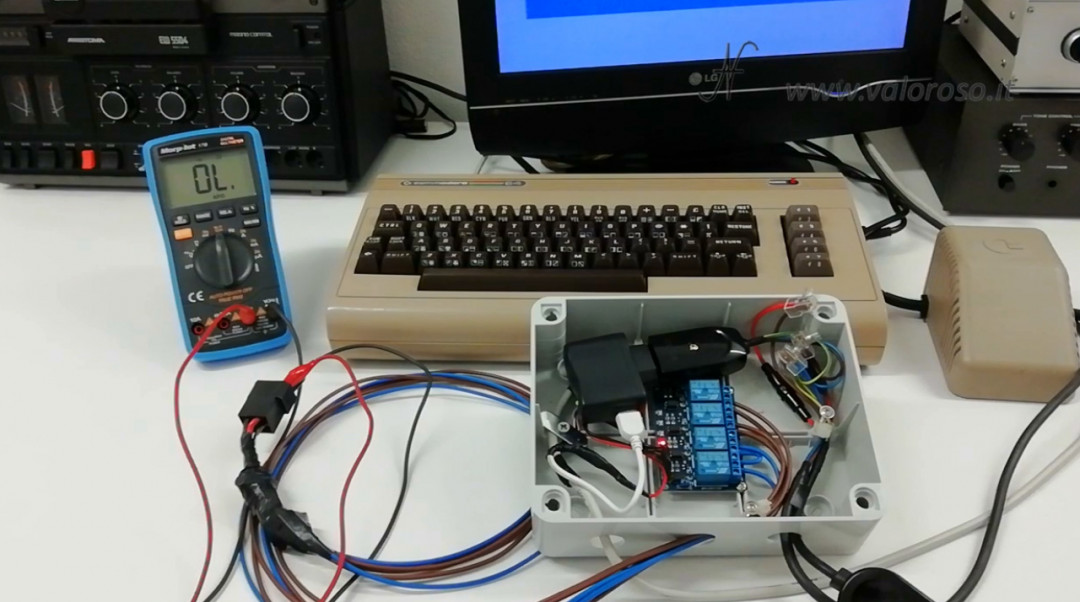
To connect the C64 to the Fiat X1/9, I used the 4 relay and photocoupler interface that I have already shown you in other videos and in this article. It connects to the Commodore 64 user port via a 3.96mm edge 24-pole connector.

I used the number 1 and 2 relays of the interface to turn on the "picture" of the Fiat X1/9, connecting the two contacts normally open in parallel.
Regarding the starter motor, the vehicle already has a starter contactor. The absorption on the contacts of the block is quite low.
The 4 relay interface must be powered externally, using a 5V power supply. I included the power supply inside the same container where I mounted the relay interface.
In my previous videos, I had already mentioned a problem with these relay interfaces, when they are powered externally. If we keep the interface on while the Commodore 64 is off, the relays are activated!

To prevent the car's starter from turning when the Commodore is turned off, I connected the normally closed contact of relay number 4 in series to the normally open contact of relay number 3.
If all relays were to turn on at the same time, the starter motor would not turn, because the closed contact of relay number 4 would open.
Control unit Basic software
The software is available at the bottom of this page. I load the program, which I made in Basic, with the Kung Fu Flash. With this solution, the control unit software for the Fiat X1/9 with the Commodore 64 of the part directly, without the need to load it with the command LOAD.
Since on the car there is no monitor, it is excellent that the software starts automatically when you feed the computer.
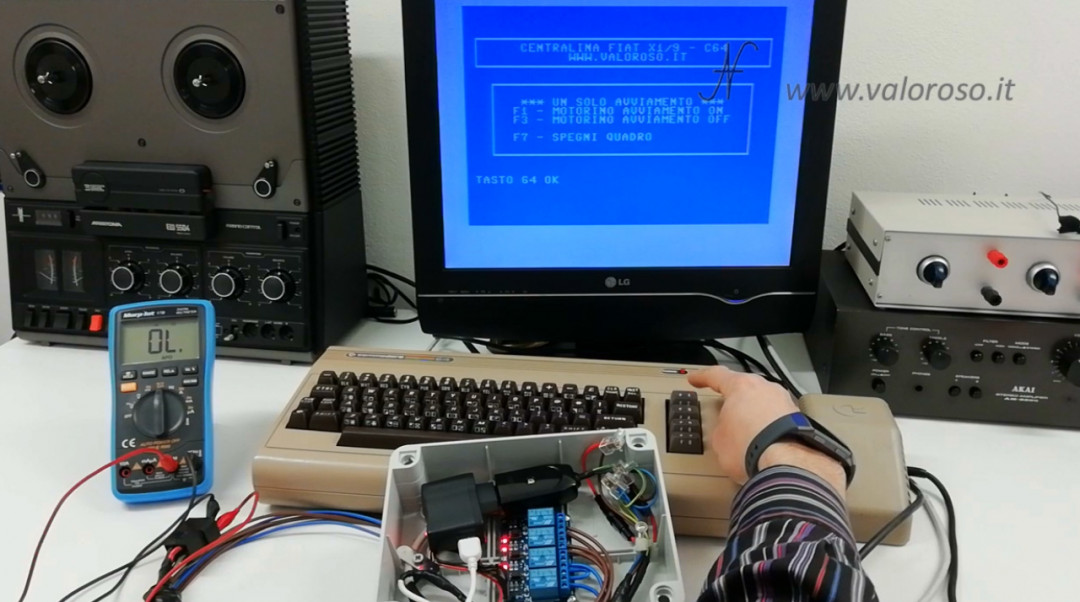
To start the car with the Commodore 64, you must first enter a password. This control unit also works as a burglar alarm!
The password to access the program is: CIAO.
After entering the password, you must press RETURN. In this way, two relays are activated which switch on the dashboard of the Fiat Bertone X1/9.
Then, to turn on the starter, you must press F1. When the engine starts, you must press F3 to turn off the starter.
There is only one chance to activate the starter motor. If the car does not start, you have to turn off the picture and type the password again. I put this security to avoid that, during the march, it is inadvertently premaid F1 with the engine running, destroying the starter.
To turn off the ignition, you have to press F7.
Relay 4 always trips a little before relay 3, when the starter motor must be activated. I used this trick, because the normally closed contact of the relays generally carries less current than the open one, during switching. Therefore the commutation that activates the starter motor is carried out only by relay 3, while relay 4 is only for safety in case the Commodore switches off.
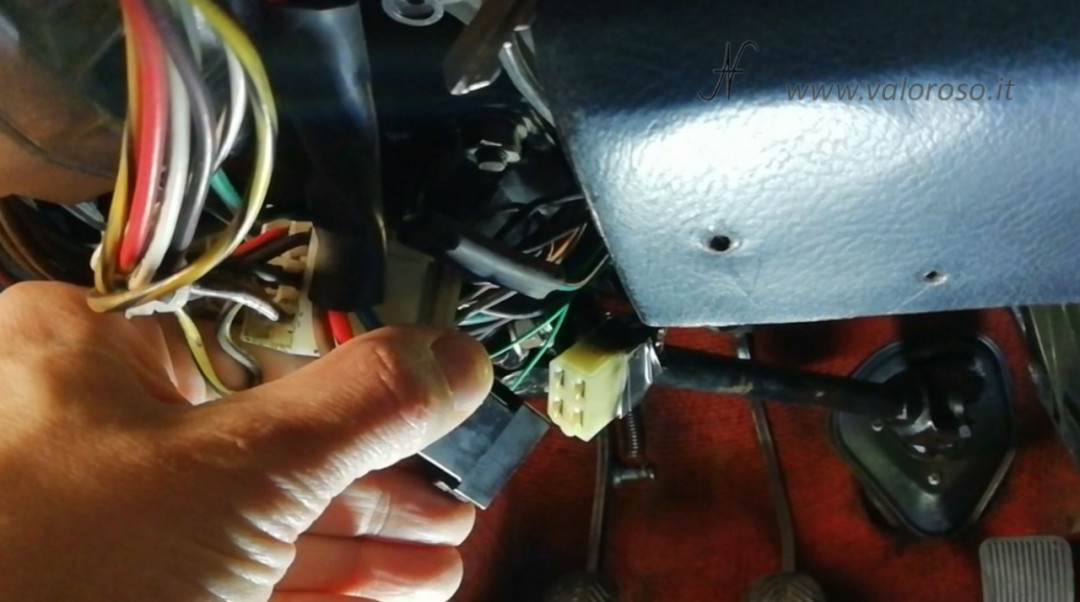
Connection of the control unit to the Fiat X1 / 9
To connect the ECU to the ignition lock connector, the shell that finishes the X1/9 steering column must be opened.
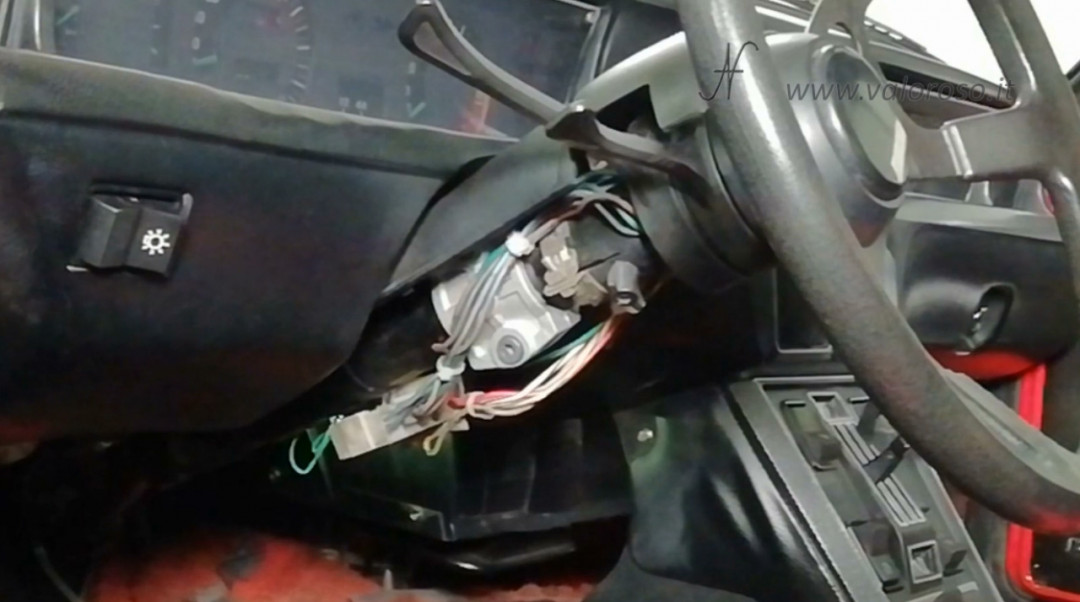
The connector of the car plant must be disconnected from the start -up block, then connect it to the control unit.
The plant is obviously provisional: the Commodore 64 must stay on the passenger's legs. It is also powered with the 230VCA extension. As I said, in the future I will improve the experiment in order to use the car with the connected commodore.
For the lighting test of Fiat X1/9 ... I refer you to the video!

List of the basic program of the control unit for Fiat X1/9 with the Commodore 64
And here is the listing of the program in Basic to manage the ignition control unit of the car with the Commodore 64.
The program is available in two formats:
- C64-X19. TXT, in text format, to analyze it on a PC (this file can not be immediately loaded or transcribed on the Commodore 64: to convert it into PRG you have to use C64LIST);
- C64-X19. PRG, to be unpacked, in loadable and bootable format from Commodore 64 and emulator (CCS64, VICE or others).
Credits: in the video, the music is “Super Cars II (1991) intro theme by Ian Howe”.