Here is the fourth video/article of the repair of my first Amiga 500, which I bought a couple of years ago! We use Amigateskit to test the entire computer. Was it better to buy a computer already tested and working? I would say yes!

We proceed with the repair of the Amiga 500, which is requesting several hours of work, as well as several rather expensive spare parts!
In this article we talk about the Gotek, as a replacement for the Amiga 500 floppy disk drive, to load games and programs from USB pendrives, instead of floppy disks. Through the Gotek, we load Amigateskit, a complete test software for Amiga. AmigaTestKit is not specific to the Amiga 500, but it works on all Commodore Amiga.
Let's also talk about the Amiga 500 keyboard membrane replacement, with a brand new membrane. Finally let's try a original Commodore mouse, obviously for Amiga!
In the three previous articles, we talked about buying an Amiga 500 with different accessories. We tried a second power supply, tested and working, but it was not enough to start the computer. To assess the damage, we disassembled, piece by piece, the entire Amiga 500 and rebuilt some corroded tracks on the printed circuit board.

Next, we tested the motherboard, after repair, with the DiagROM. Then, we disassembled and thoroughly cleaned all parts of the keyboard and ordered the new membrane for the Amiga 500 keyboard.
Spare membrane for the Amiga 500 keyboard
Finally, after a wait of a few days, I was delivered the new keyboard membrane!
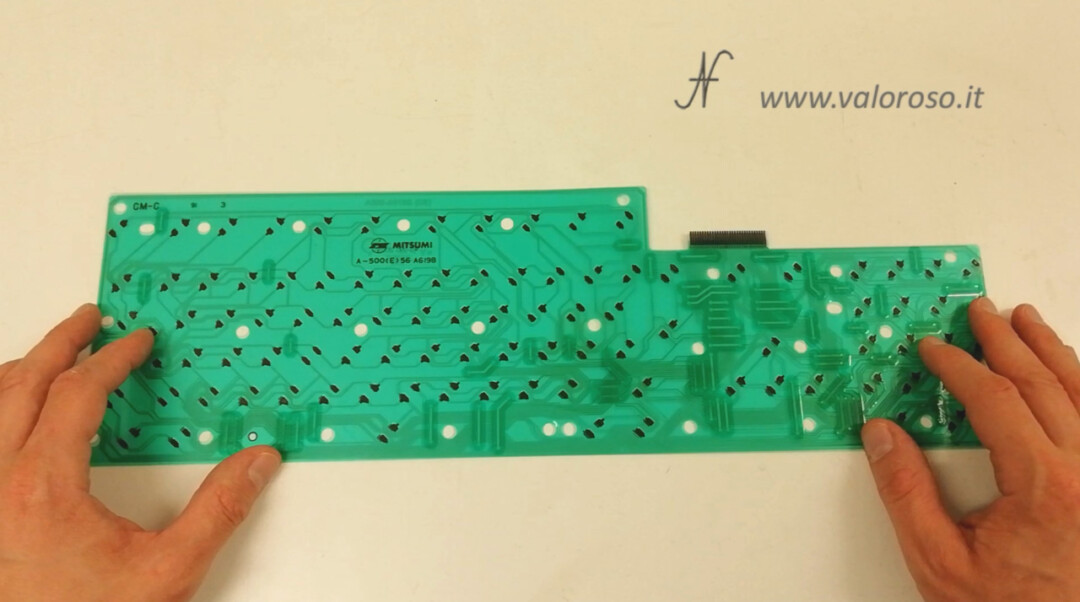
It is a little lighter than the original Mitsumi membrane: the A-500(E)56 A619B.
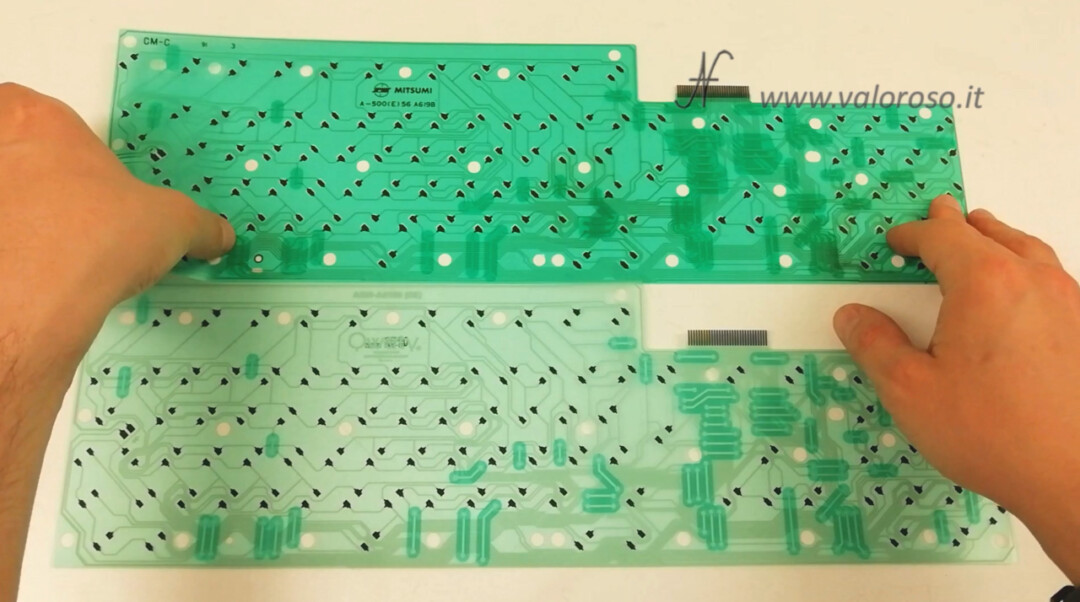
To compare them, let's try to overlap the two membranes: the new one and the original one. We see that the position of the keys is identical. The tracks also seem to pass in the same position. As we had seen in previous videos, there are different types of membrane for Amiga 500: you will have to choose the correct one for your computer, in my case the A619B.

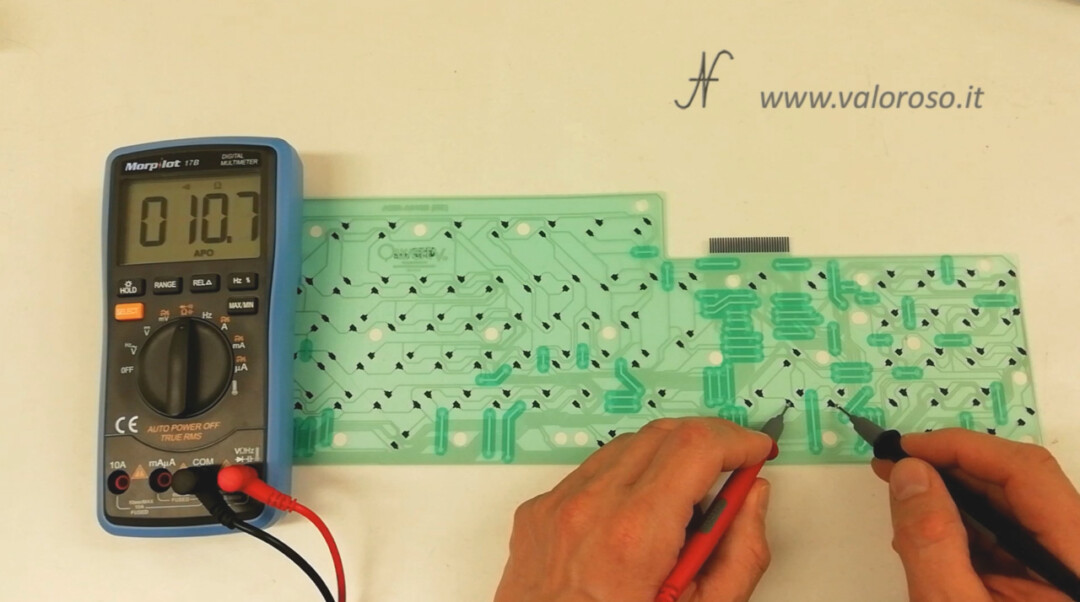
Let's try, in champion, some track with the tester: there is continuity, the situation promises well!
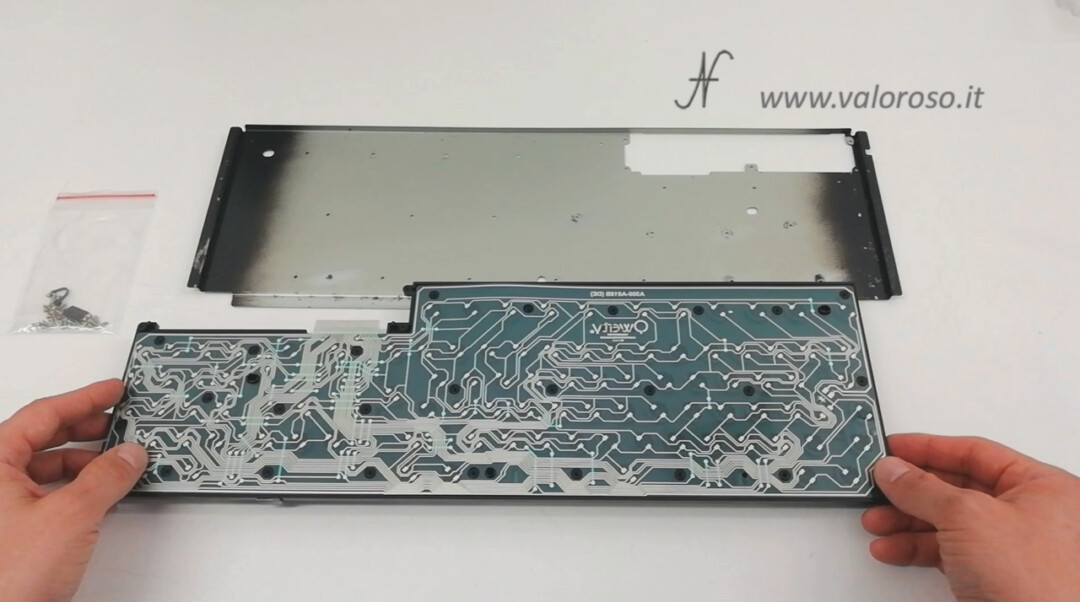
It's time to mount the new membrane in the Amiga 500 keyboard! If you haven't already done so, you can read the third article of this repair, because we had disassembled the keyboard, cleaned it and even passed a coat of transparent varnish on the rusty parts of the metal bottom of the keyboard.
We place the membrane on the back of the Amiga 500 keyboard, obviously following the correct orientation.
Then, we screw all the back screws of the keyboard, which are many! I had done well to store all the small parts in special bags! When screwing the screws, do not make excessive force, it is enough to screw them all the way, without straining further. In addition, it is good to screw the screws in a random position, rather than screwing them all in a row, from left to right.

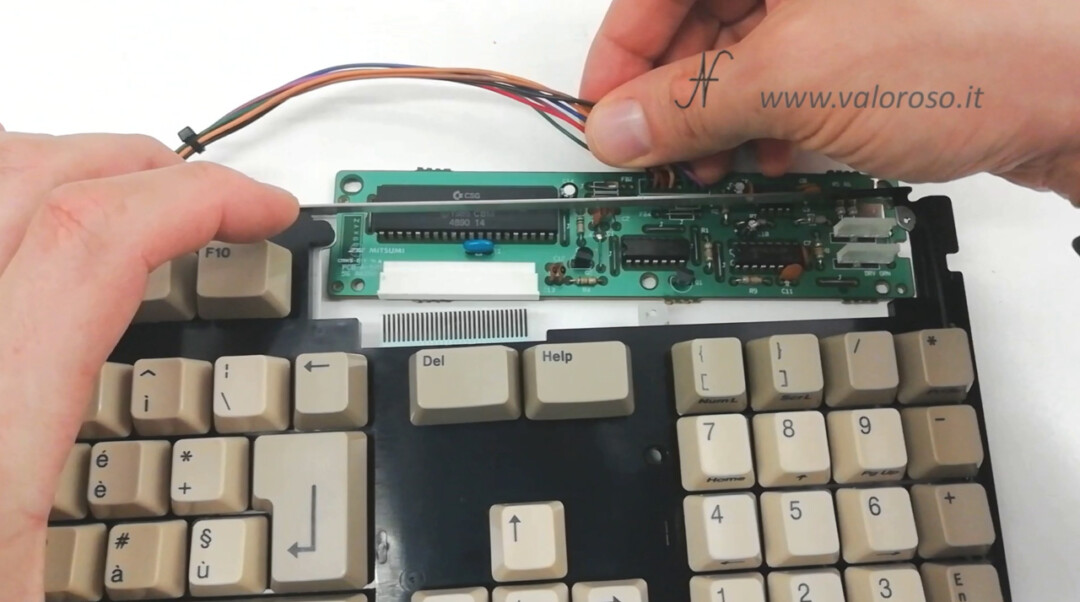
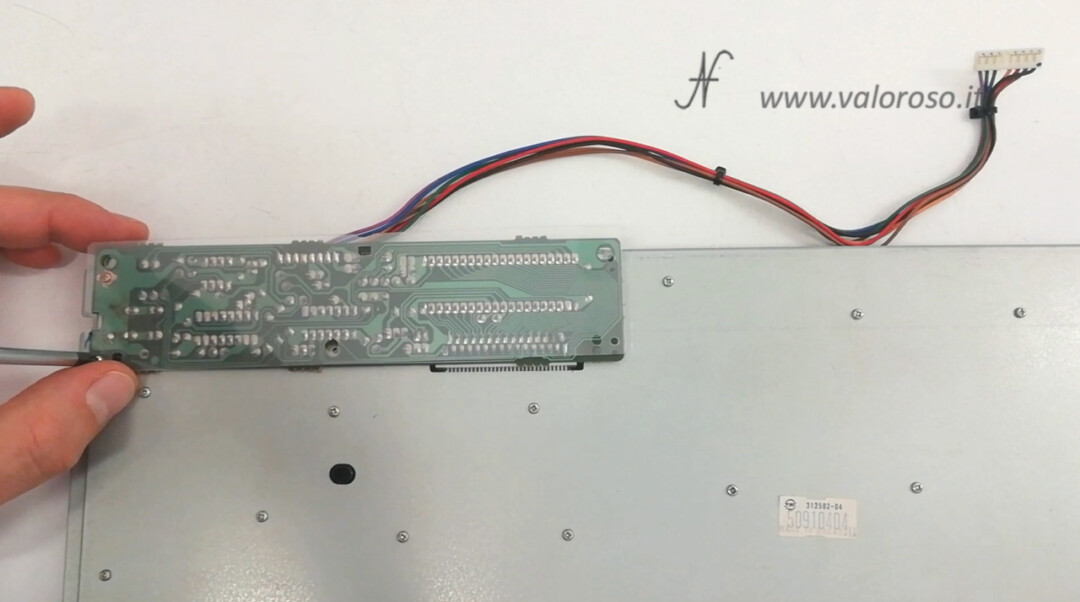
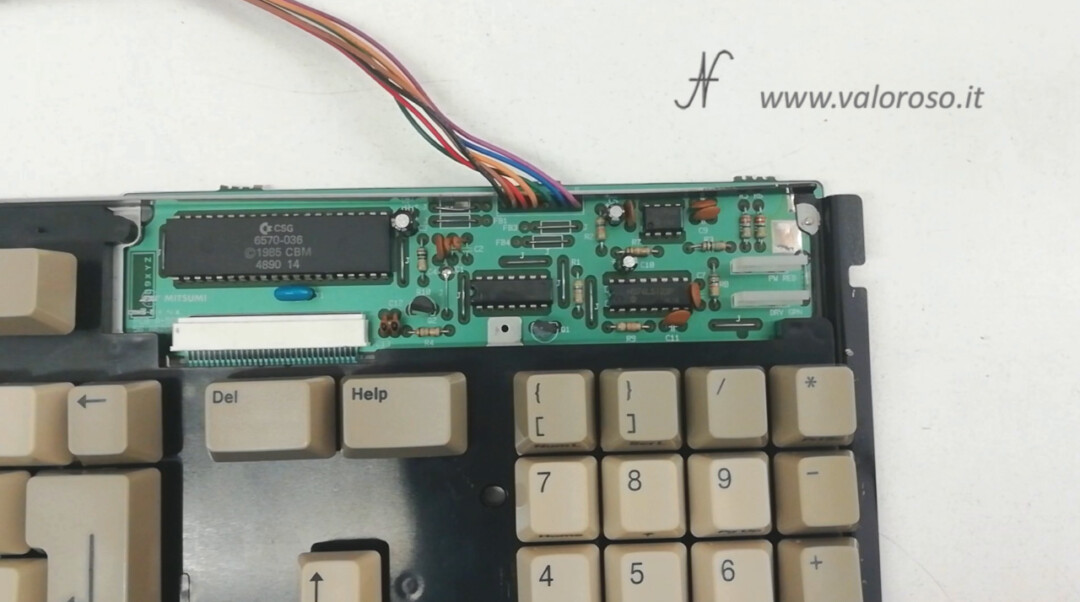
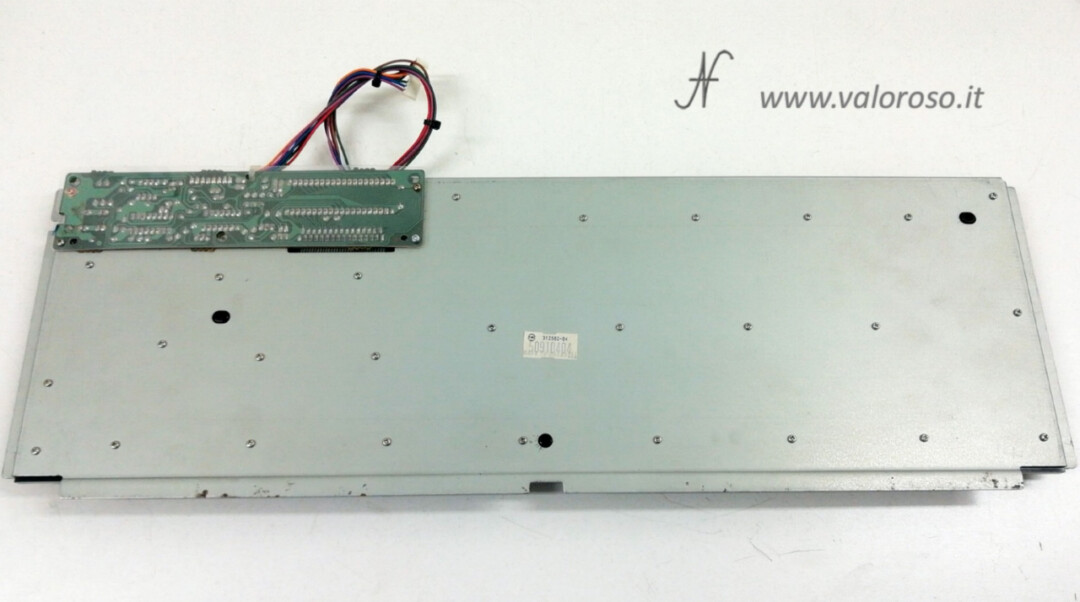
We reassemble the management card of the Amiga 500 keyboard in its original position. The flexible printed circuit - the membrane - must enter the connector of the keyboard management card. The connector must be opened. You notice that the connector is open, when the detention is removed from the connector itself.
Behind the keyboard, where the PCB is, we must screw in the transparent plastic sheet that we had removed in previous videos.
Then, to close the connector latch, simply push it in the direction of the connector itself.
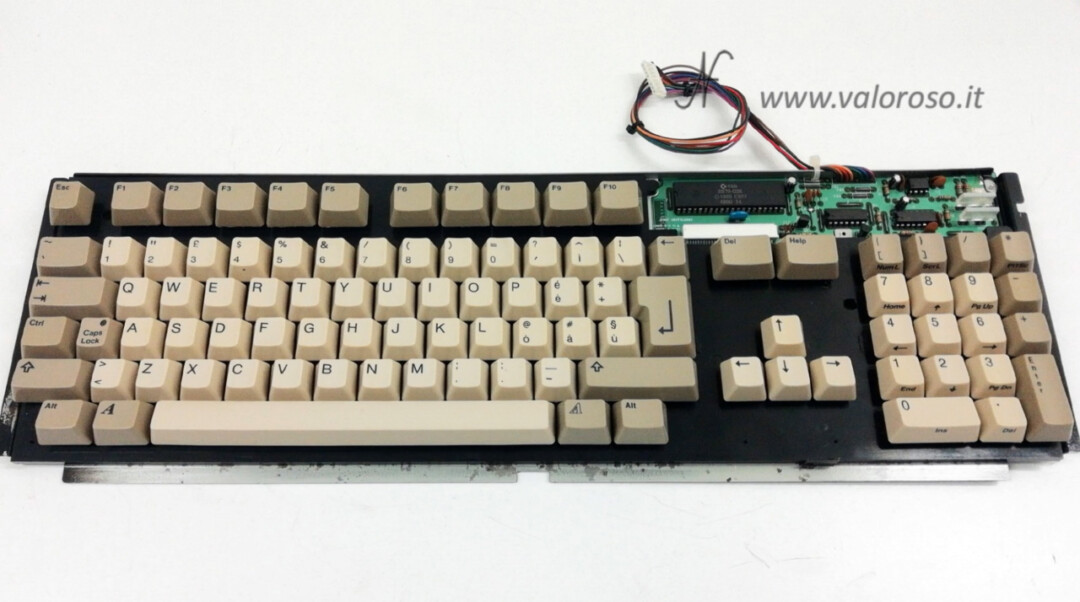
We also reassemble a band to group the keyboard wires, just as it was originally. We can cut the excess part with scissors.
We have finished the Amiga 500 keyboard repair and... let's hope it works!
Commodore A500: installation of the Gotek
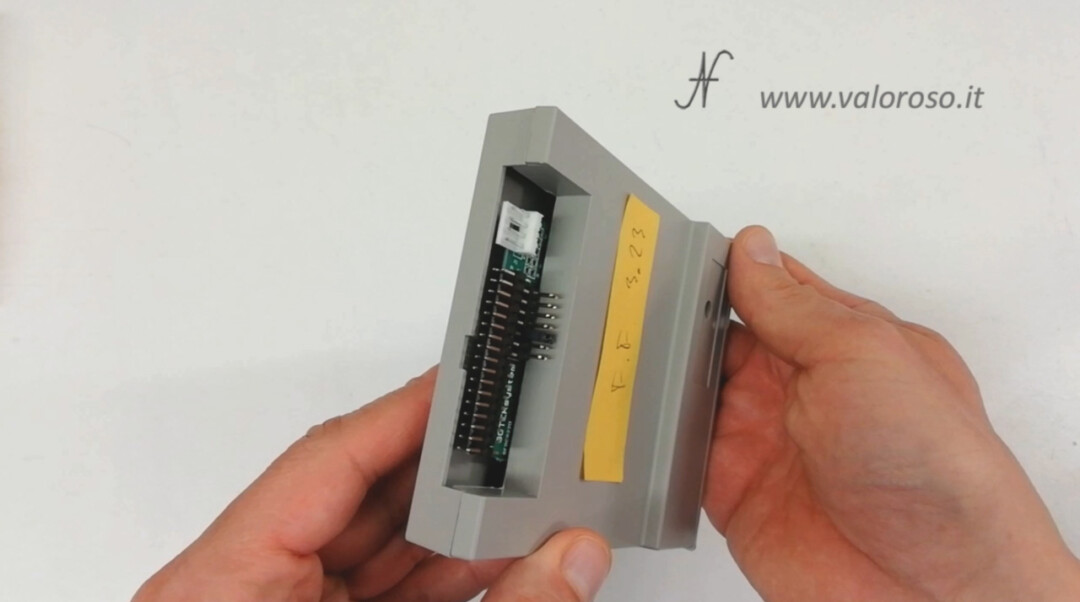
Let's proceed with the installation of the Gotek. The Gotek I purchased is already prepared to work on Amiga computers, in fact the FlashFloppy firmware is installed, available on GitHub.
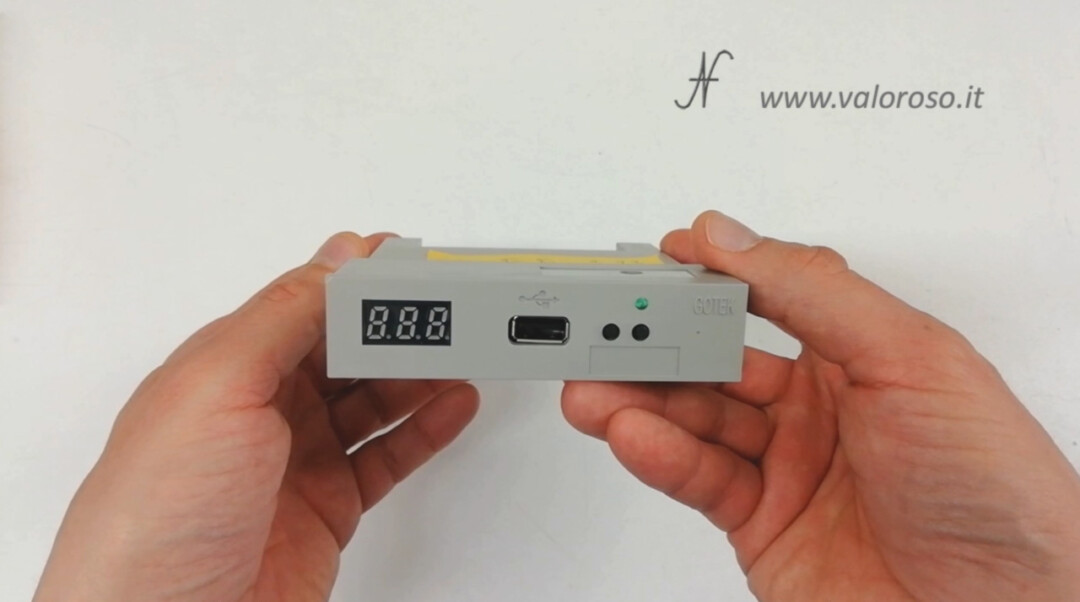
Gotek is an alternative to the floppy disk drive. It is used to upload files from a USB stick, instead of the disk. In this way, through a PC, you can download all the games and programs for Amiga you want, put them on pendrrive, and load them from the Amiga 500! It is possible to install the Gotek instead of the internal floppy disk drive of the Amiga 500 (any model of Amiga). It is also possible to install the Gotek outside the computer, using the door of the external drive, DB23, rear.
We install the Gotek on the motherboard. It's very easy: you use the cables we already had for the floppy disk drive. To close the Amiga, it may happen that the original cables are a bit short, because the Gotek is a little smaller than the floppy disk drive. To close the Amiga case with the internal Gotek, you'll probably have to stretch the cables or replace them with longer cables.
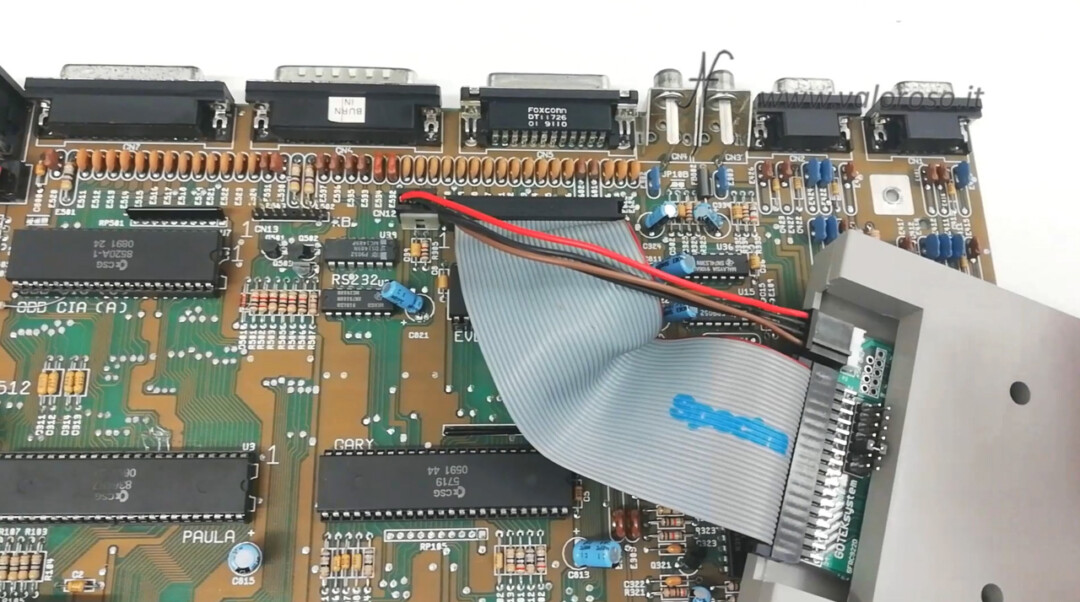
At the moment, we can not worry about it, so we are doing a test with the computer open. Do we turn on the Commodore A500?
It works! You have loaded the Gotek selector, which allows you to choose the file to start. I choose Amiga Test Kit, the software to test the various components of the Amiga. I had copied it to the pendrive. Actually, the preparation of a pendrive and the use as a diskette of the Amiga 500 is a bit more complicated: I will show it to you in other articles.
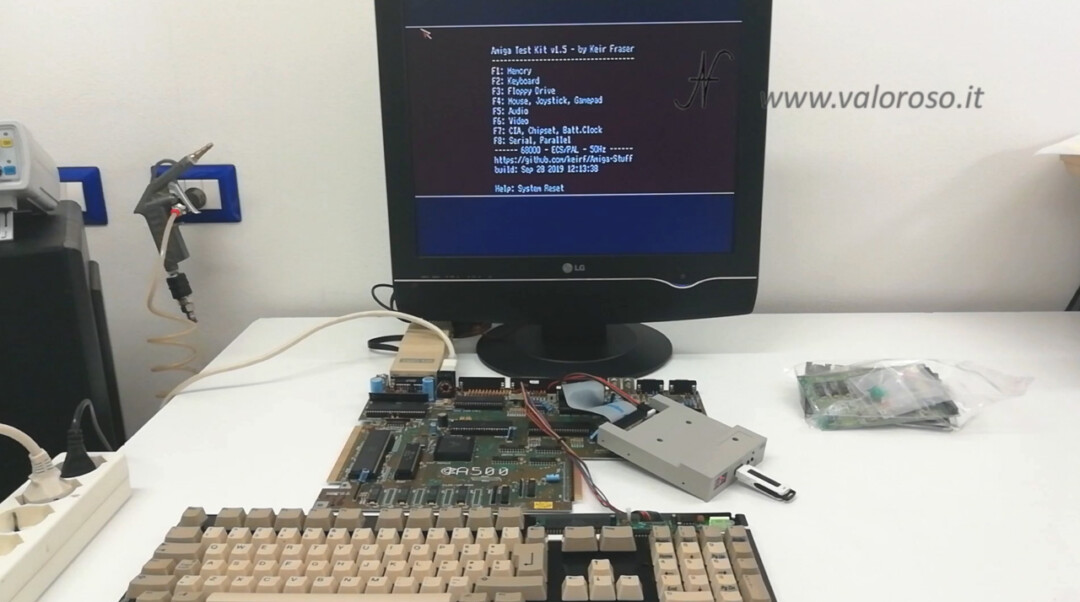
Check the Amiga 500 with Amigatestkit
AmigaTestKit is a very convenient utility (by Keir Fraser), to test the various Amiga models. You can test several motherboard peripherals as well as the keyboard. You can download it for free by doing some research on the internet.
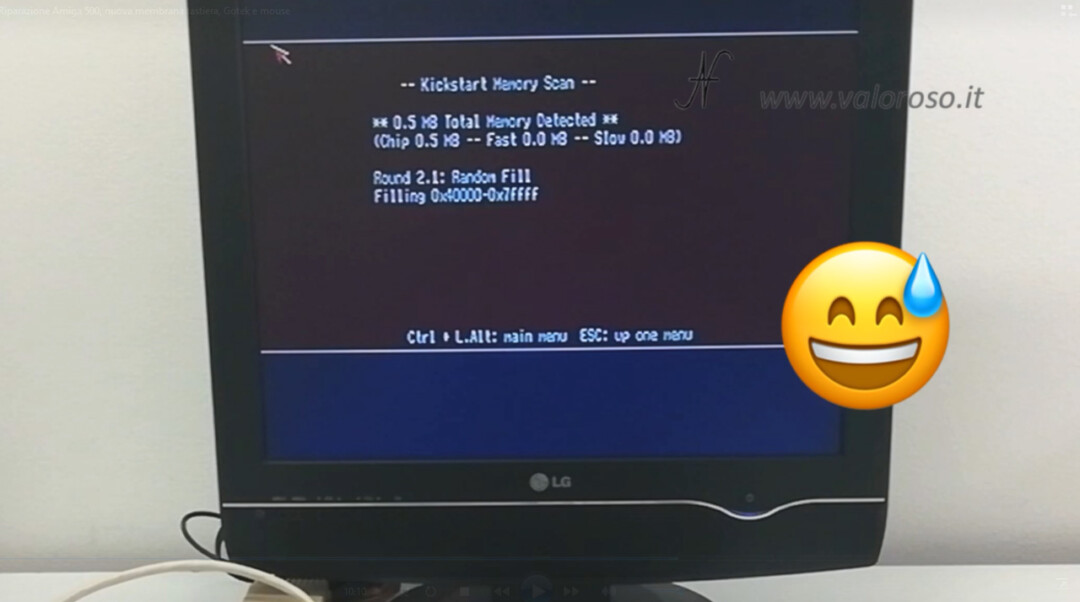
Relative to my Amiga 500, the keyboard seems to work, in fact I can move in the menu. We try the computer's memory: we access the test by pressing F1 (memory). The RAM works well, in fact no errors are shown. The RAM test continues until you manually cancel by pressing ESC.
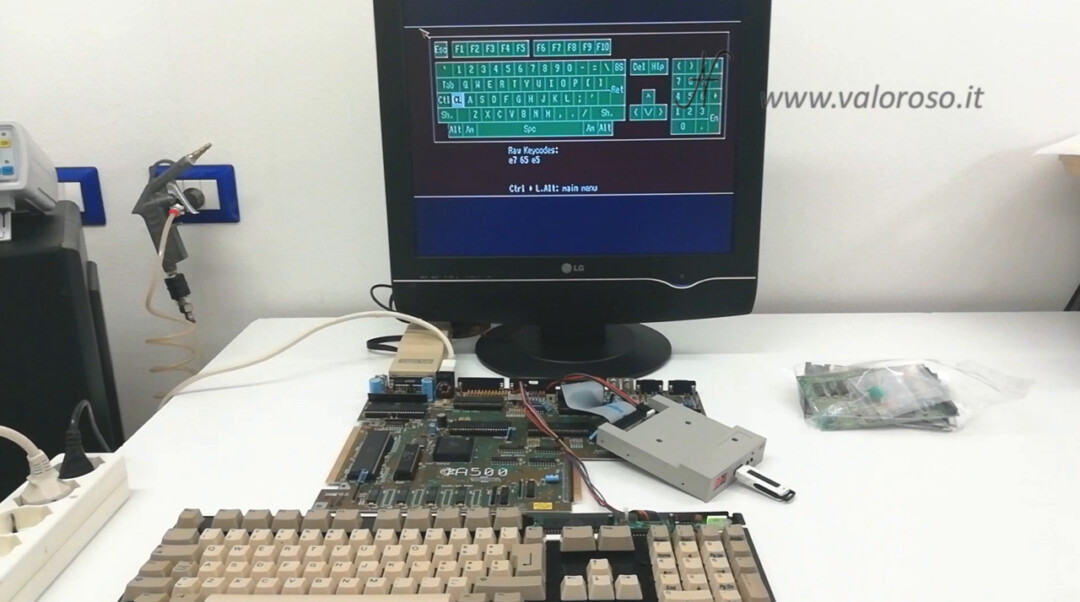
To test the keyboard, press F2 (keyboard).
We press one by one, seeing the ones that work. Thankfully, after replacing the keyboard membrane, the buttons all work! Even the led of the caps lock button works!
I'm happy: I can see a light at the end of the tunnel of this long repair.
We can do other tests to the Amiga 500, using Amiga Test Kit.
You can try the floppy disk drive by pressing F3, but it makes little sense, since we just loaded AmigaTestKit and it worked. Also I'm using a new Gotek and not a floppy drive.
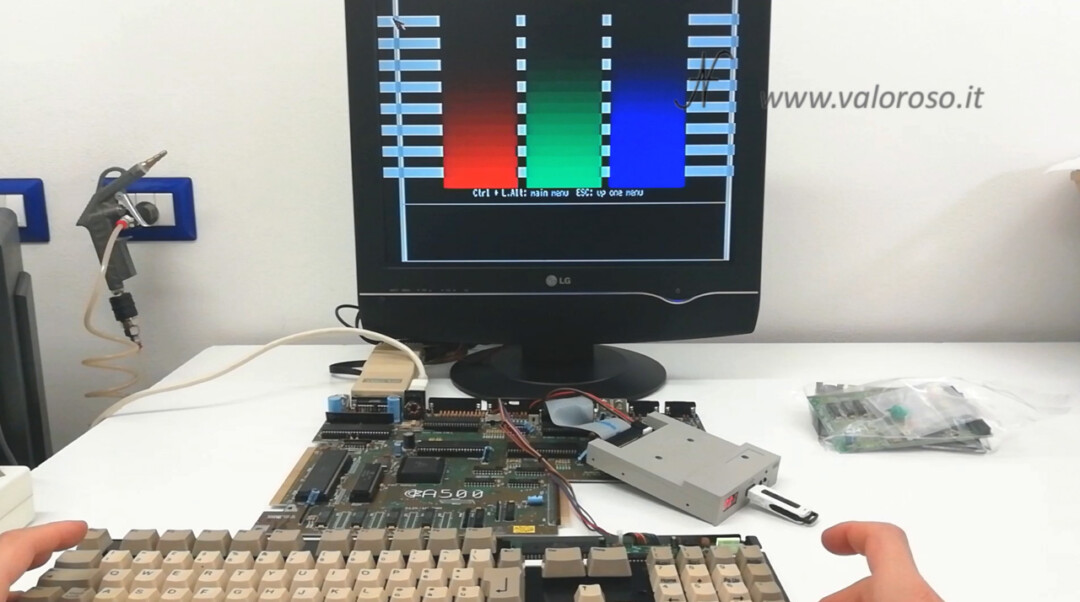
You can try the video by pressing F6, and checking the various shades of colors.
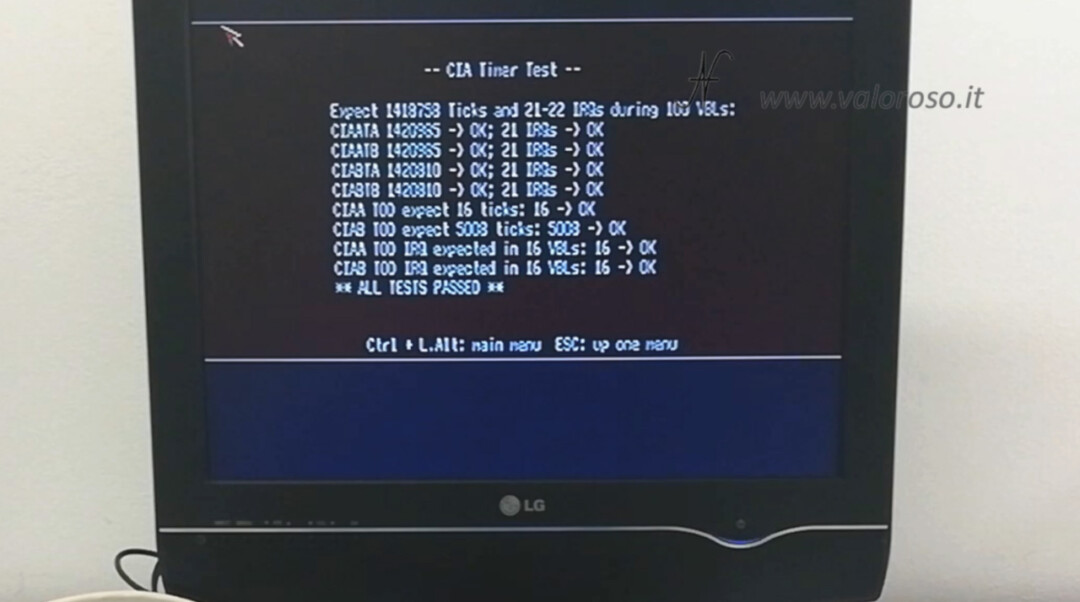
There is a function to test if the CIA timers go: you access the test by pressing F7. Everything is ok!
You can also try the serial and parallel port of the Amiga. To do this, it is necessary to build a dongle (a special kit consisting of connectors, LEDs and connections).
We will talk about it in another article, where I will build both connectors (serial and parallel), to test the communication ports of the Amiga 500... and also other Amiga models.
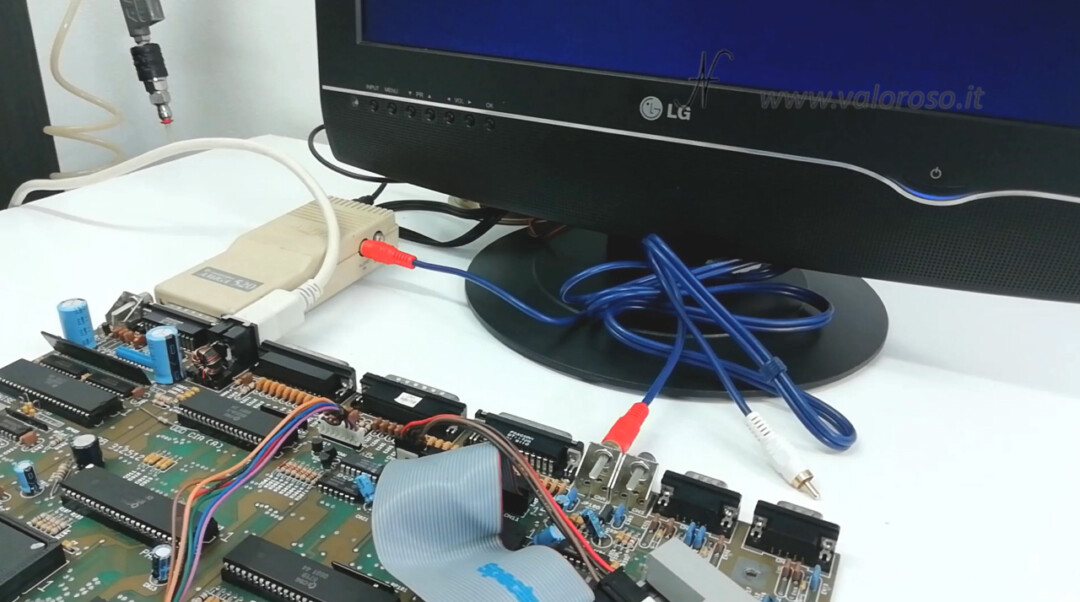
Let's proceed with other tests: we connect the audio cable to the Amiga 520 modulator, in this way, we will be able to listen to the audio of the Amiga 500 on the TV.
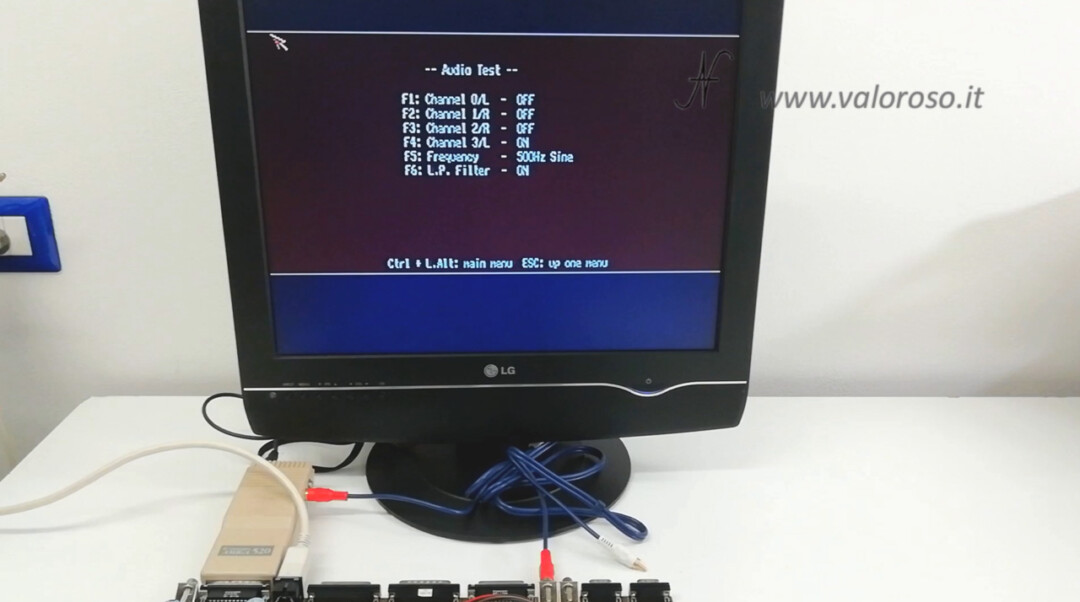
On AmigaTestKit, we select F5, audio test.
At the moment, I don't have a Y-cable that adds up the two right and left channels. Therefore, we will have to test them individually.
Pressing F1, F2, F3 and F4 you can try the various audio channels. Everything works fine!
Original Commodore tank mouse for Amiga 500
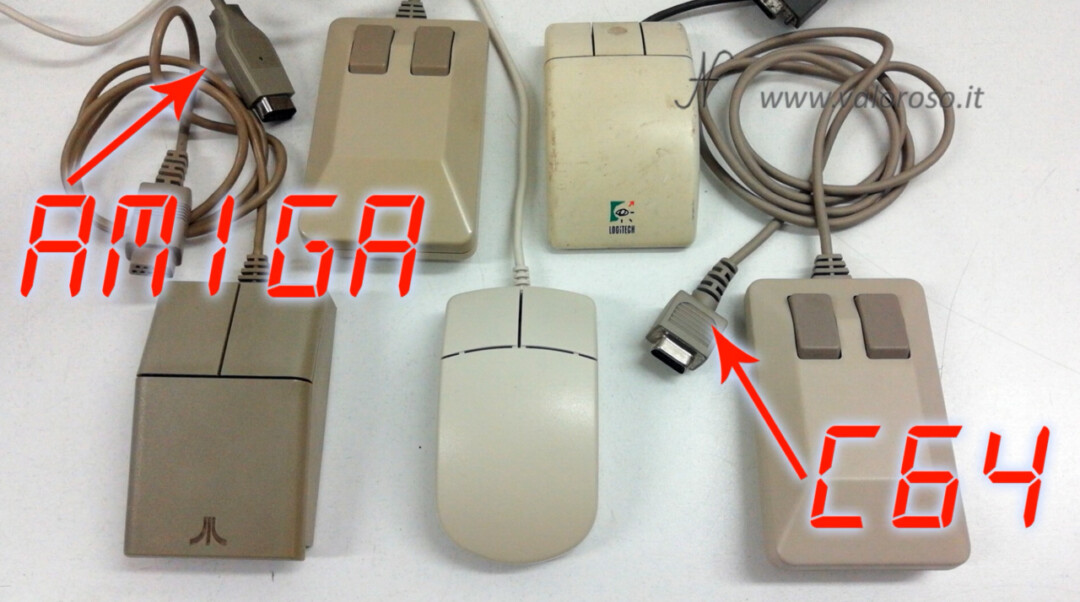
There are those who call it Tank Mouse (does it look like a tank?), who calls it Coffin (maybe it looks like a coffin!), what matters is that it is a mouse for Amiga, original Commodore, which I bought as working.
The long connector identifies it as an Amiga mouse, unlike the Commodore 64 mouse, which has the connector short and is not compatible with the Amiga.
In a previous article, I had shown how to disassemble and clean the mouse of the Commodore 64. This mouse will also be cleaned: we will do it later!
We connect the mouse to the joystick port 1 of the Amiga 500, the rear DB9 port. We start the computer, so it loads AmigaTestKit and try the mouse. Works!
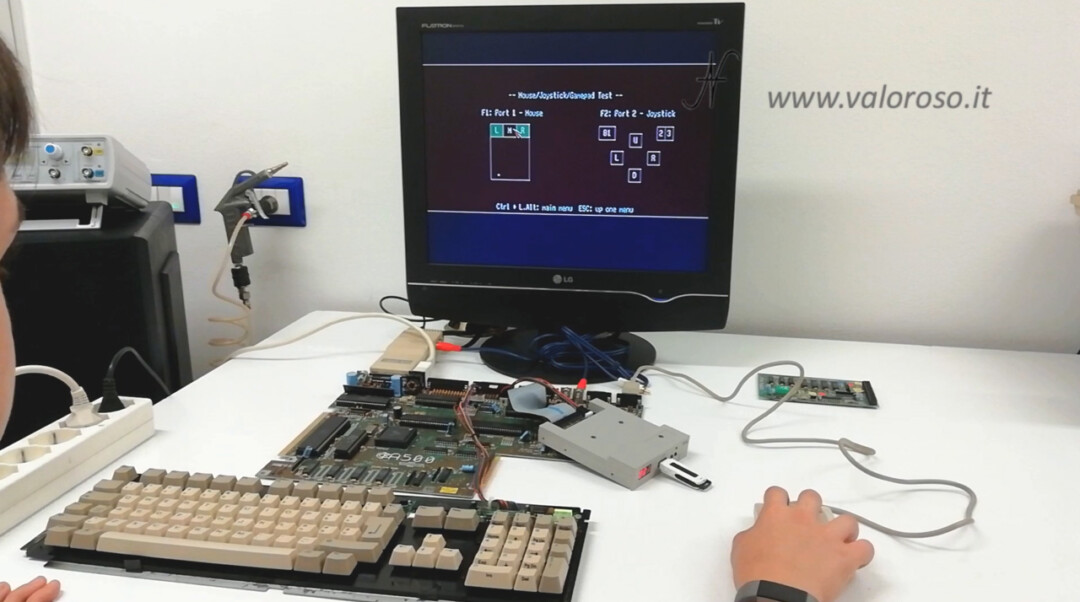
Despite being a ball mouse, it works very well, compared to current optical mice.
Continues...
For today we have done enough. In the next videos we will see how to clean the Amiga 500 case well, how to repaint the internal screens... the metal ones, which, for this Amiga, are very rusty. We will continue the various tests by trying the ports: serial, parallel and external floppy of the computer.
Probably, I will not install the Gotek inside the Amiga 500. Rather I will try to replace or repair the floppy disk drive, so as to keep the computer as original as possible. I will install a DF0 DF1 selector, which serves to use the Gotek as the main drive, while connecting it to the external connector of the Amiga floppy.

In addition, I will show you how to replace the Nickel Cadmium battery of the Amiga 501 expansion (the famous Varta, although, in my case, it was a GP)!
To be notified when I publish the other videos of the repair of this Amiga 500, and also the other videos related to the back computers and vintage electronics, I invite you to subscribe to the YouTube channel and activate the notification bell!
Hi Amedeo, after successfully using your advice for the Commodore 16, I would be very interested in a possible part 5 of the Amiga 500 especially on how to repain the internal metal shields, I have that of the A500 which is practically black.
I would also be interested in understanding how to configure the external GOTEK on the A500 KS 1.3 with mod DF0-DF1 swap in order to boot from the gotek and maybe use the internal drive as a possible second drive.
Hi Nicola! You are right. Do you think I have already recorded part #5 of the repair, but I have not yet had the opportunity to mount the video. The topics you propose are all interesting and will be part of future insights, since I will have to replace the drip of the Amiga and use the external Gotek.