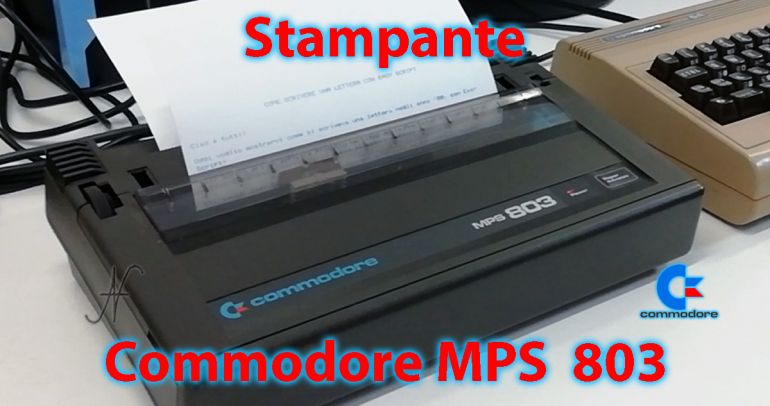
I recently recovered an old one Commodore MPS 803 dot matrix printer, abandoned in the cellar. His condition was not exactly optimal, but fortunately he worked. I therefore decided to proceed with an accurate cleaning and lubrication.

Commodore MPS 803 Printer Features
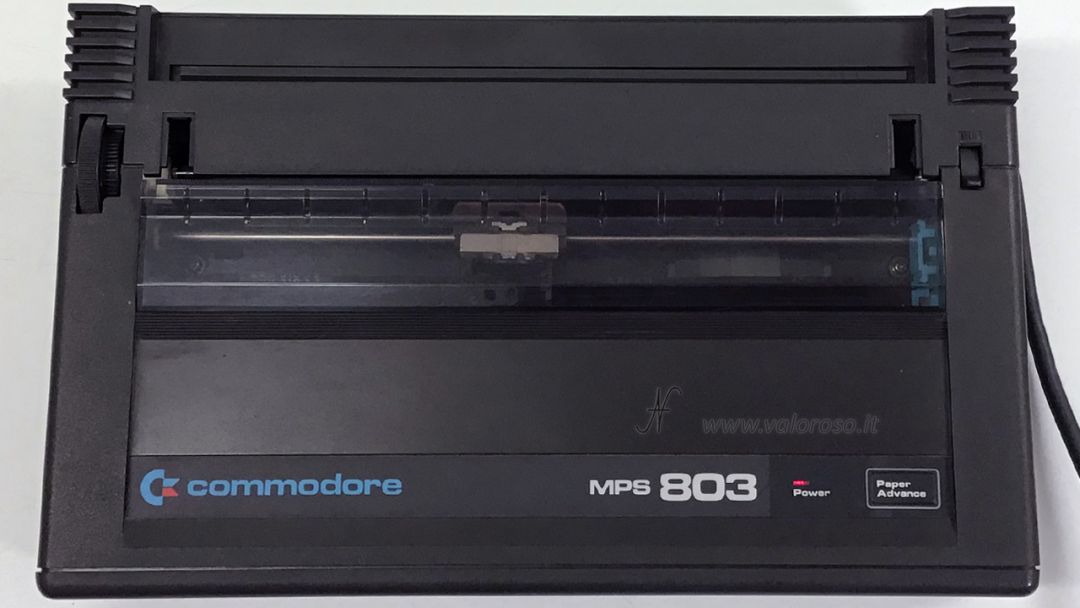
The Commodore MPS 803 printer is a dot matrix printer, produced since 1985. It can print on single sheets of A4 paper, but also on continuous form paper, using an optional cart.
The characters, already present in Roma, consist of a 7x6 points matrix. The density is 10 characters per thumb. With regard to printing performance, the Commodore MPS 803 can print in a bidirectional way (both when the head advances and when it returns), with a speed of 60 characters per second.
Printing method: dot matrix printing (Impact Dot Matrix).
Character dot matrix: 7 (height) x 6 (width) dots.
Dot size: 0.3mm.
Print speed: 60 characters / second.
Character size: 2.4mm (height) x 2.2mm (width).
Text line width: 80 columns.
Printing method: bidirectional printing.
Paper transport: single pages or units (tractor) for optional continuous paper.
Type of tape: KMP tape, black nylon.
Paper width: A4, Letter and optional continuous paper from 102 mm (4 inches) to 254 mm (10 inches) wide.
Copy / carbon copy: original + 2 carbon copy.
Graphic printing: 7 vertical dots, 480 horizontal dots, per line.
CPU: NEC µPD7811G, 128 byte di RAM, 10 MHz.
ROM 4 KB (EPROM 2732).
Power Consumption: 8W idle, 30W printing.
Weight: about 2 Kg.
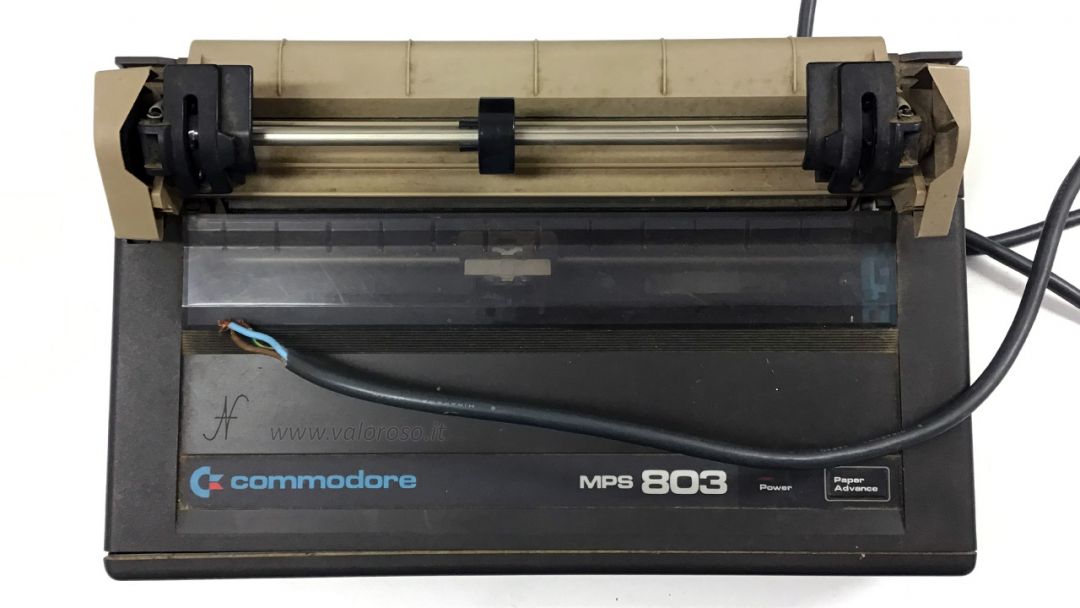
Internal and external cleaning of the Commodore MPS 803 printer
To dismantle the printer and clean it internally and externally, I first removed the trolley for the continuous module (tractor), then the upper cover, finally the ink tape. Specific tools are not necessary for this operation.


I therefore vanished the two screws that fix the second lid. At this point you can also remove this second lid, which protects the inside of the printer.
Pay attention to lift the cover, because the cable for the button and the LED is present, which must be disconnected from the motherboard.
After releasing and removing the cover, you can move on to removing the printing unit, which contains the roller, head and motors.
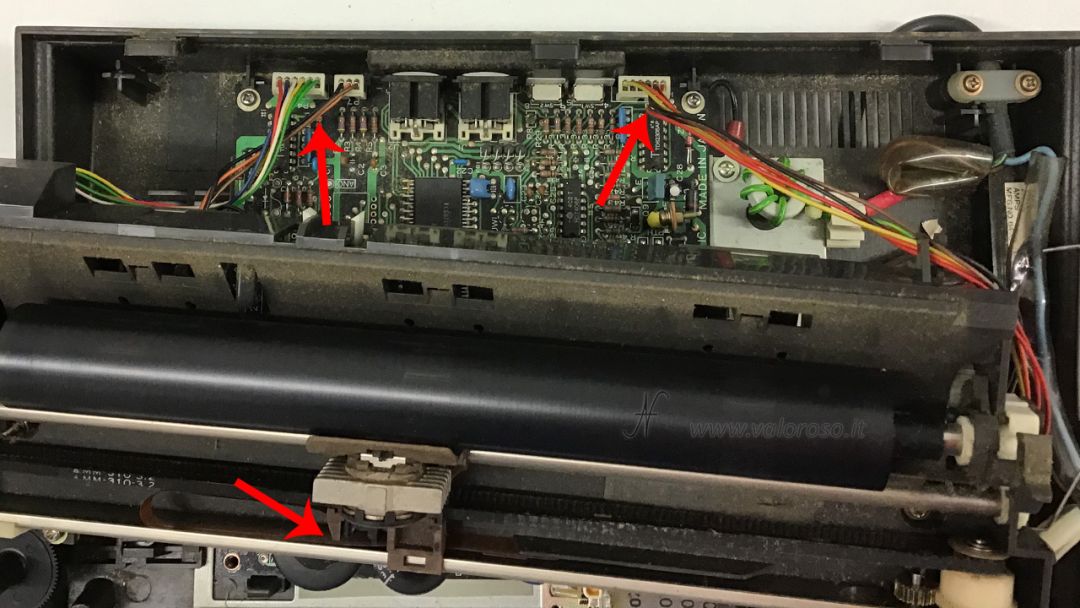
Here too, it is necessary be careful not to tear the electric cables. First you have to move the head all the way to the right. The head flex flat cable can then be pulled out of the motherboard.

After unscrewing the two fixing screws of the printing unit, disconnect the rear connection cables (those of the stepper motors and the micro switch).
The printing unit is equipped with some adjustment levers. I recommend consulting the service manual, attached at the bottom of this page, for further information.
As can be seen from the service manual, the printing unit can also be disassembled by removing the roller, gears and other components. If you are not experienced, I do not recommend disassembling the printing unit.
In the lower part of the printing unit, there is the microswitch that aligns the head to the left: I recommend deoxidizing it.
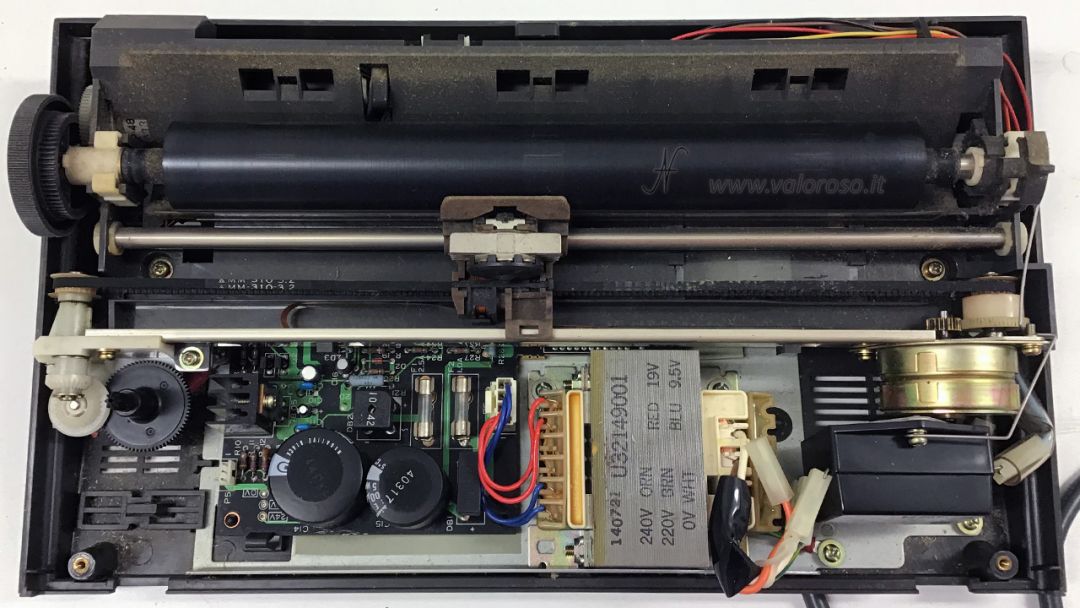
Once the printing assembly is removed, you have access to the motherboard.
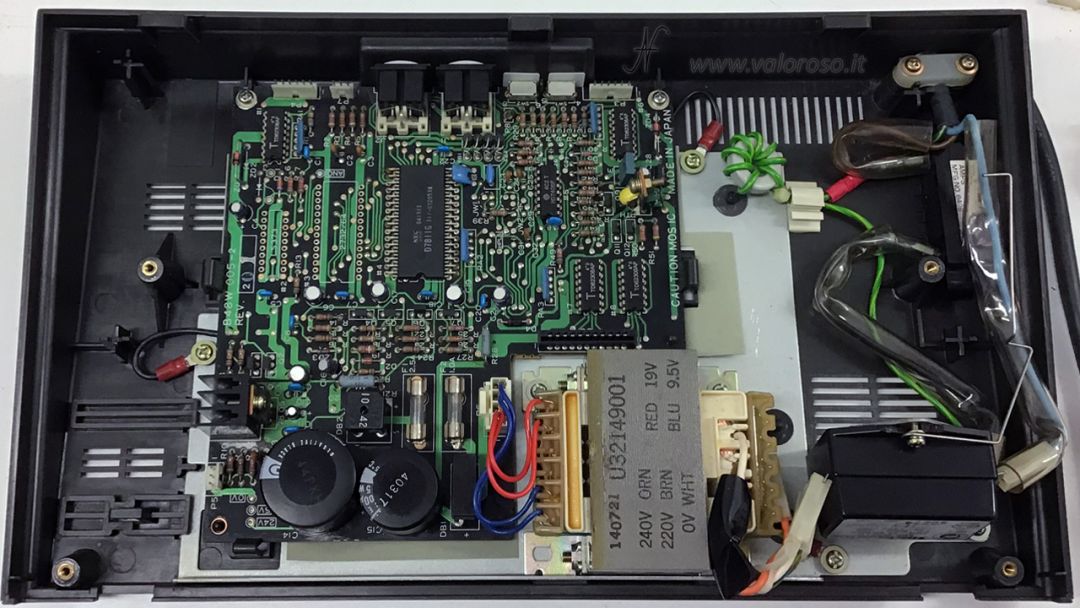
To remove it, you have to unscrew the screws that fix it, the screws of the mass cables, as well as gently expand the plastic hooks. The other components can also be removed, to proceed with an accurate cleaning of the lower part of the case. Removing the motherboard and the other components is an operation is a bit delicate: I only recommend to those who have a good dexterity to do it.
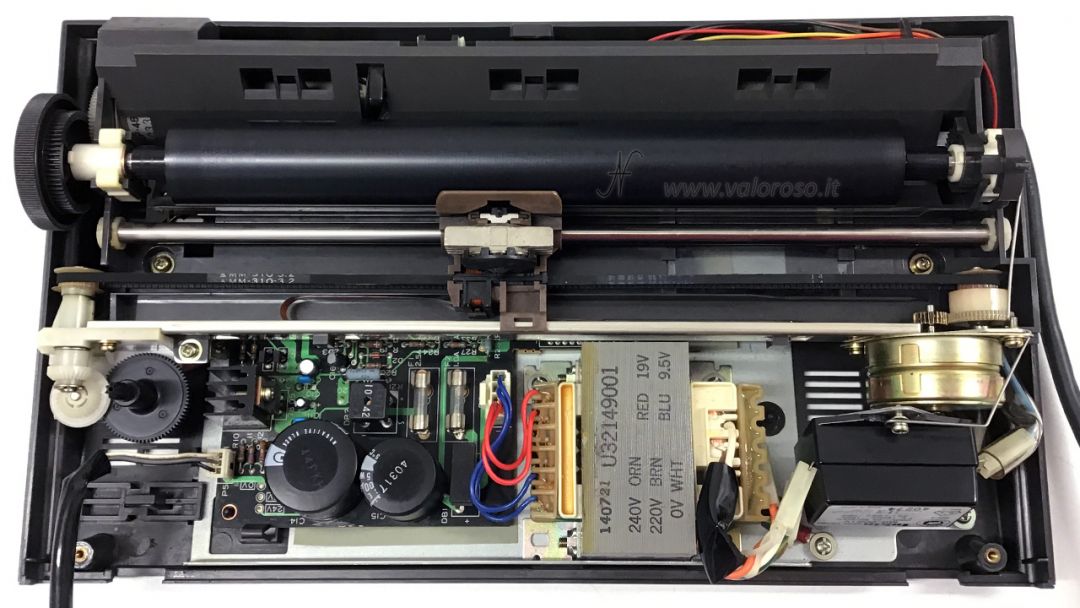
After having brushed and cleaned carefully (but gently) all the parts, it is possible to proceed to lubricate the rotation parts (gears, trees, etc ...) and the guide (metal bar) that supports the print head. As I suggested before, it is advisable to read the service manual (attached at the bottom of this page) to clean, lubricate and adjust the printing unit.
Anyway, avoid using too much lubricant! The quantity must be minimal and, above all, the lubricant must be carefully positioned, without dirtying and mixing the other parts.
After having cleaned and lubricated everything, it is possible to reassemble the Commodore MPS 803 printer. To reassemble it, simply retrace the steps described above in reverse! Remember to reconnect all the cables (including the 4 of the printing unit and that of the button / LED) and to gently screw all the components back on.
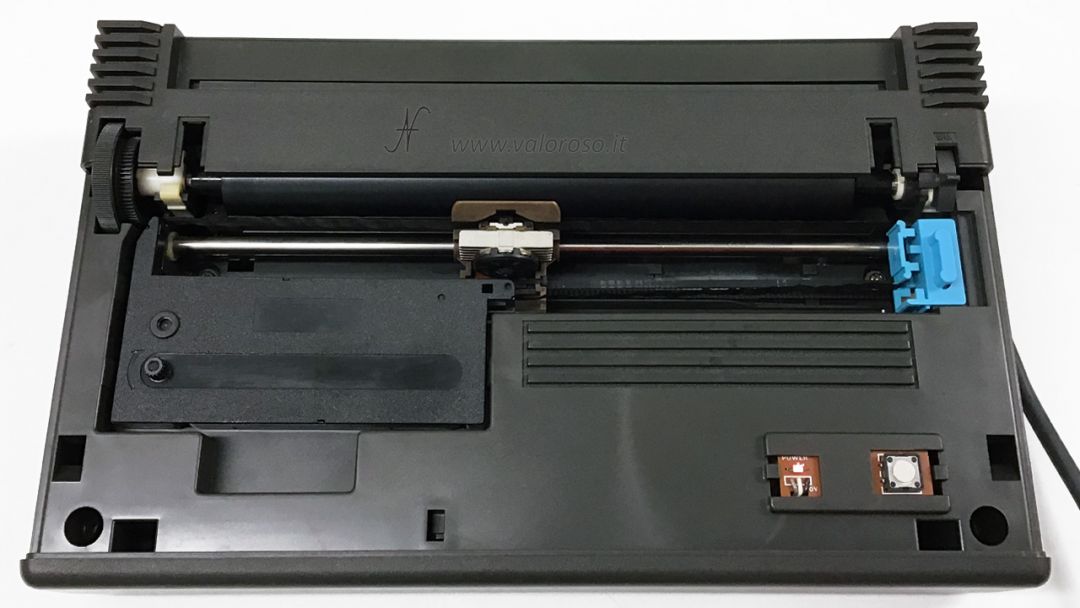
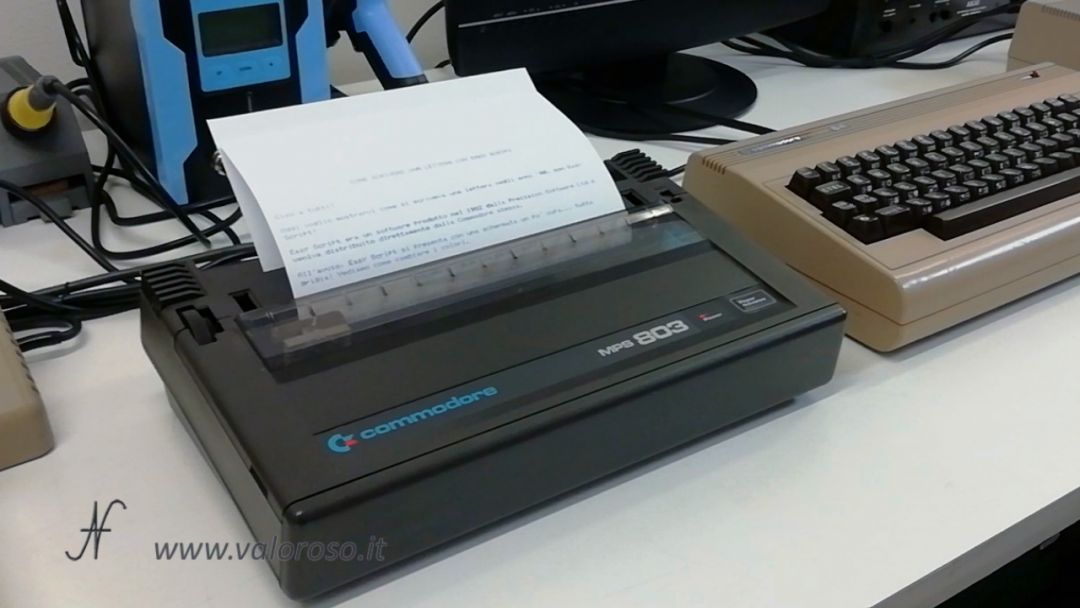
As you can see, the result is excellent and the printer, reassembled, looks really good!
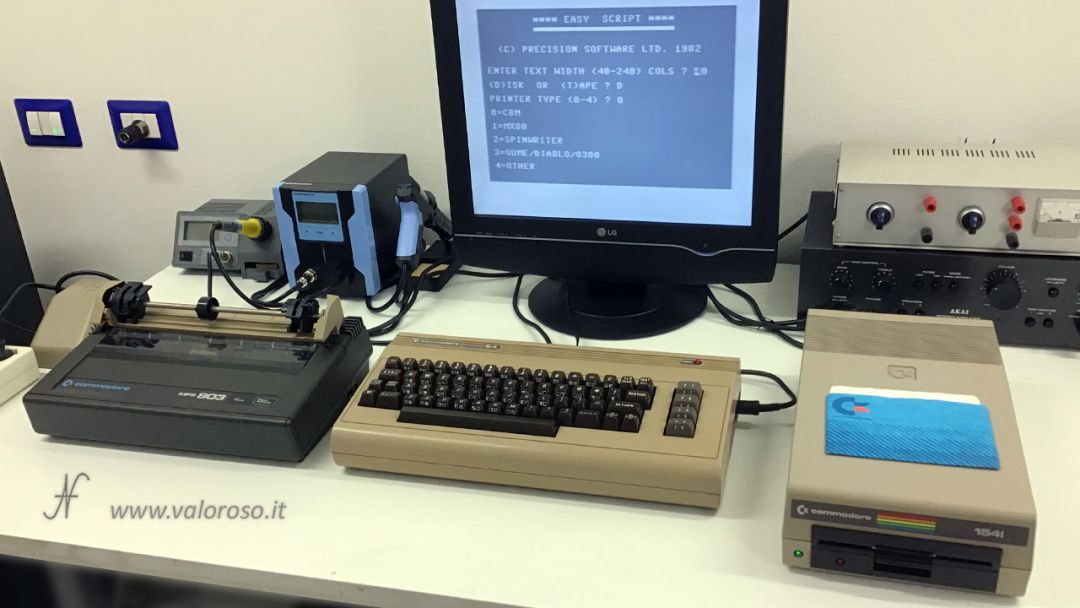
To test the printer, I used the Easy Script word processor. I made a video with step-by-step instructions for using Easy Script and printing with the Commodore MPS 803 printer.
Documentation
In support of this article, I attach the Commodore MPS803 printer service manual.
Ciao Amedeo, sto restaurando una MPS 803 il modello marrone, ho smontato tutto, pulito le plastiche, recappato, lubrificato la meccanica, e dal momento che l'asse dove scorre la testina era molto sporca e ruvida l'ho dovuto sfilare per pulirla per bene ma solo dopo mi sono accorto di non essermi segnato la posizione delle linguette per il distanziamento tra aghi e rullo che sul manuale viene riportato come "Clearance adjusting Level" https://www.manualslib.com/manual/1362768/Commodore-Mps-803.html?page=59#manual
Do you know some accurate method to be able to calibrate the axis on both sides? The manual reports to set it from 0.4 to 0.45mm but how could I do on the eye? the caliber does not enter it ..
Thanks in advance
HI! For calibration you can use calibrated thicknesses (thickness). They can be purchased without spending too much. Alternatively, if you have somewhat thick plastic sheets, you could measure, with the caliber, the thickness of the sheets, hoping to find one from 0.4-0.45 mm.
In the meantime, thank you for answering me, unfortunately I have not found a reliable measurement point with the gauge, but I will try with feeler gauges between the roller and the head ..
p.s. restauro spettacolare!! compreso di scatola, polistirolo, manuali, cavi trattore, sembra tutto nuovo!! e poi vuoi mettere il suono "esotico" di una stampante a 9 aghi degli anni 80 🙂
p.s 2 your site and your guides are spectacular !!! very cool !!!!!!!!!! and always current 🙂
Thanks so much! Indeed, the sound of the dot matrix printer is beautiful. Have you seen the video article where I connected it to a modern PC with Windows 10?
Hi Amedeo I saw all your videos, they were very useful starting from the guide for the OpenCBM configuration to that to be able to send the print output on MPS803, where among other things I tried to print something after removing everything and works perfectly as 40 years ago 🙂
I imagine that at 12 you were someone who used 5¼ floppies and maybe exchanged them with rare friends who shared this primordial passion who also had the possibility to do so, at the time we were aliens so today it's normal but the memory is so tender 🙂
Hello! I am pleased to! 🙂 Indeed you are right, when I was in elementary school I had the Commodore 128 and a friend of mine the ZX Spectrum. Then, since I was 10, an IBM PC came into the house, which I never gave up. With that, I had 3.5 inch floppies to swap!
Hello Amedeo, could you tell me if there are spare tapes on the market and if you where you can buy them? Thank you!
Hello Joseph. The tapes are on eBay, there are foreign sellers who market them. If you pay with PayPal you are guaranteed to receive the goods.
Hey there! Do you use Twitter? I'd like to follow you.
I'm enjoying your blog and look forward to new posts.
Hello! Yes, I am on several social networks.
YouTube: https://www.youtube.com/@ValorosoIT
Instagram: https://www.instagram.com/valorosoit
Facebook: https://www.facebook.com/groups/computervintage
Facebook: https://www.facebook.com/ame.valorosoit
TikTok: https://www.tiktok.com/@valorosoit
Twitter: https://twitter.com/ValorosoIT
Telegram: https://t.me/ValorosoIT
Threads: https://www.threads.net/@valorosoit